Disclosure: This post may contain affiliate links, meaning I get a small commission if you decide to make a purchase through some of my links. This is at no cost to you and helps us be able to create more content.

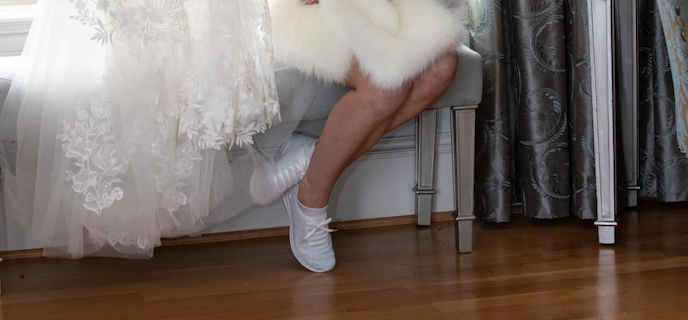
After changing from my slippers, I wore these memory-foam Skechers throughout all the photos before the ceremony.
You Can Still Wear Heels, You Just Have to Supplement
The shoes you wear on your wedding day play an important role in how you will feel and function. Do you want to risk having very achey feet and needing to take rests, or do you want to dance and mingle all night long?
If you want to make sure your feet allow you to do whatever it is you want, your shoe selection is one of the most important things you’ll decide.
I knew I wanted to wear heels on my wedding day because of the way they make me feel – glamorous, put-together, sexy… I’m here to tell you that if you feel the same way, you don’t have to give up your heels! You just have to supplement.
I made a last minute decision to purchase some sneakers 2 days before my wedding (thank you, 1-day Prime shipping!), and that was absolutely one of the best decisions I made.
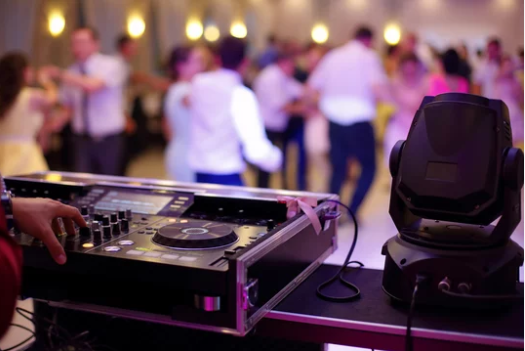
Instead of walking around the venue in heels all afternoon during the pre-ceremony photos, I walked around in memory-foam Skechers. They were SO comfortable. Sure, my dress wasn’t tailored for sneakers, but I just had to kick it up a little when I walked. You can’t even tell I’m wearing them.
After all the photos and before the ceremony began, I changed into my wedding heels and wore them through dinner. Once the dance floor opened, I went to change into my party dress and put on a different pair of heels. For those second heels, I used Vivian Lou insoles to further ensure I wasn’t in pain. This was my second time using those insoles and so far they have worked great for me!
If you’re keeping track, yes, I had 3 different pairs of shoes on my wedding day, 4 if you add-in the slippers, and 5 if you add-in my “just in case” rain boots. Those would have replaced the sneakers but I was ready for anything!
Wedding Shoes
- Slippers – for getting ready
- Comfort Sneakers or Rain Boots – for taking photos pre-ceremony
- Wedding Heels – for the ceremony through dinner
- Party Heels – for your dress change, if applicable
I could have purchased one glorious pair of Bella Belle shoes, and they would have been gorgeous but hardly seen. Instead, I was able to purchase multiple pairs of shoes that were also attractive, just less intricate, and that were comfortable for all my needs. I was never once in foot pain.
If your dress is long and you care about your feet, I highly encourage you to get a pair of “comfort shoes” for yourself – seriously, you won’t regret it! I’ve put some in a table for you to check out below. The ones I got are the first ones in the table, and they had a tiny bit of shimmery sparkle to them which made them even more perfect for the big day. They were immediately comfortable (no break-in period) and I’m going to continue to wear them casually.
Comfort Shoes
Did you wear multiple pairs of shoes on your wedding day? Would you recommend them? Let other brides know in the comments below!
May you party all night without aching feet!!!


 ).
). 


.jpg)