Posted on 1 Comment

DIY – Preserve Your Bridal Bouquet in Resin!

Completed resin bookends

Disclosure: This post may contain affiliate links, meaning I get a small commission if you decide to make a purchase through some of my links. This is at no cost to you and helps us be able to create more content.

Table of Contents

picture of a fresh wedding bouquet next to a picture of completed resin bouquet bookends

Many brides preserve their wedding gowns after the event, but did you know you can preserve your bouquet, too? There are many different options for bouquet preservation that appeal to different aesthetics. 

Examples include:

  1. Hang drying your bouquet 
  2. Getting your flowers pressed
  3. Preserving them in resin
  4. Freeze drying
  5. Getting a painting or other piece of art depicting the flowers (memory preservation)

Some of these may be better left to the professionals so be sure to consider that for your budget. I’ve been crafting with resin for the last year or so and wanted to try my hand at bouquet bookends. Lucky for me, my florist gave me a sample of my bouquet a couple months before my wedding and that’s what I ended up using! This was good because I could learn from my mistakes, or choose a different preservation method for the real one (nothing wrong with having two sets!).

Tip: By the way, if you’re already married and wishing you had preserved your bouquet in some way, see if your florist is able to recreate it for you!  

Preserving Your Bridal Bouquet in Resin

I wanted to preserve my flowers in resin because it’s a great way to preserve color and dimension. Your flowers will lose their color with hang drying and I love the idea of seeing them in their full form. What’s more? With extra flowers you can create additional little trinkets, such as ring holders or bookends (if the latter wasn’t your main project).

Materials Needed

Click the photo to go to the product listing.

Silica Gel

 I recommend having at least 15 pounds on-hand. This is the brand I bought.

Plastic Bins 

These are used for drying the flowers. I bought this set of two.

Bookend Molds

These are what I used but you could use circular molds, as well.

Mixing Cups & Stir Sticks

These come in one package which makes it easy. I just started using these myself.

Respirator

Safety First!!! This is the respirator I have and highly recommend it.

Cartridge for Respirator

A respirator won’t do you any good without the cartridge!

Nitrile Gloves

To protect your skin, as well!

Casting Resin

Highly recommend the Counter Culture DIY casting resin. One gallon is more than enough for this project.

Artist Resin

Counter Culture DIY’s Artist Resin gives you a tough and hard top coat. The 8 oz set is more than enough.

Photo Summary of Steps

how to preserve your bridal bouquet in resin

Drying the Flowers

You can’t resin fresh flowers. I repeat: You cannot resin fresh flowers! Your bouquet must be dried before your submerge the flowers in resin. However, the flowers should be as fresh as possible when drying.

If you are immediately traveling on a honeymoon or generally unavailable the day or two after your wedding, see if you can get a friend to help with this step. 

The easiest way to dry flowers is with silica gel. You know those packets of tiny balls that come in your packages and clothes to keep things dry? That’s the same thing! Silica gel is non-toxic but it’s still best practice to wear nitrile gloves and a respirator when working with it since it comes in fine particles.

  1. Deconstruct your bouquet
  2. Cut off the stems 
  3. Pour a shallow layer of silica gel into your plastic tub
  4. Place your flower heads into the silica gel, keeping space between each one (don’t let them touch)
  5. Gently cover the flowers with additional silica gel until they are fully submerged
  6. Close the lid and set aside for 3 days
  7. After 3 days, give your flowers a check and remove any that are fully dry. These are going to be smaller flowers with low petal counts. Use a paint brush to gently wipe off excess silica gel. Store dried flowers in a cardboard box.
  8. Check again after a few more days to see if the bigger/high petal count flowers are dried and follow step 7
  9. When all flowers are dried, you are ready to begin the next step: Resin!

Putting your Flowers in Resin

This blog post assumes you are familiar with using resin. If you are interested in seeing a detailed post for resin beginners, drop me a comment below!

Now that our flowers are dry, it’s time to preserve them in resin! Depending on the mold you chose, this process could take 8+ days considering the cure time between layers. You want to make sure you have a casting resin for the bulk of your mold, and an artist resin for your top coat. I linked to the resins I used in the Materials section above. I am not an affiliate for Counter Culture DIY, I simply like their products.

  1. Mix your casting resin. I generally used 6 oz for every layer of my bookends.
  2. Pour a thin layer onto the bottom of both bookends/whatever mold you are using.
  3. Remove air bubbles via heat gun/torch/toothpick.
  4. Arrange your leaves (or flowers?) in the way you like. This is where you can really let your creativity shine. I wanted to start with a base layer of greenery but you don’t have to do that. 
  5. Let cure for 24 hours or however long your resin instructions indicate.
  6. Repeat steps 1 – 5, this time applying your second layer of flowers and greenery.
  7. Repeat steps 1 – 5, this time applying your third layer of flowers and greenery, if applicable.
  8. By now you may not have much more room for additional flowers, so repeat steps 1 – 3 daily until the mold is nearly full.
  9. Once there’s a tiny sliver of space left in the mold, mix your artist resin and pour the top coat. Remove air bubbles. Let cure.
  10. Demold your project and sand the edges as necessary. I used 1,000 grit sandpaper to take off the sharp edge.
  11. Wipe down your project with rubbing alcohol and be proud of your accomplishment!!

The Finished Product

I’m so thrilled with the results! I really look forward to seeing these on my bookshelf and being reminded of my gorgeous wedding bouquet.  If you take on this project, let me know how it goes! Best of luck!

Want to See More DIY Tutorials?

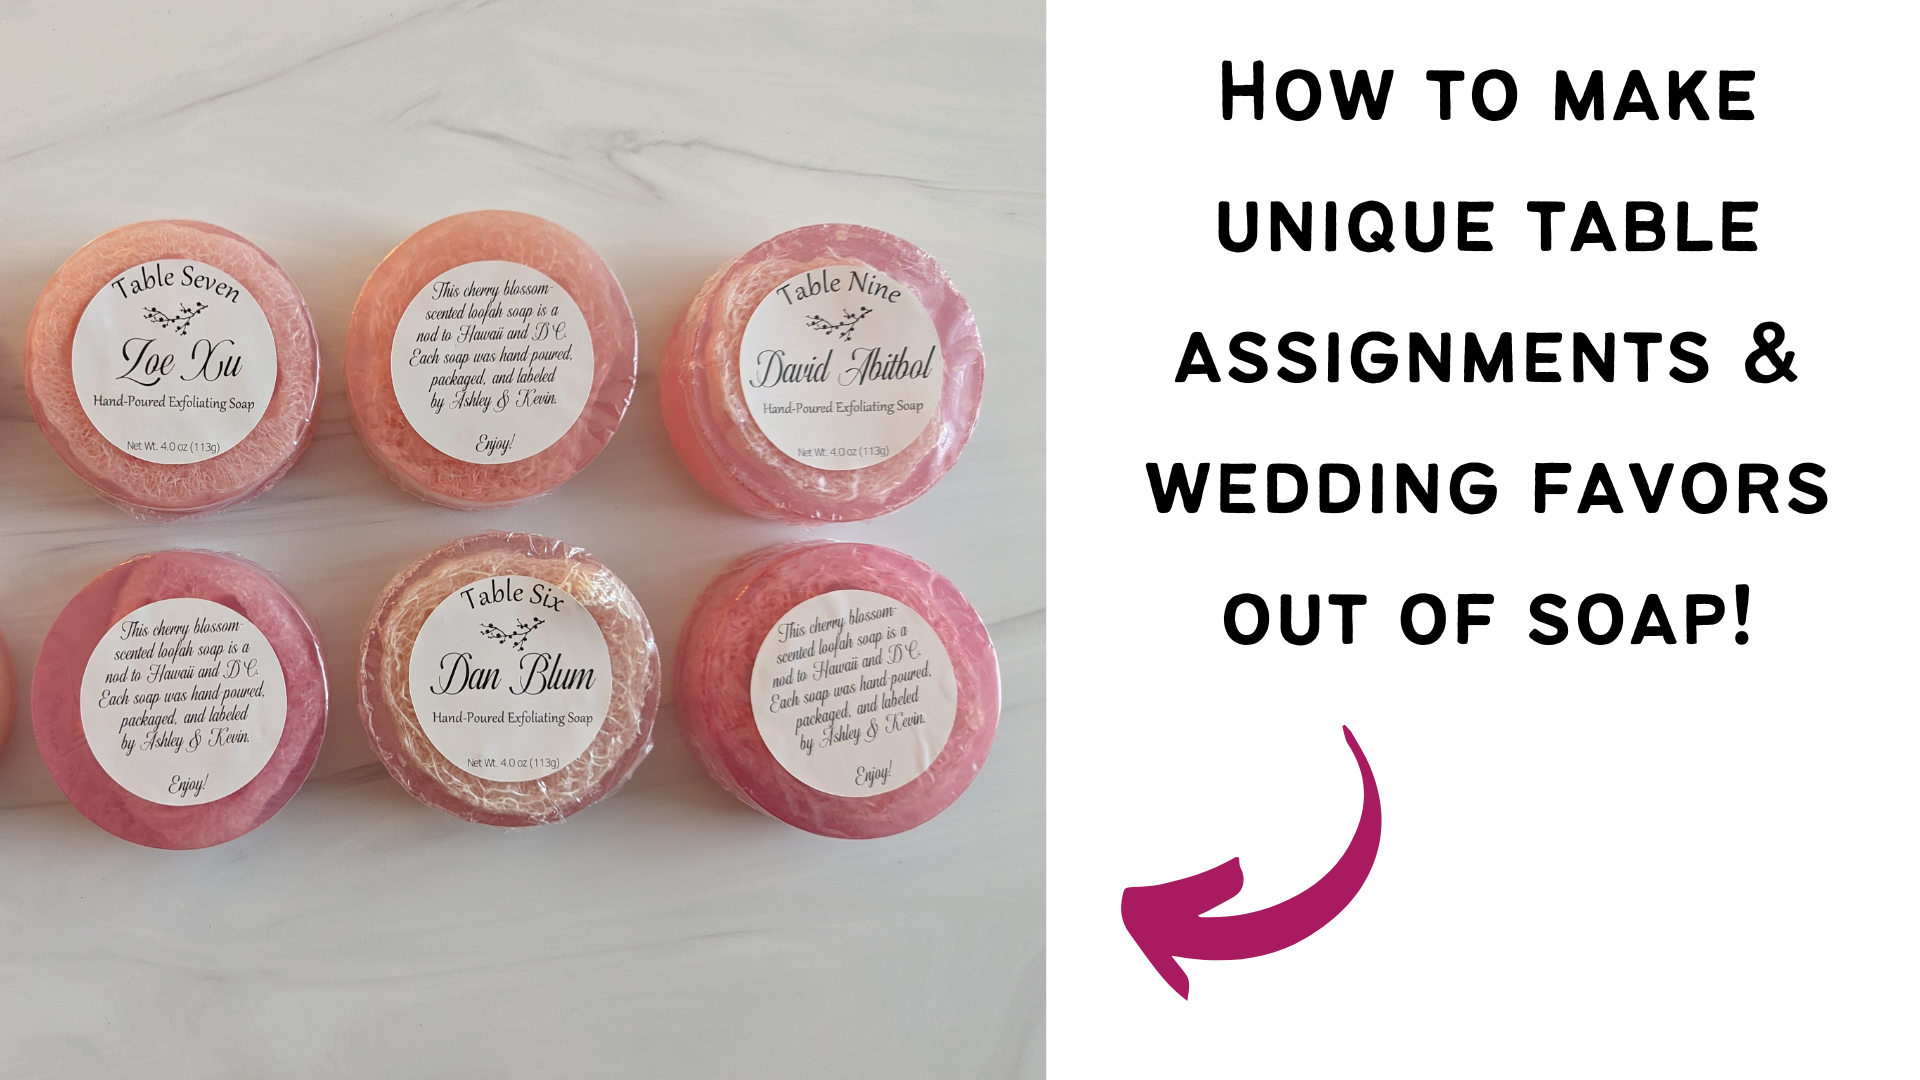
This blog post will show you how to make your own wedding table assignments out of hand-poured soap! Better yet, they double as wedding favors!

Pressed Bridal Bouquet

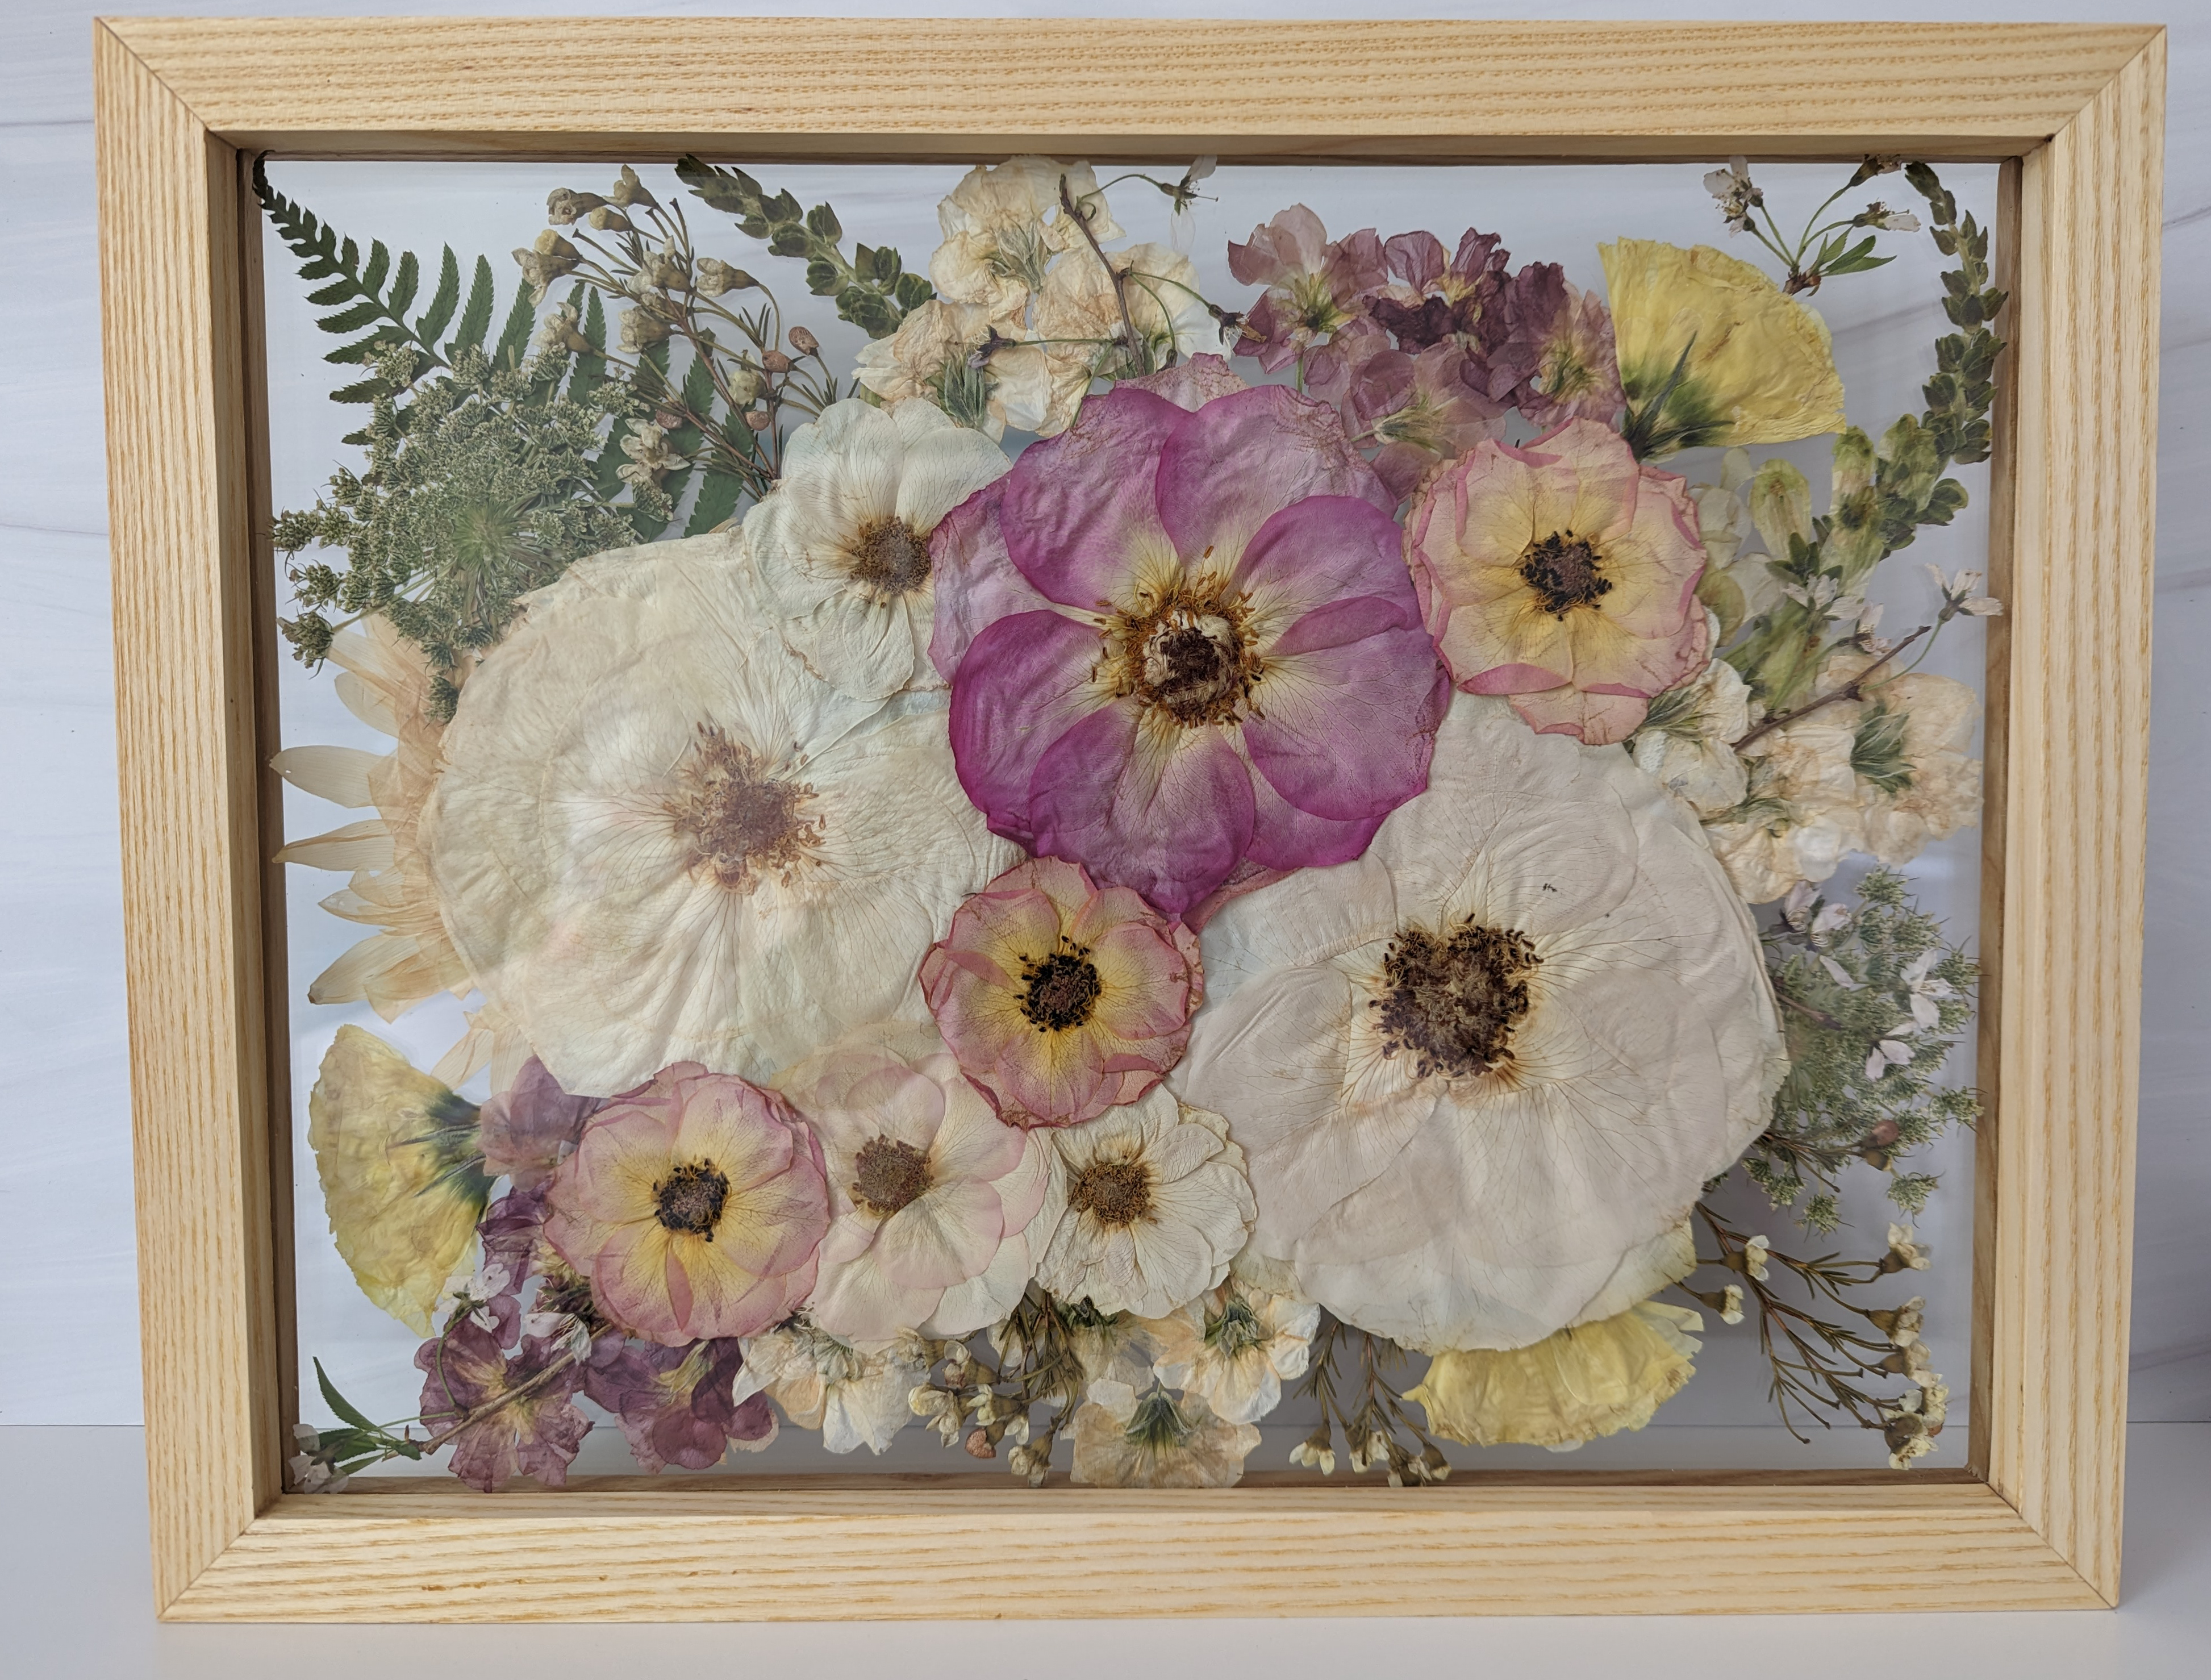
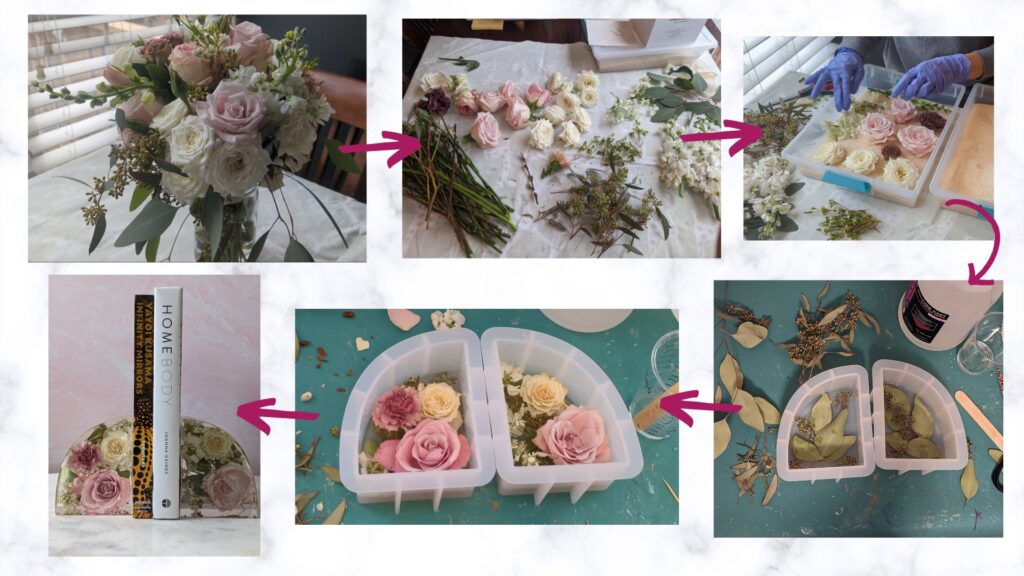
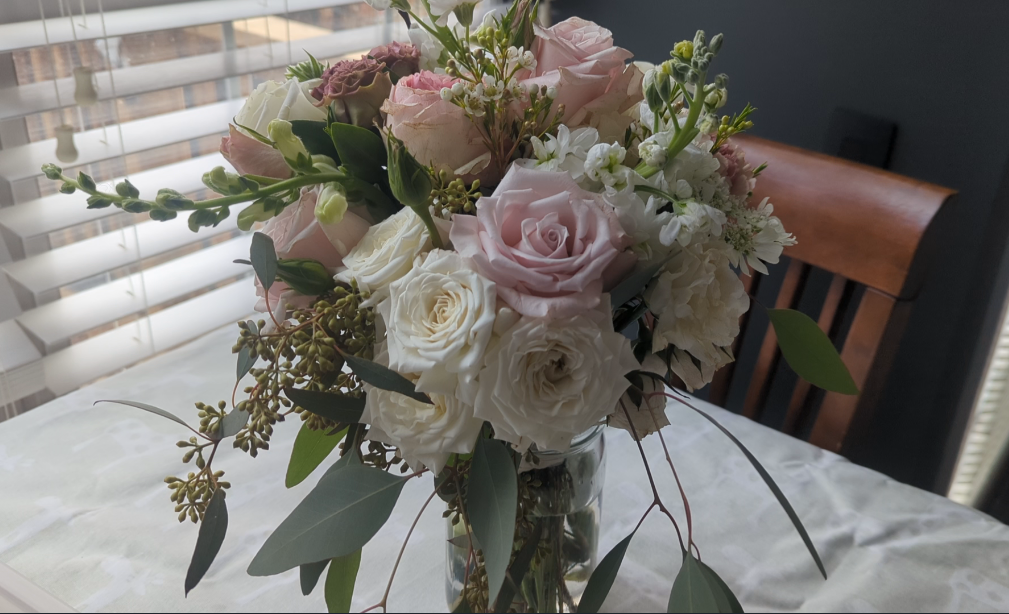
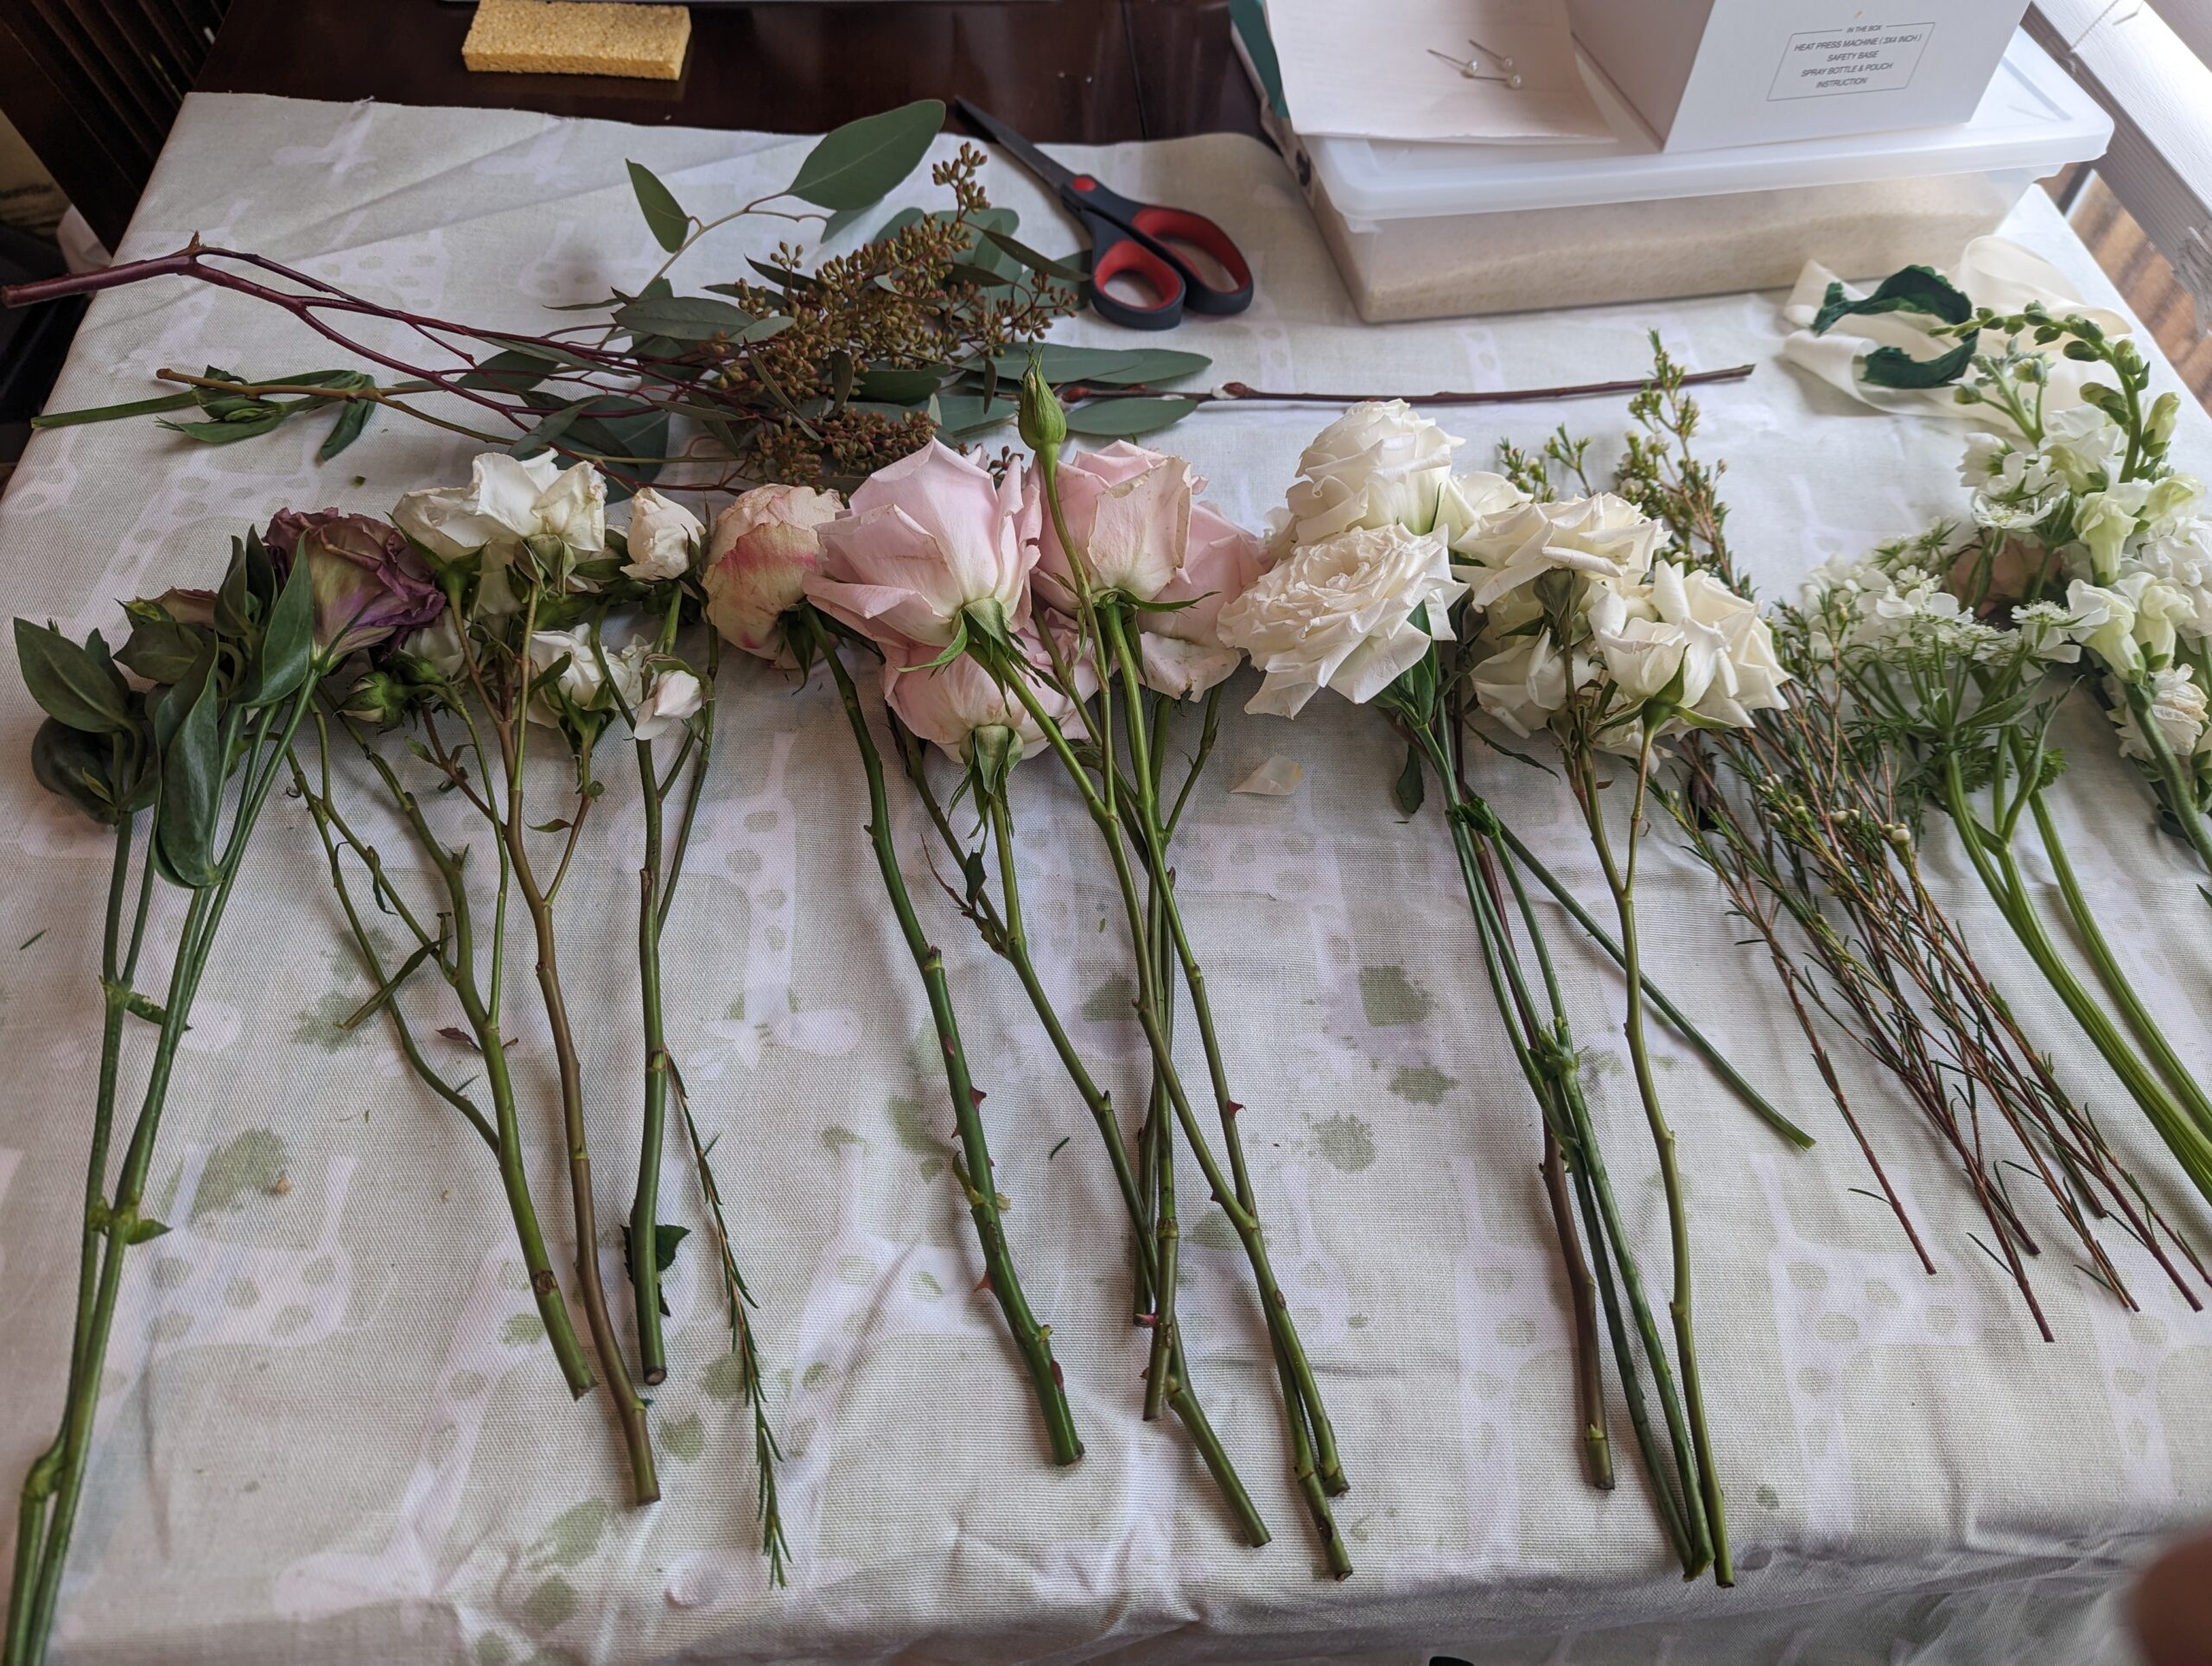
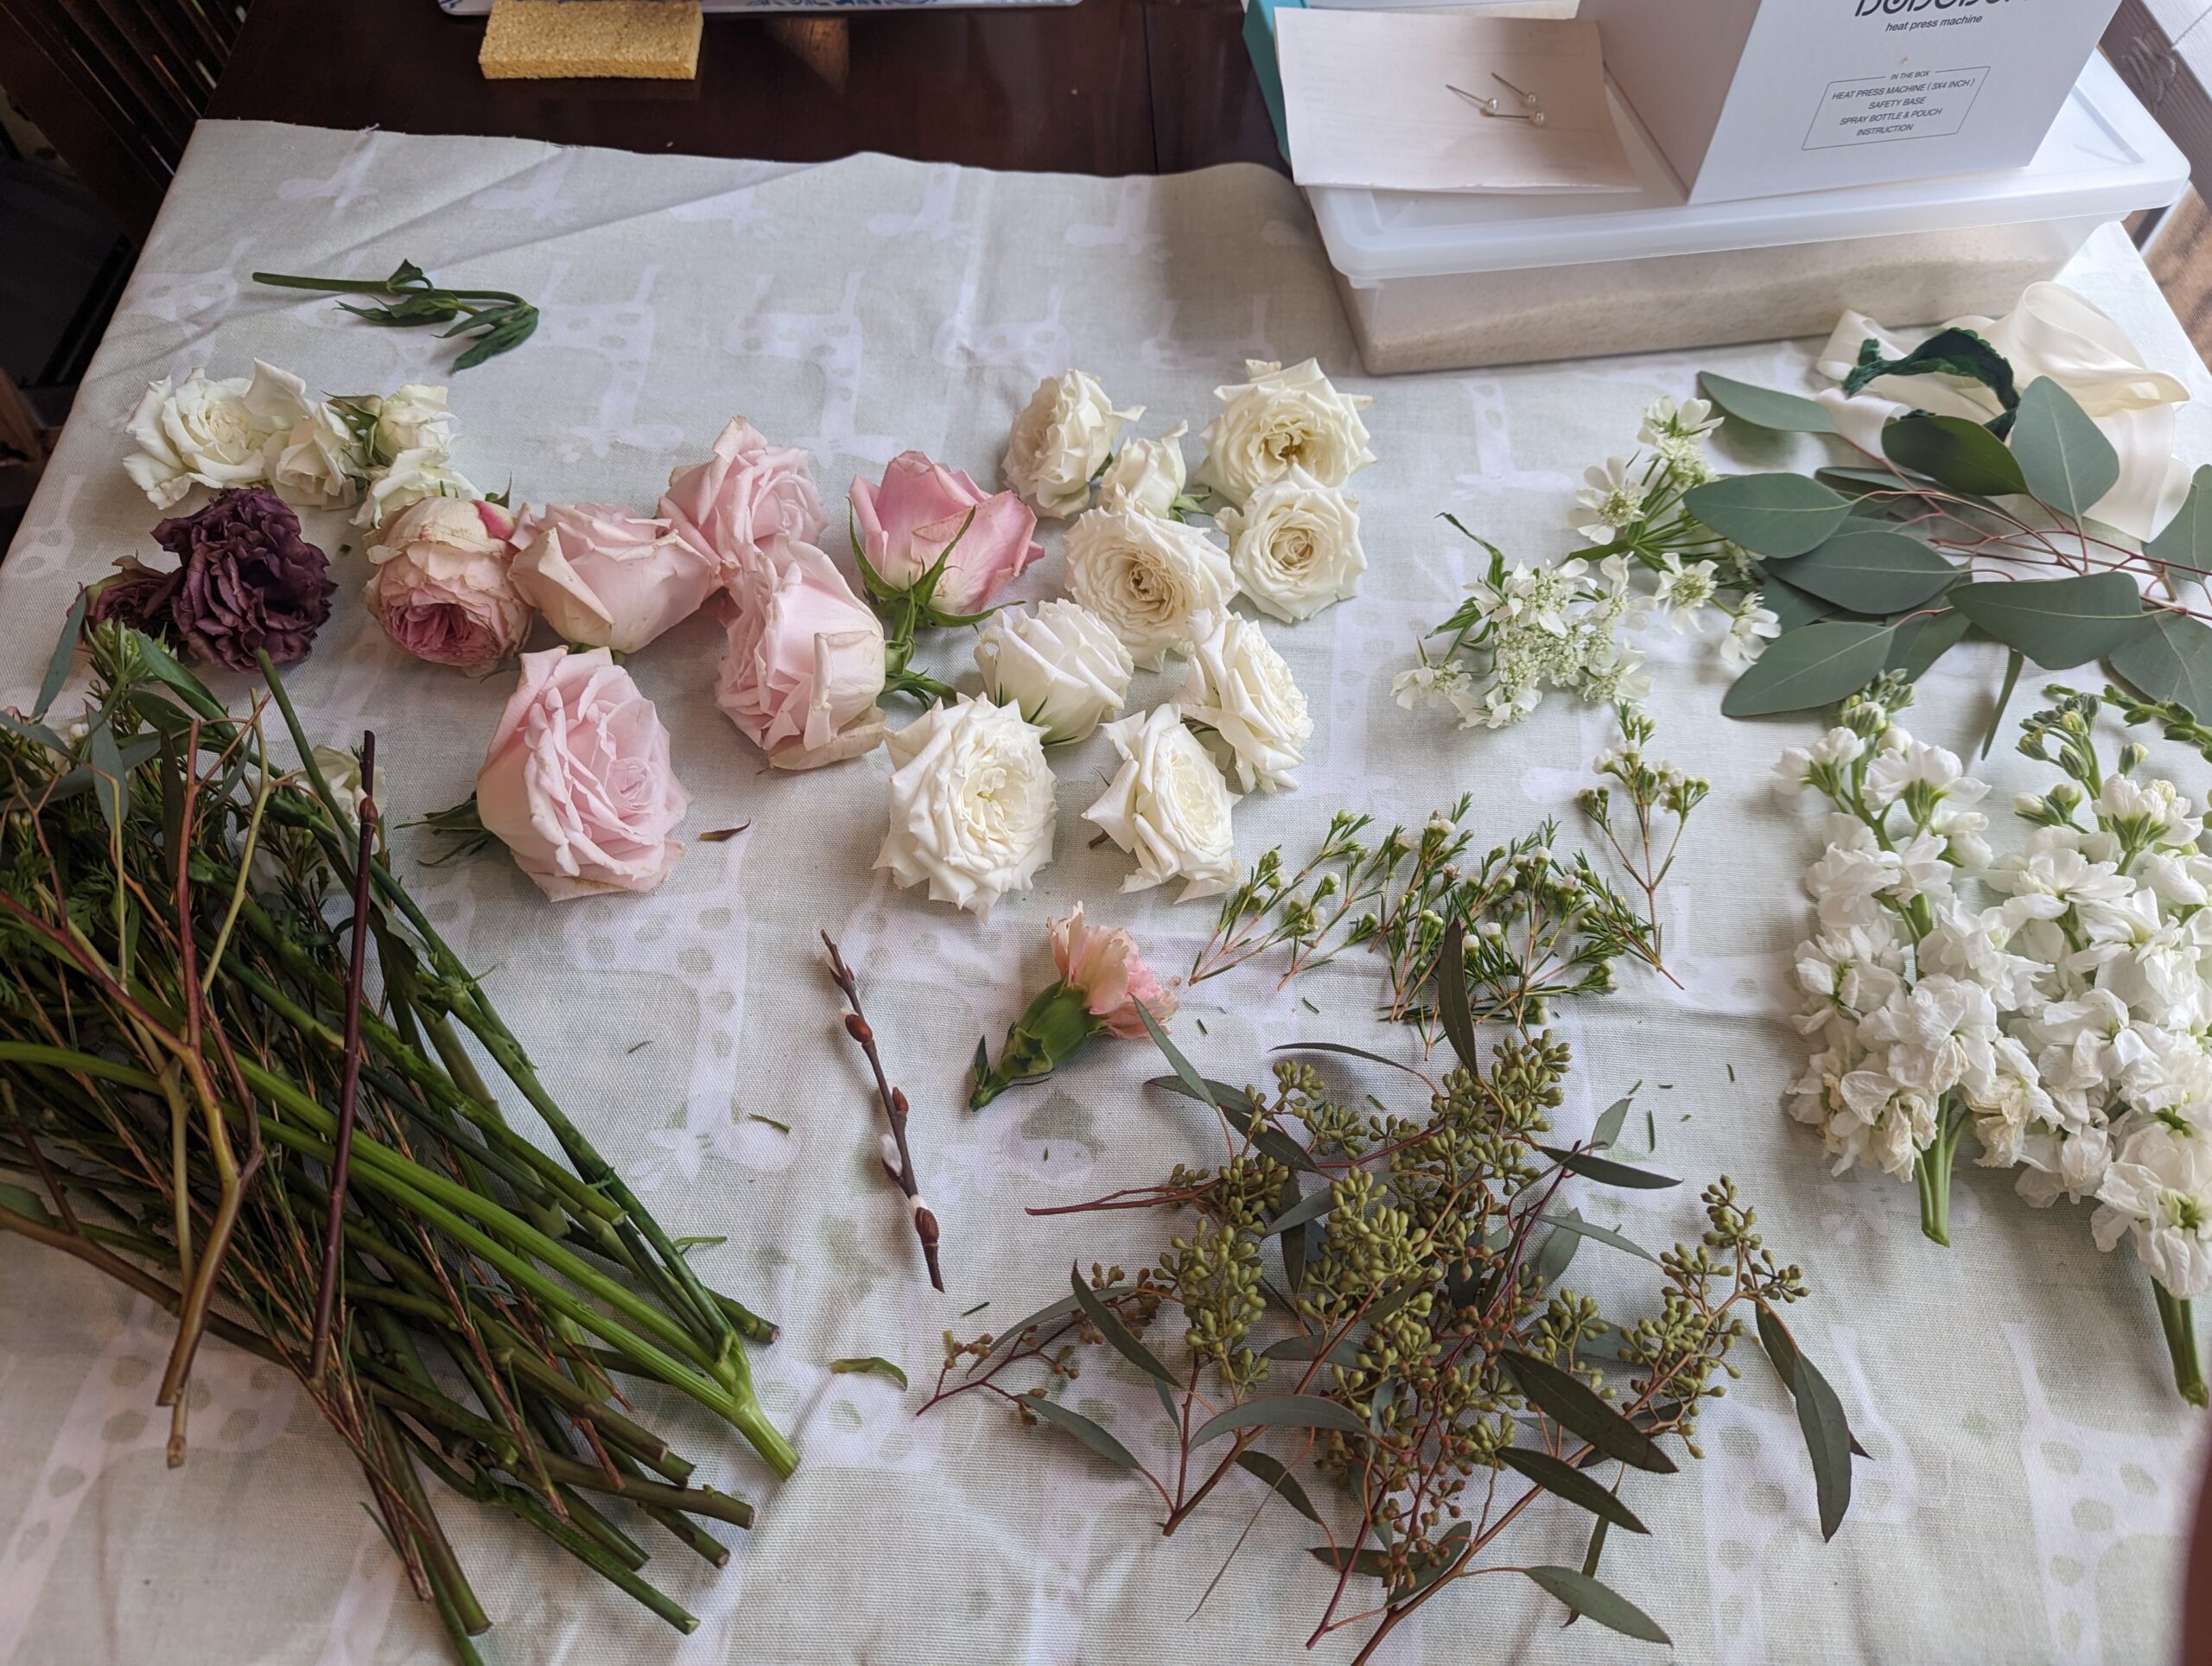
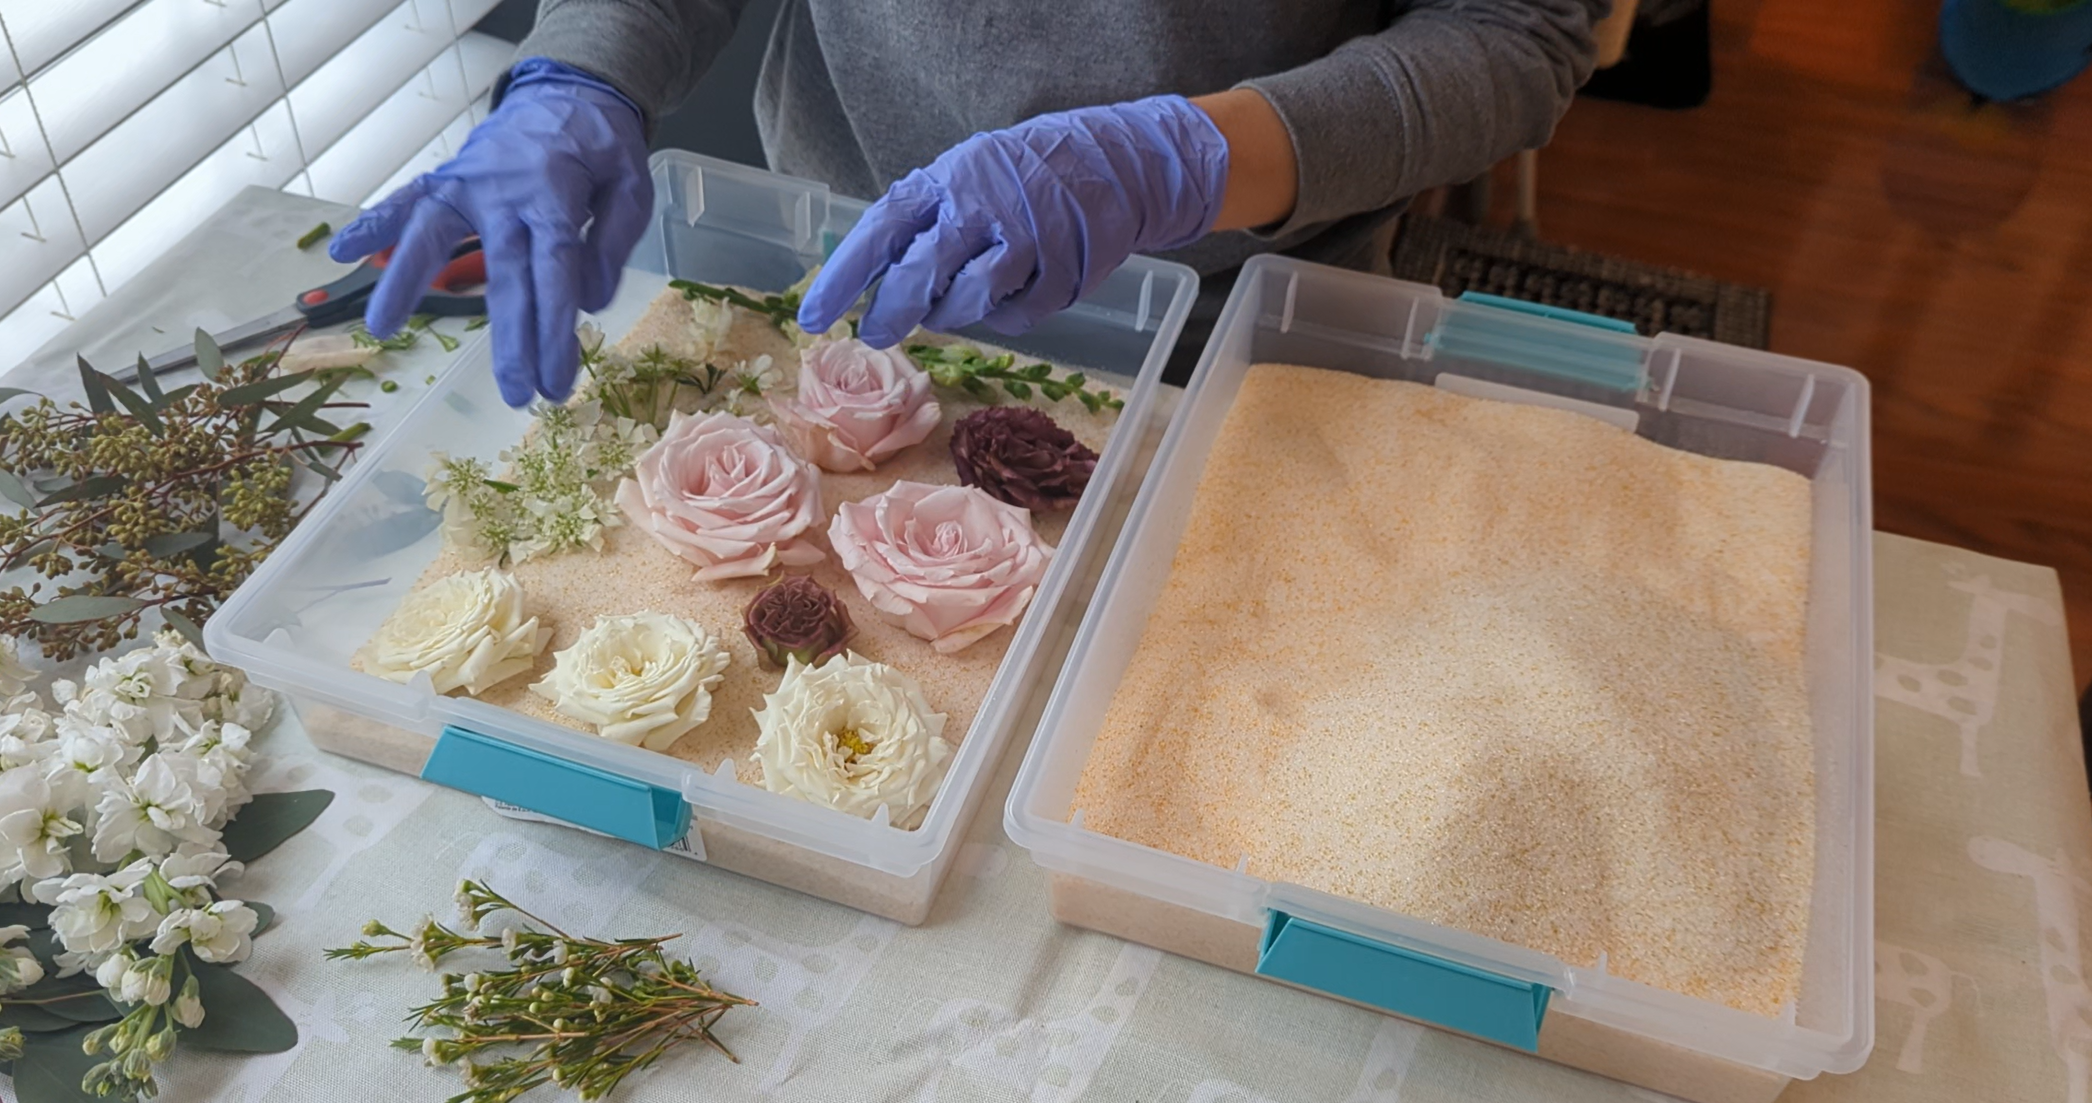
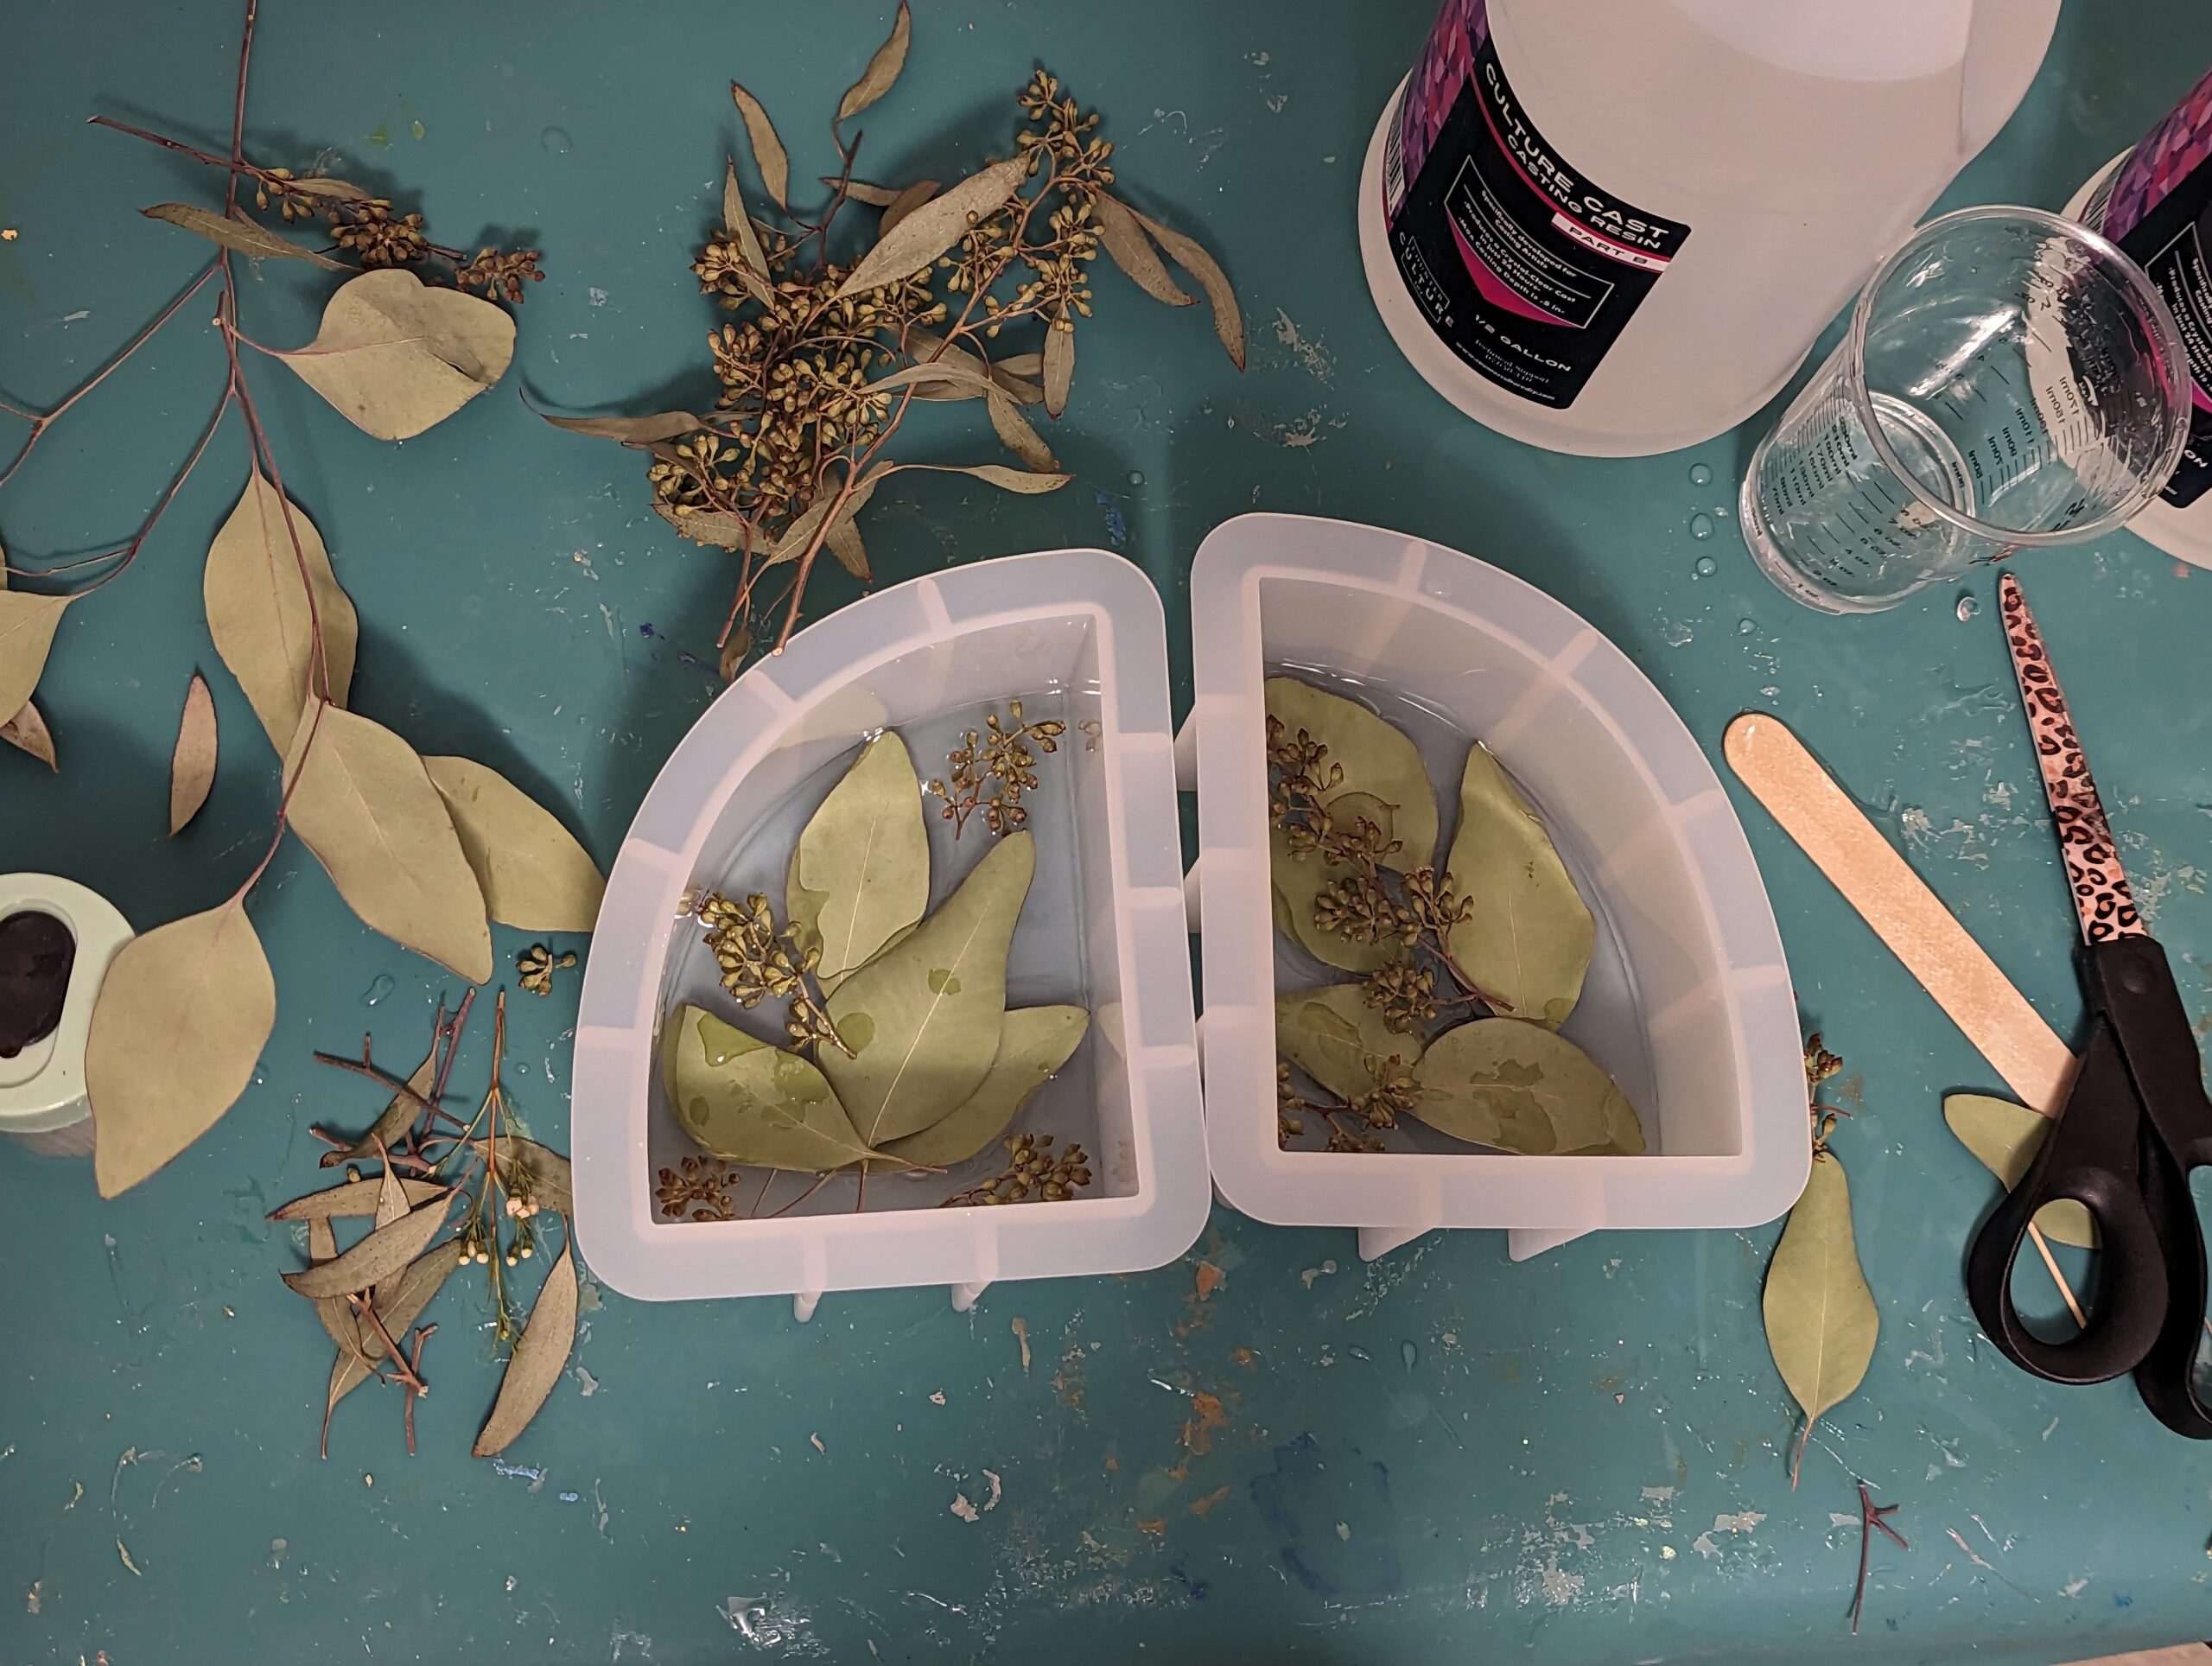
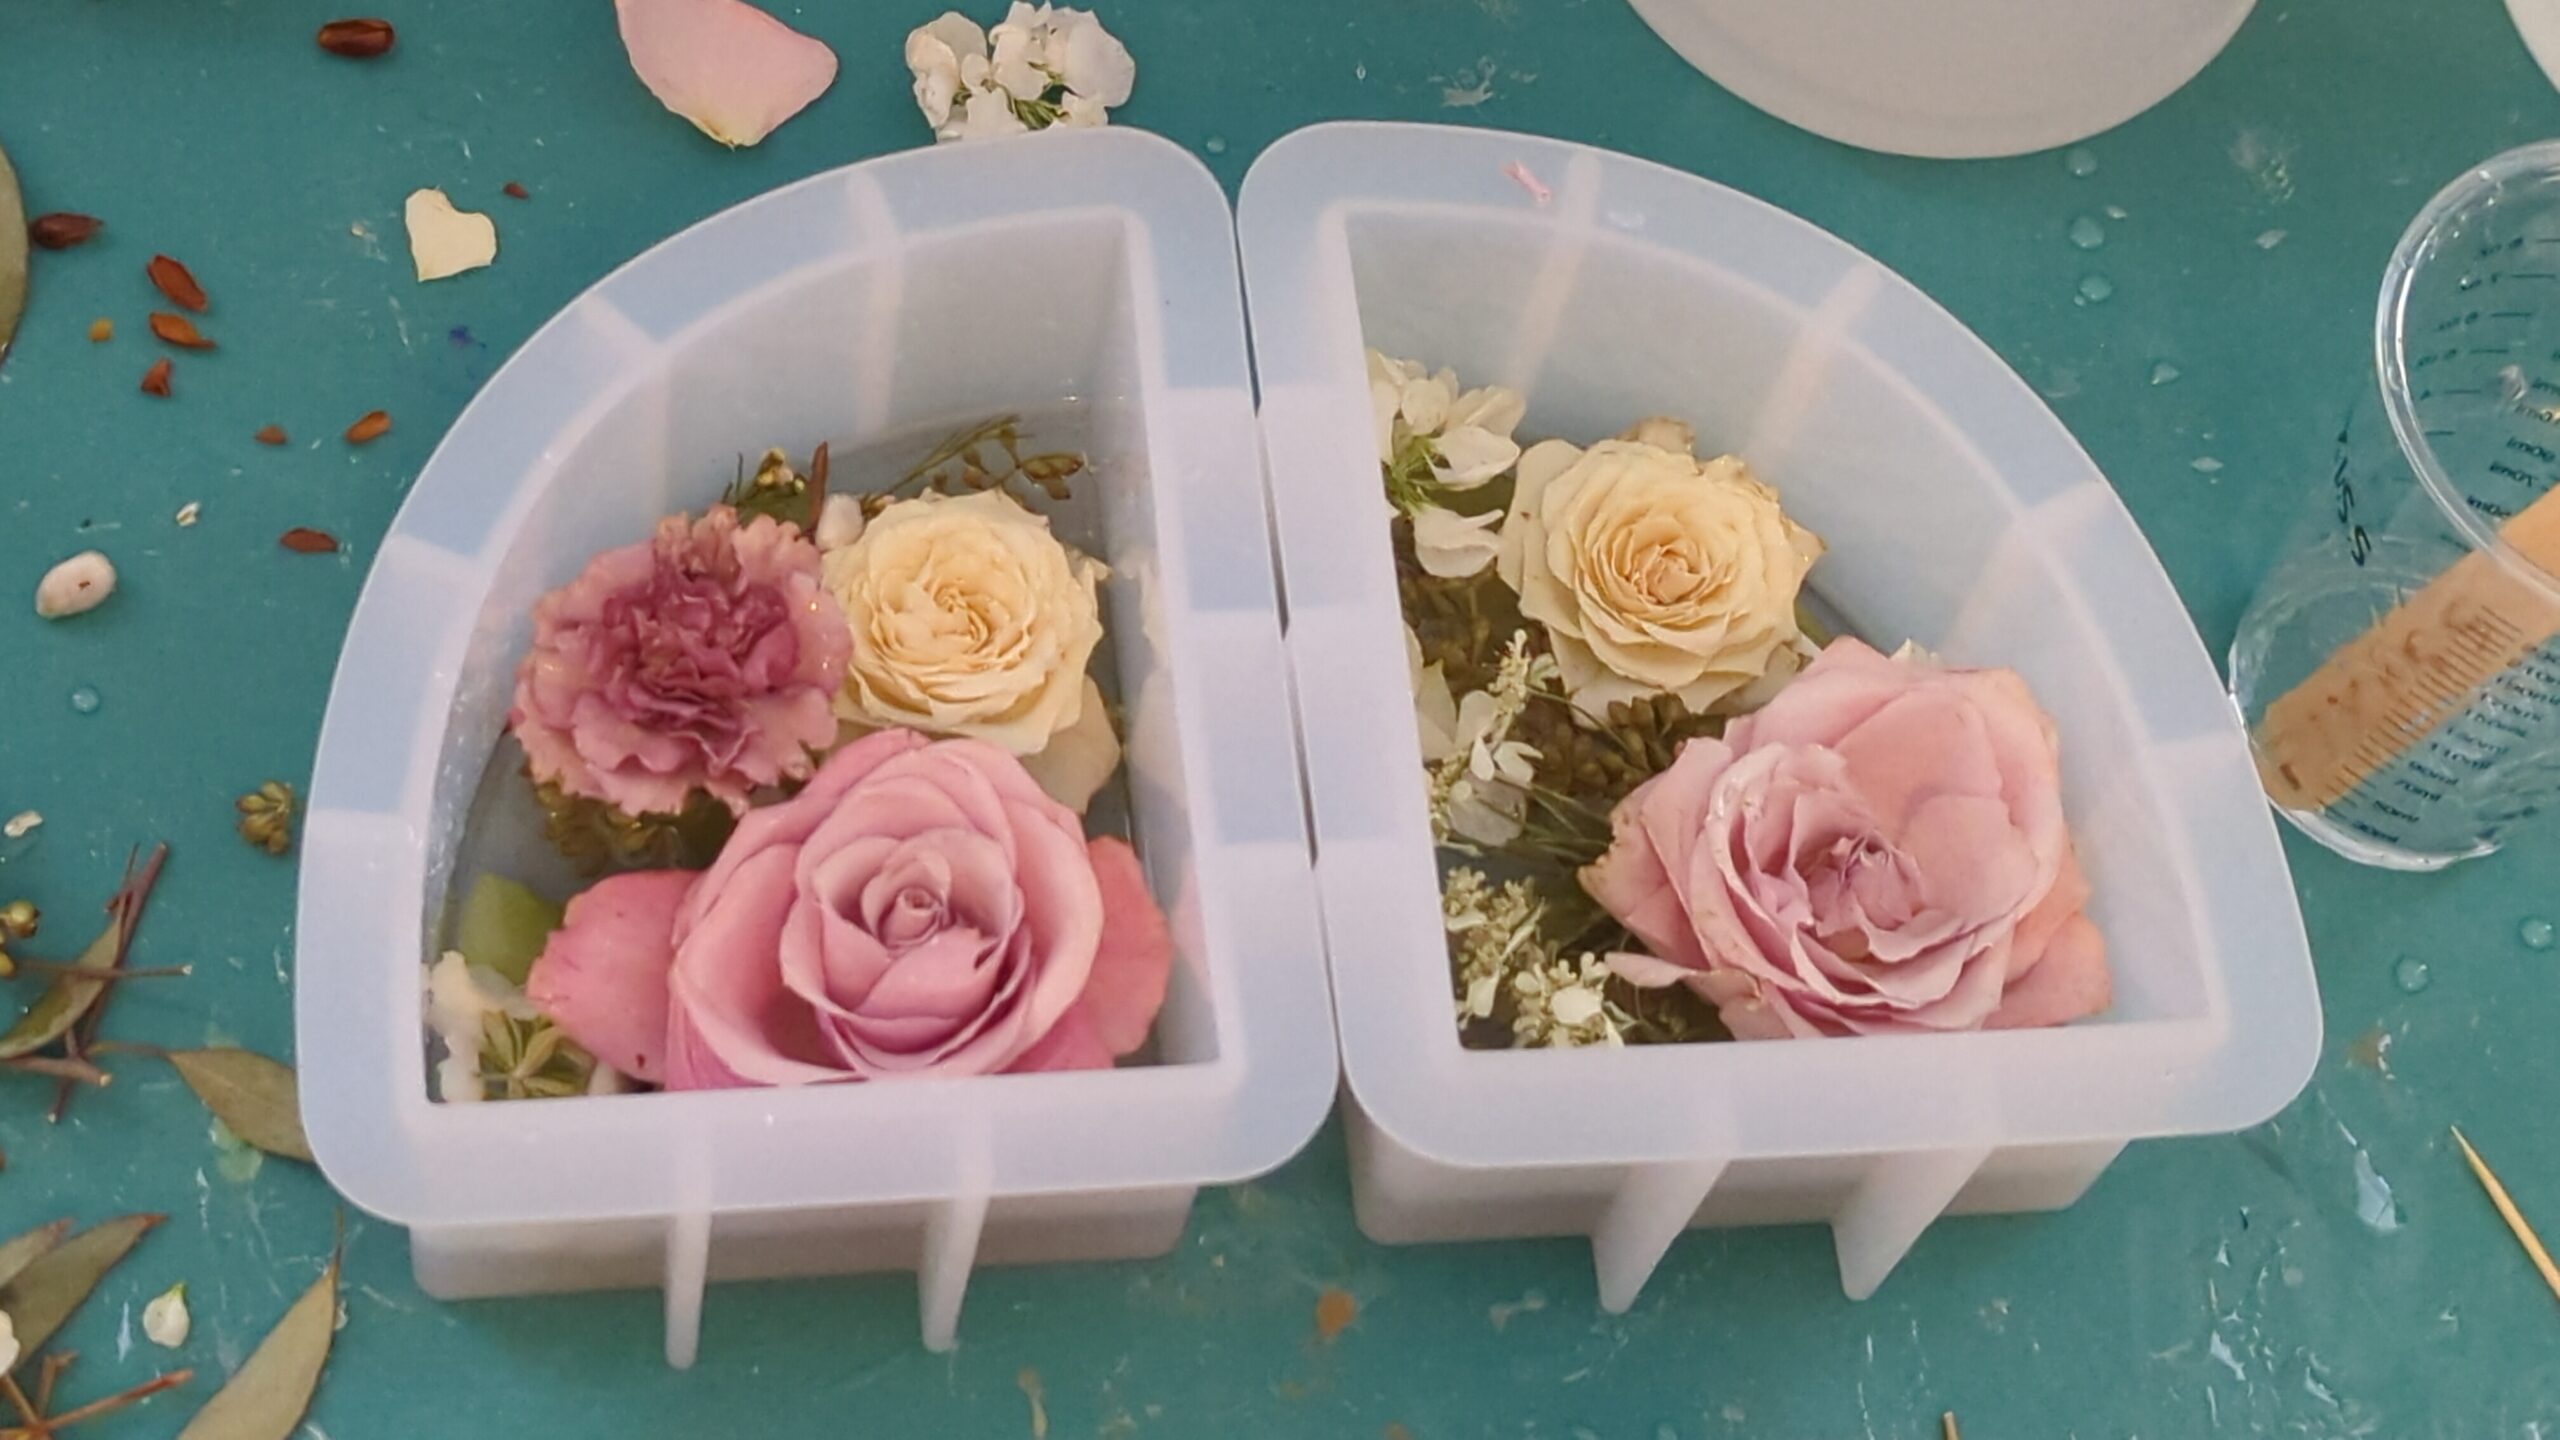
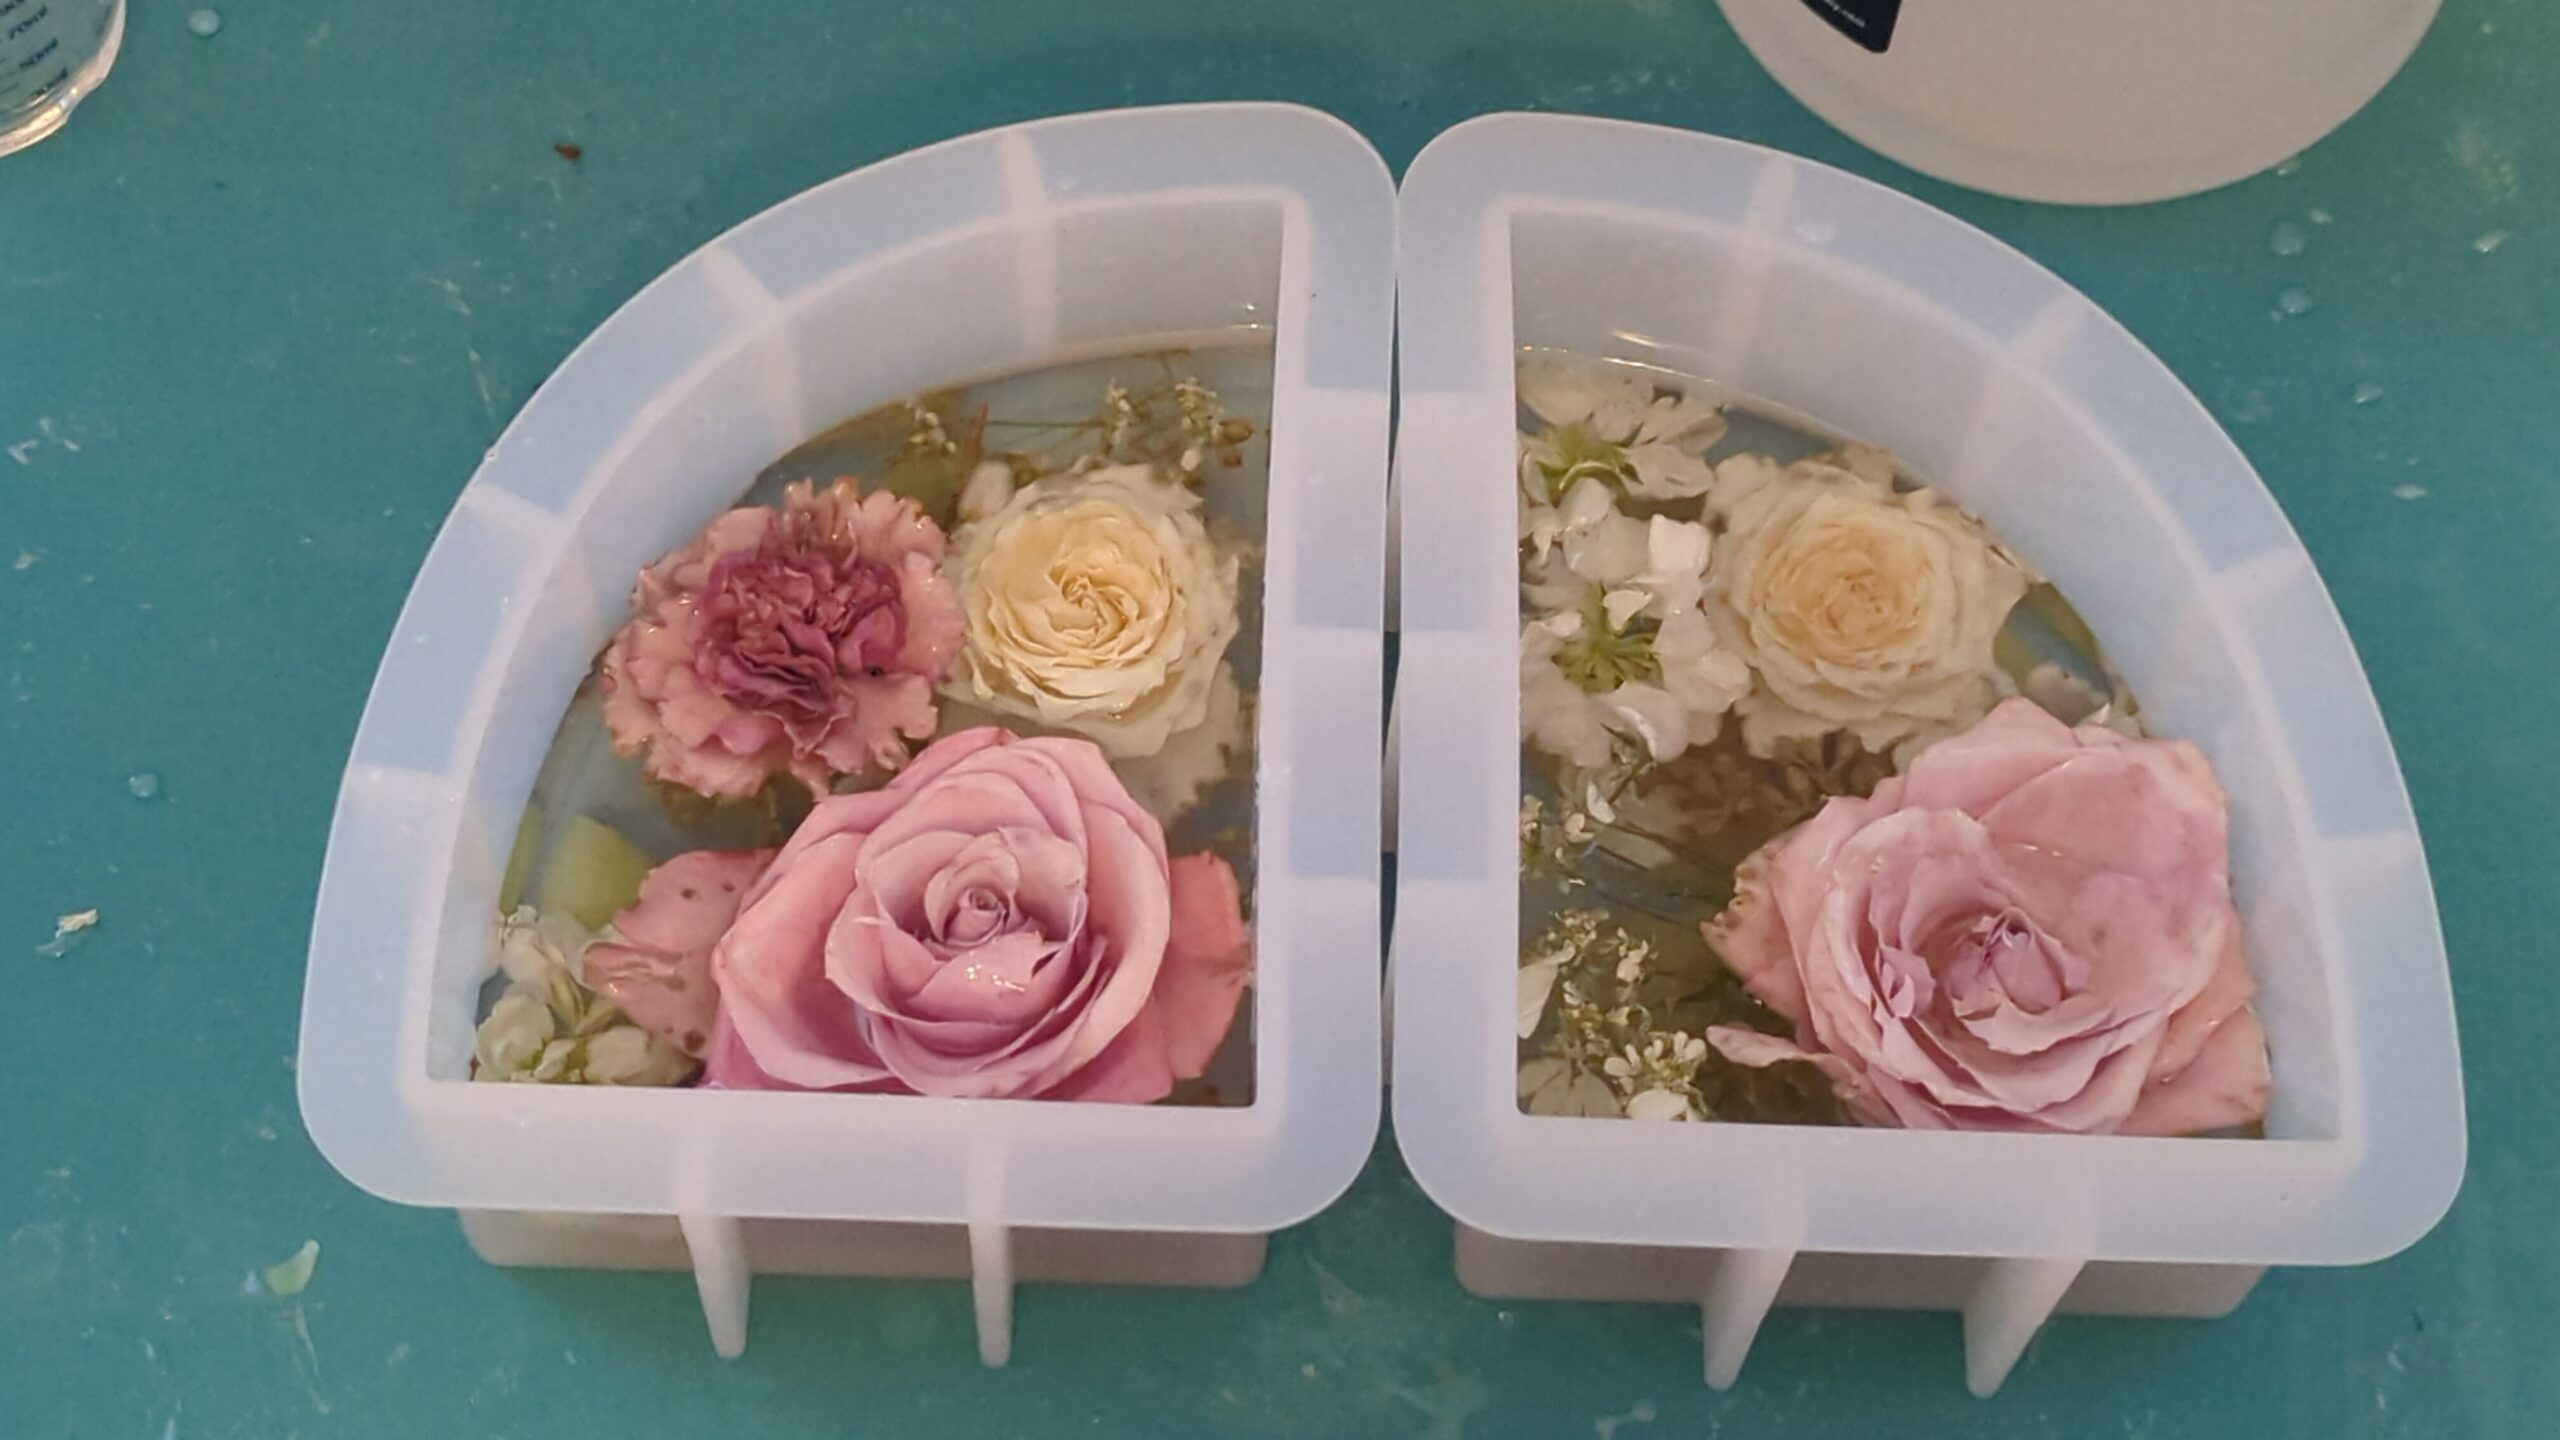
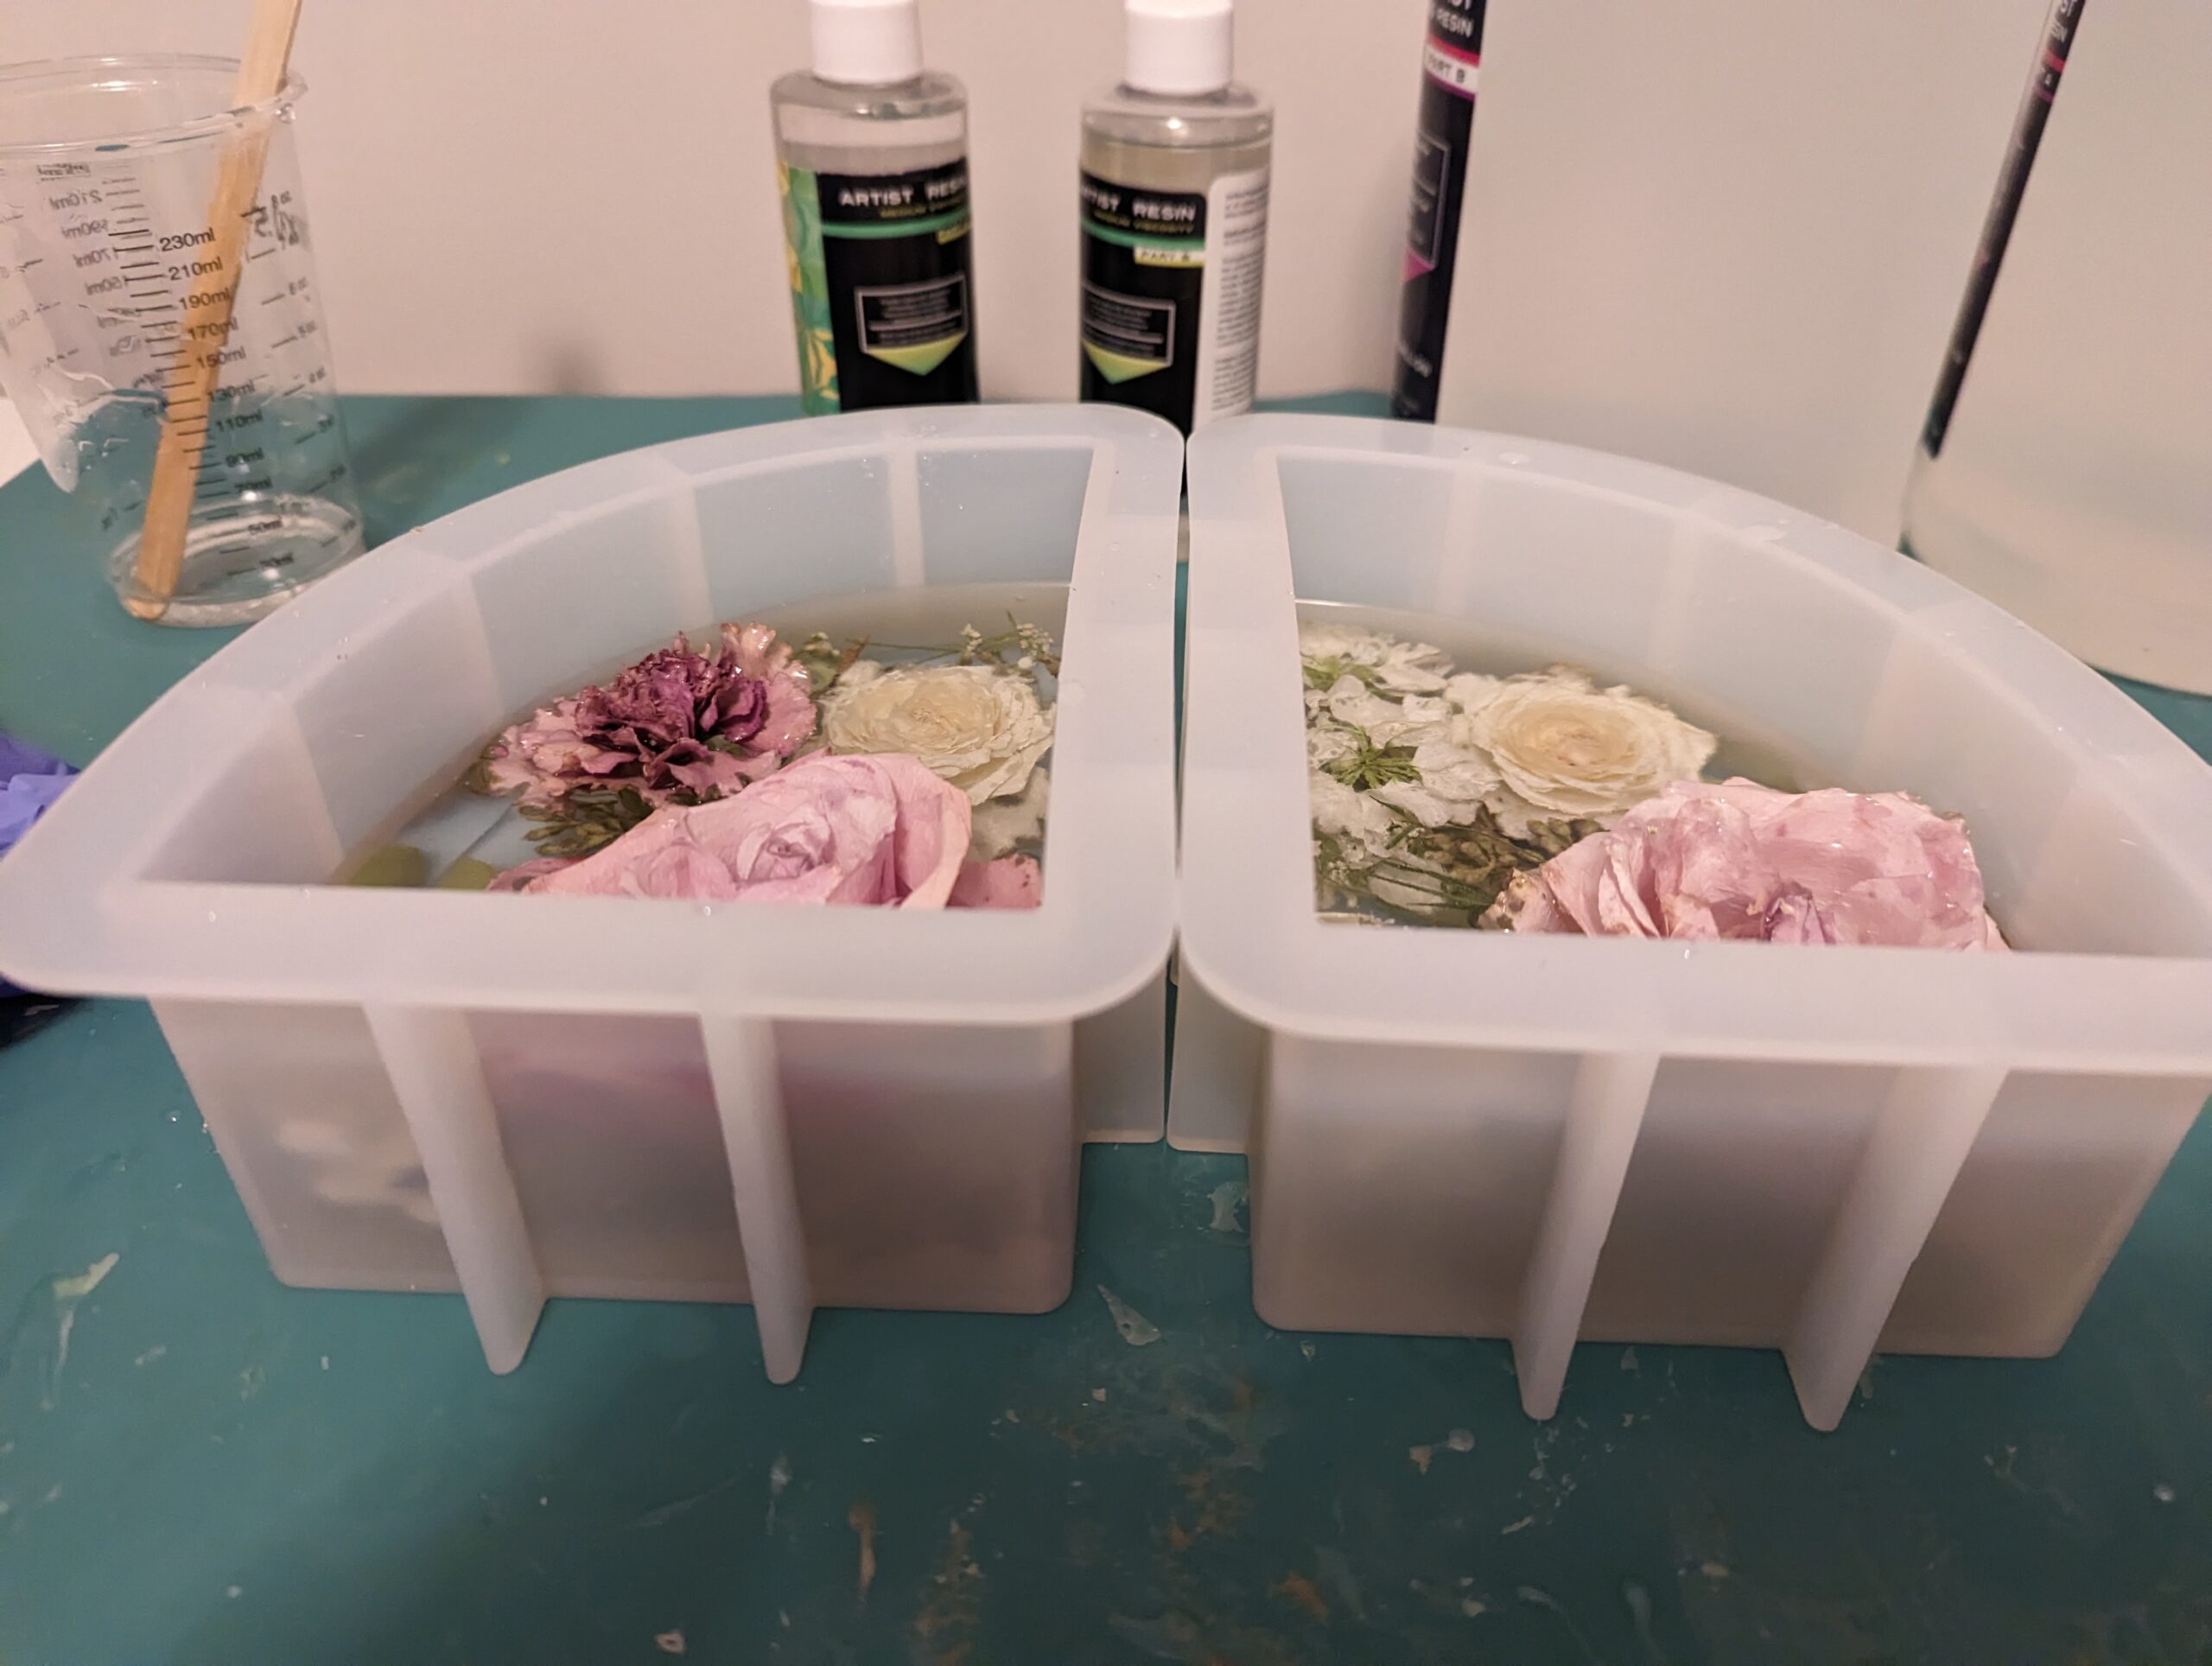
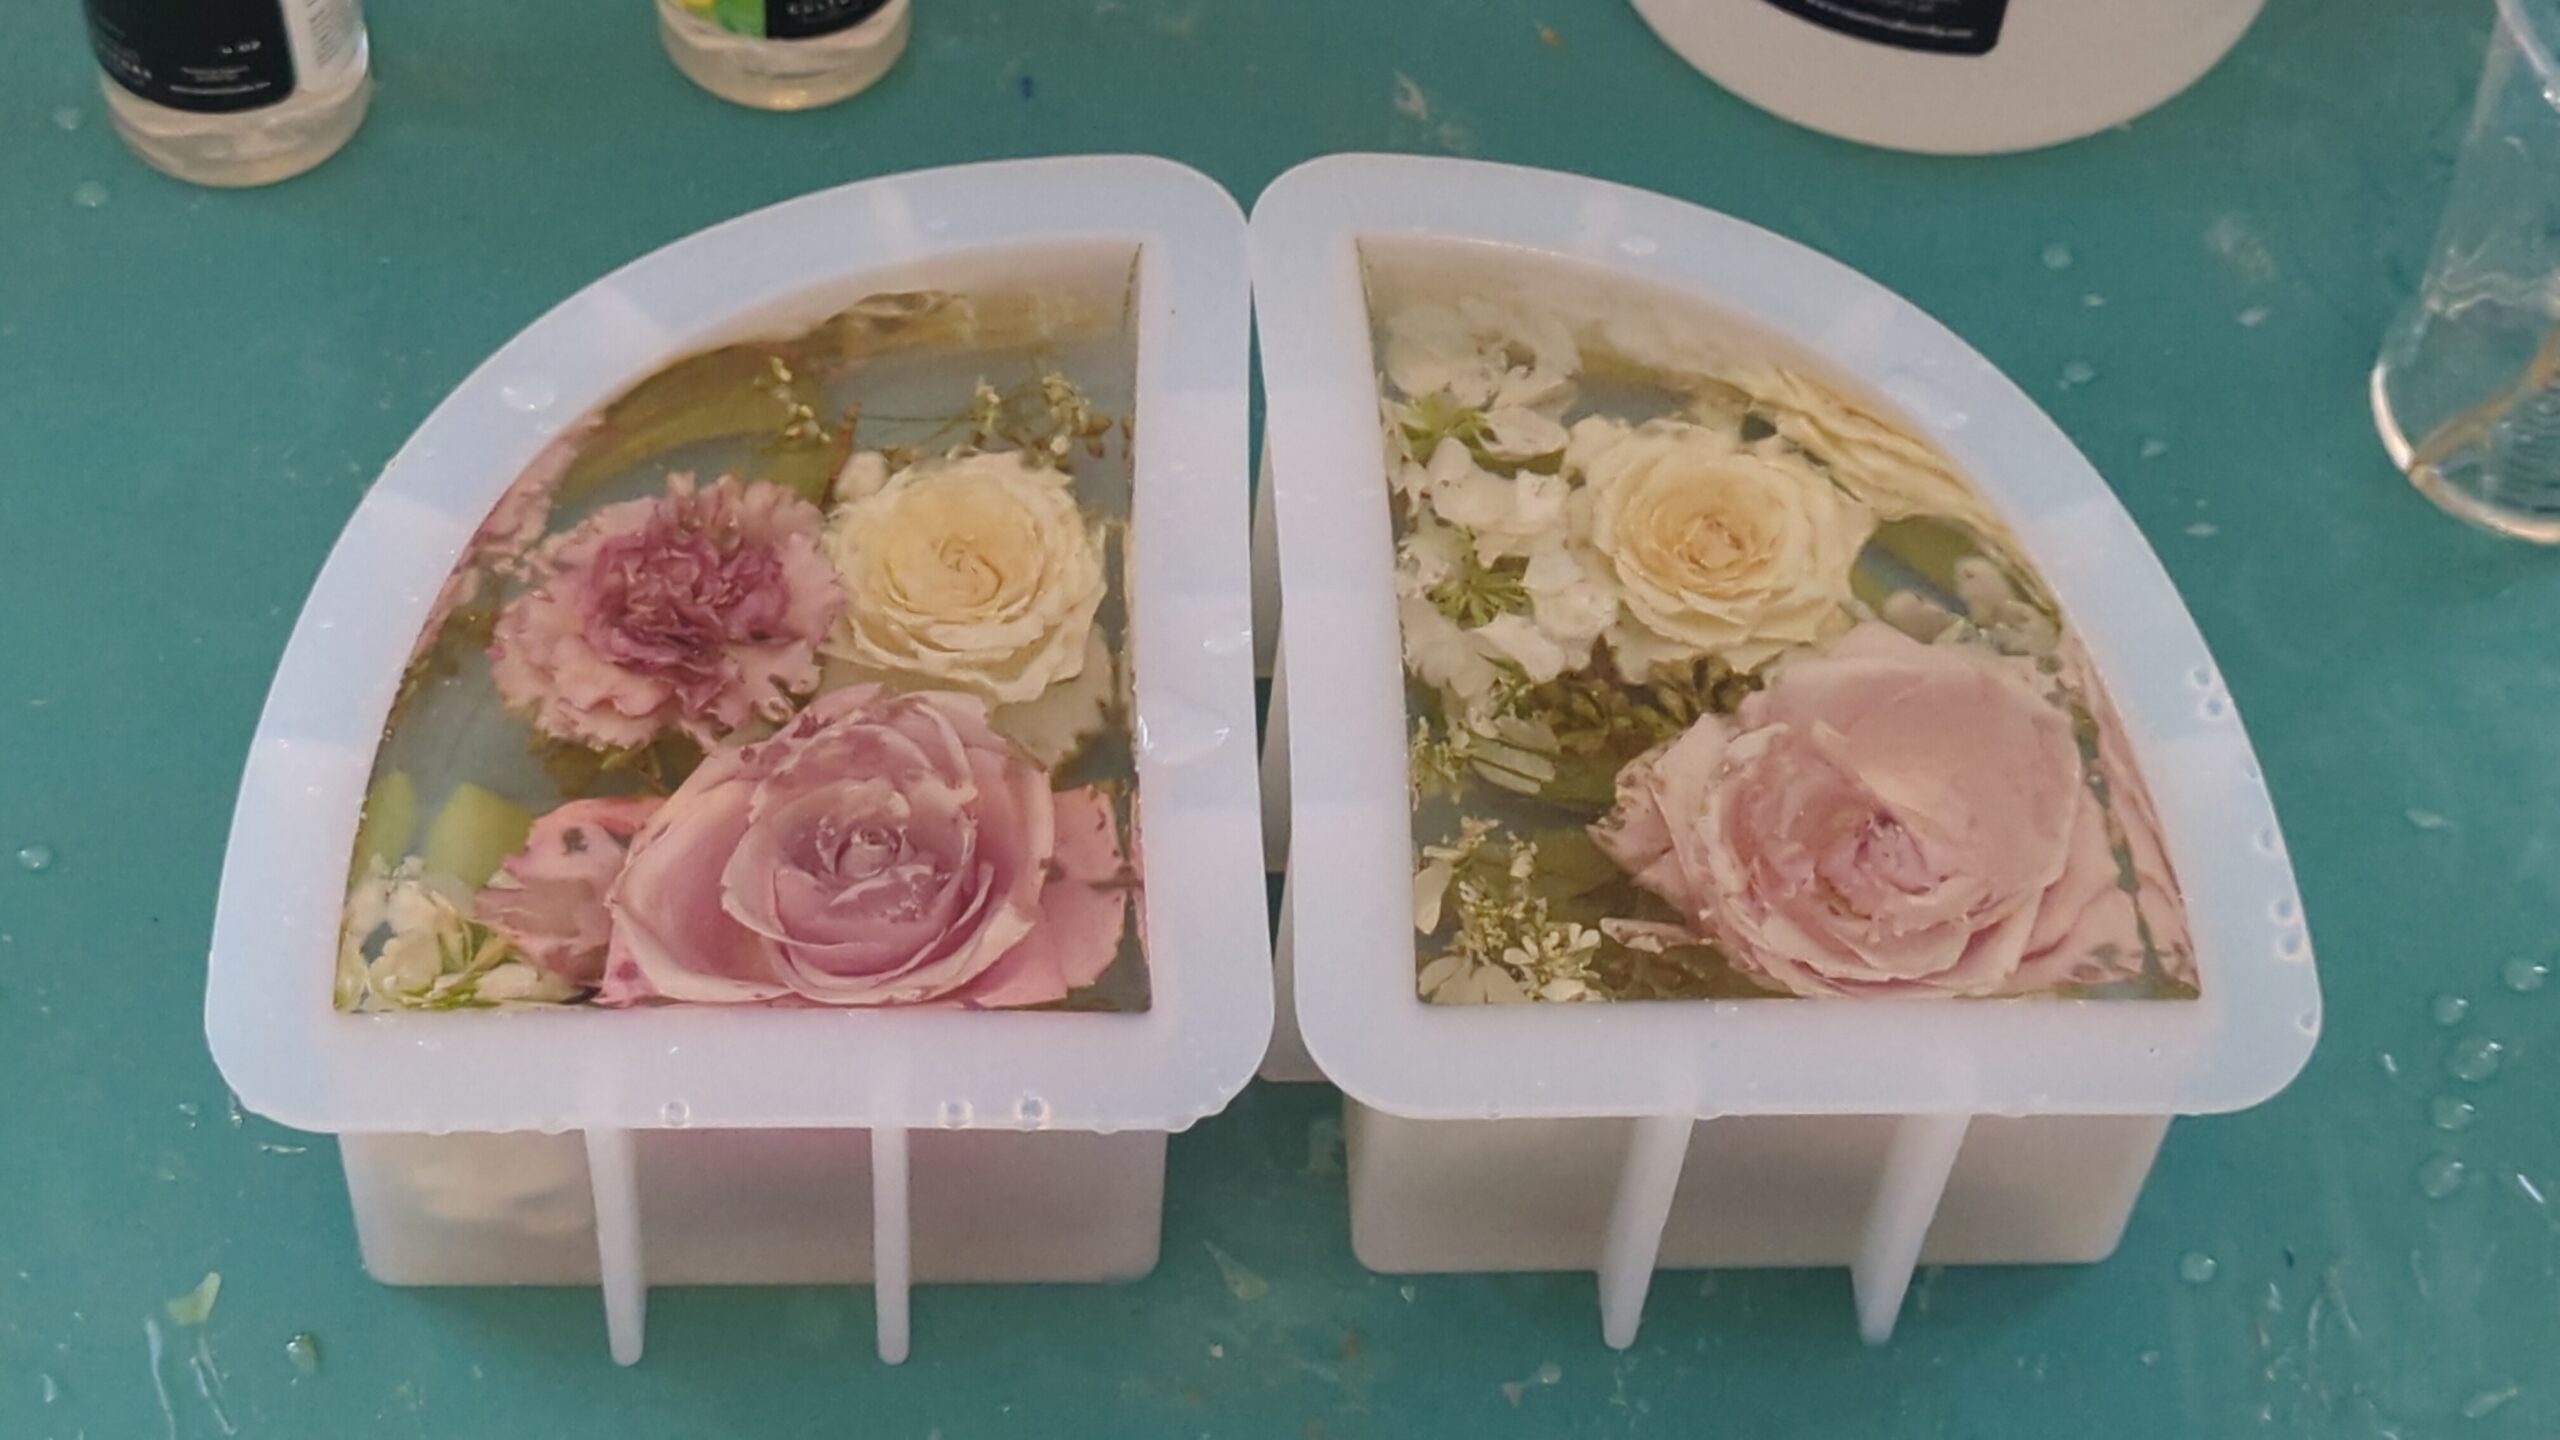
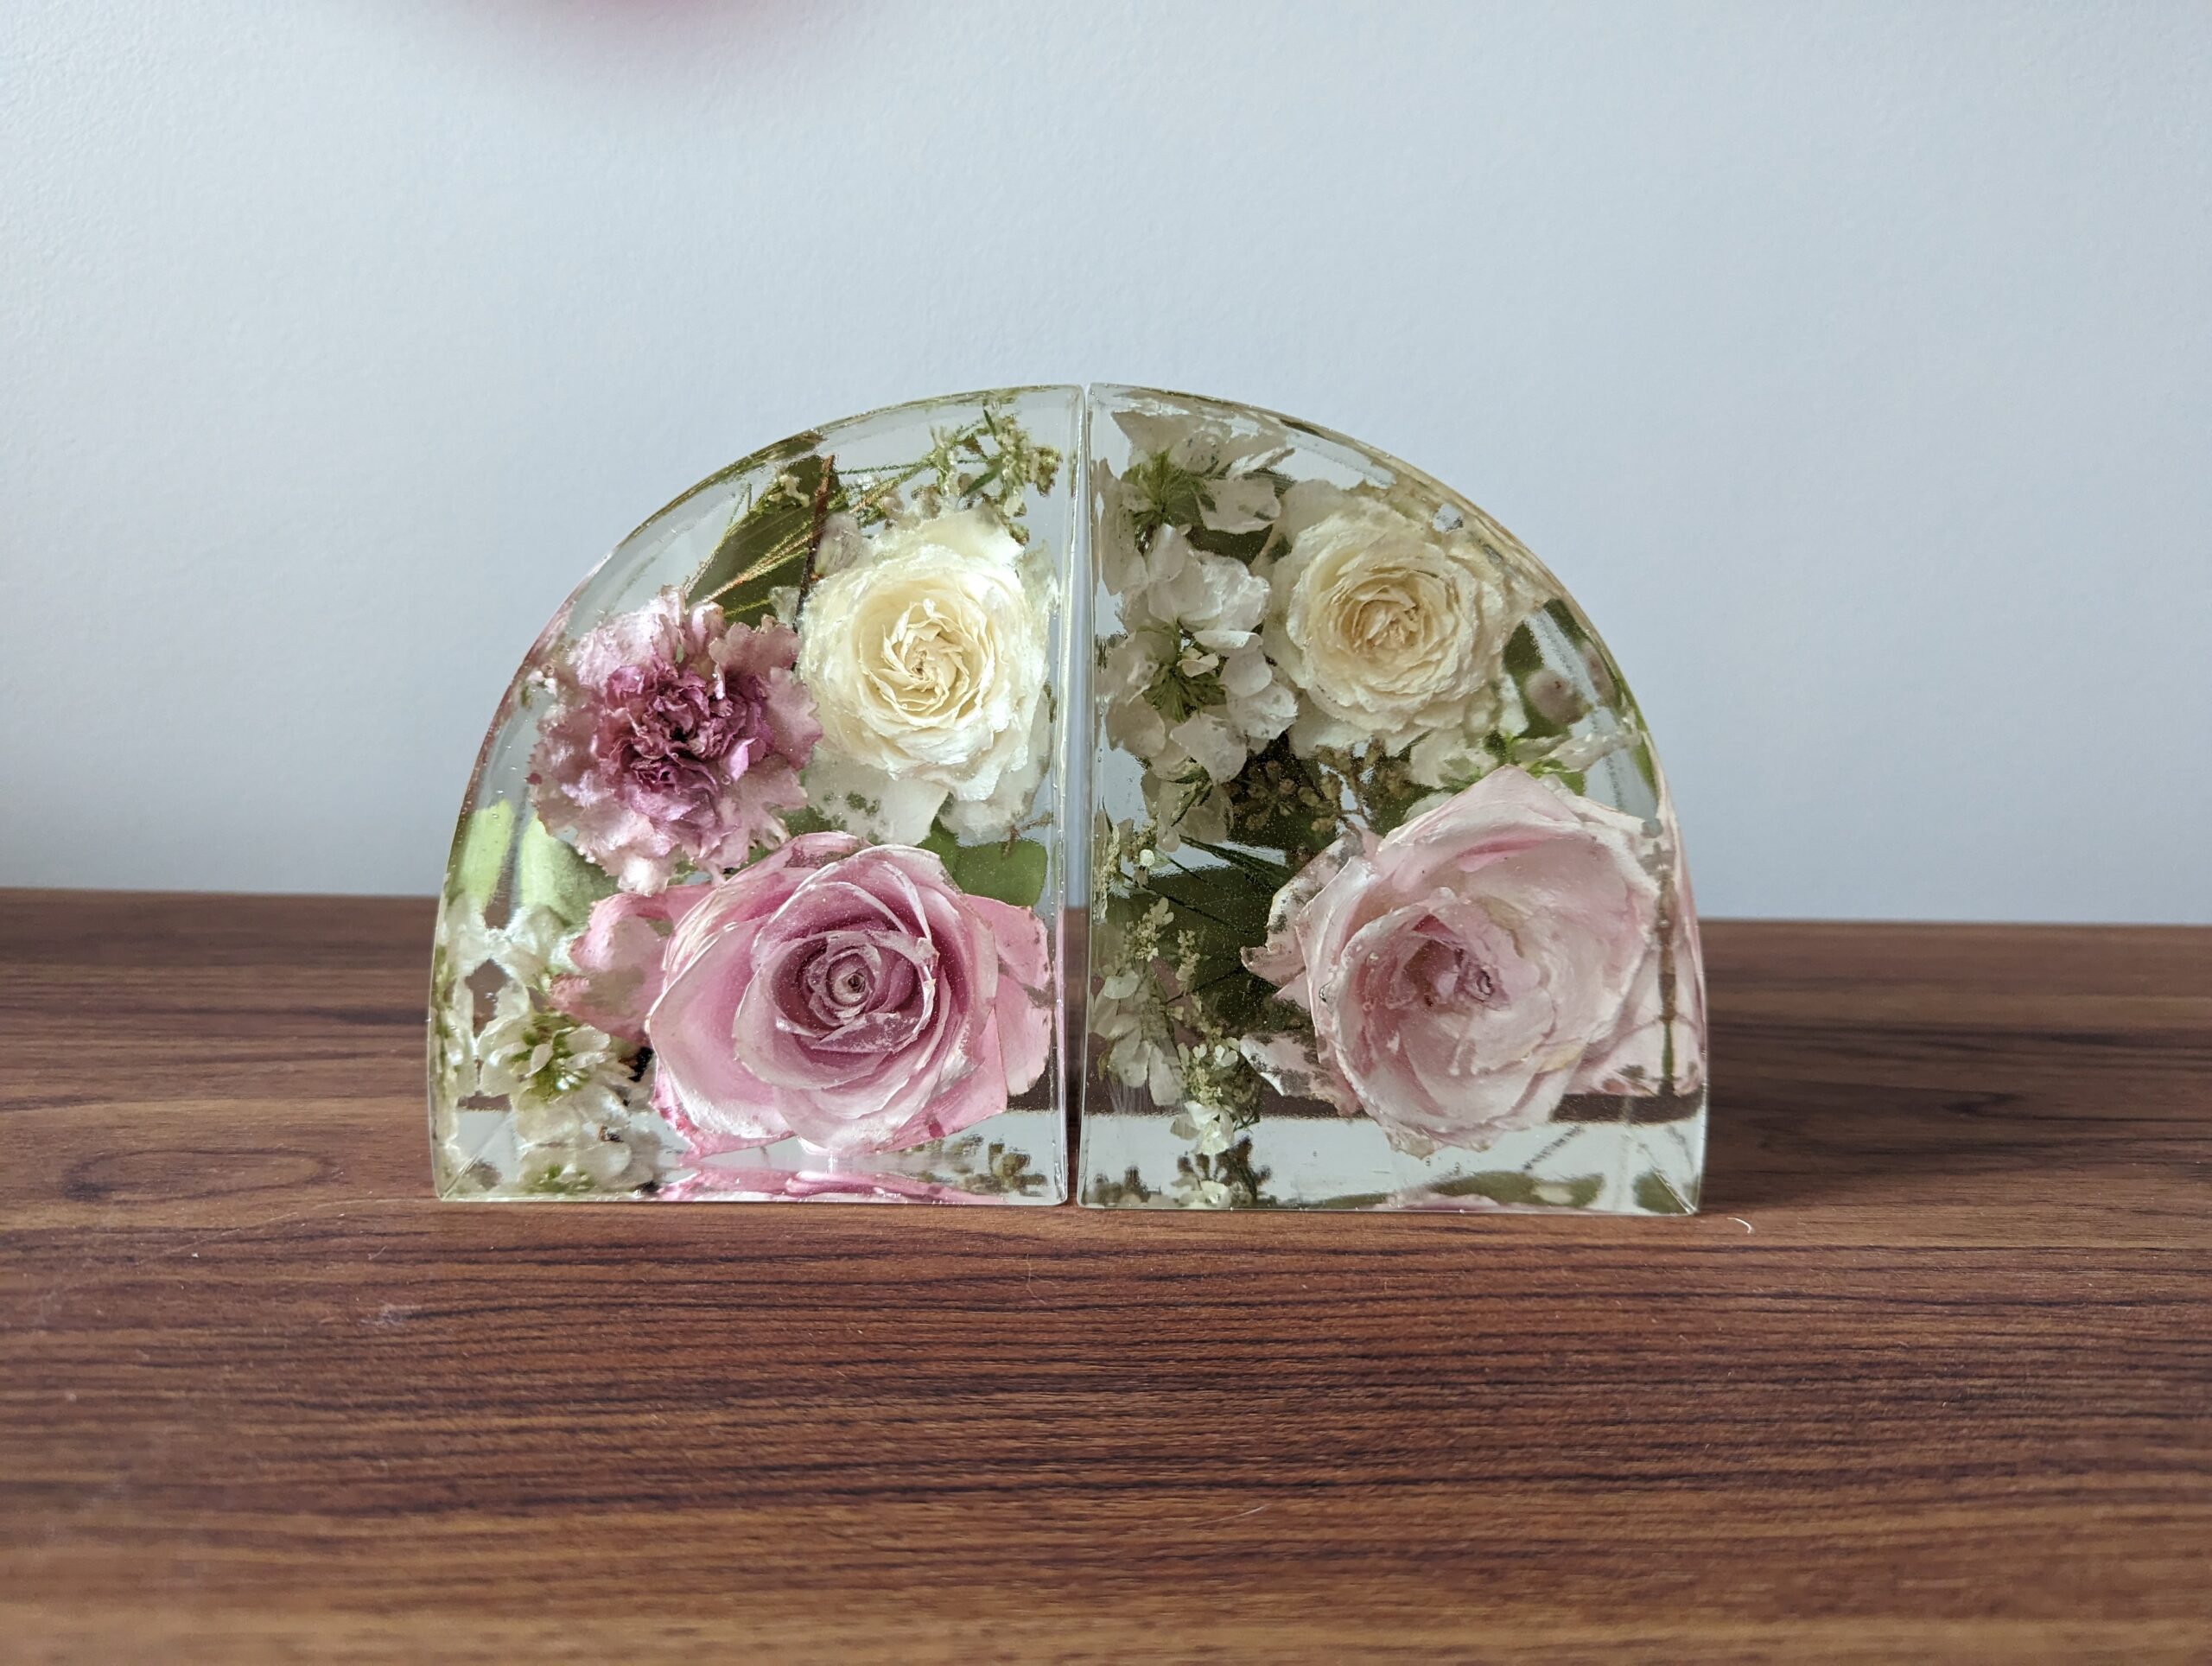
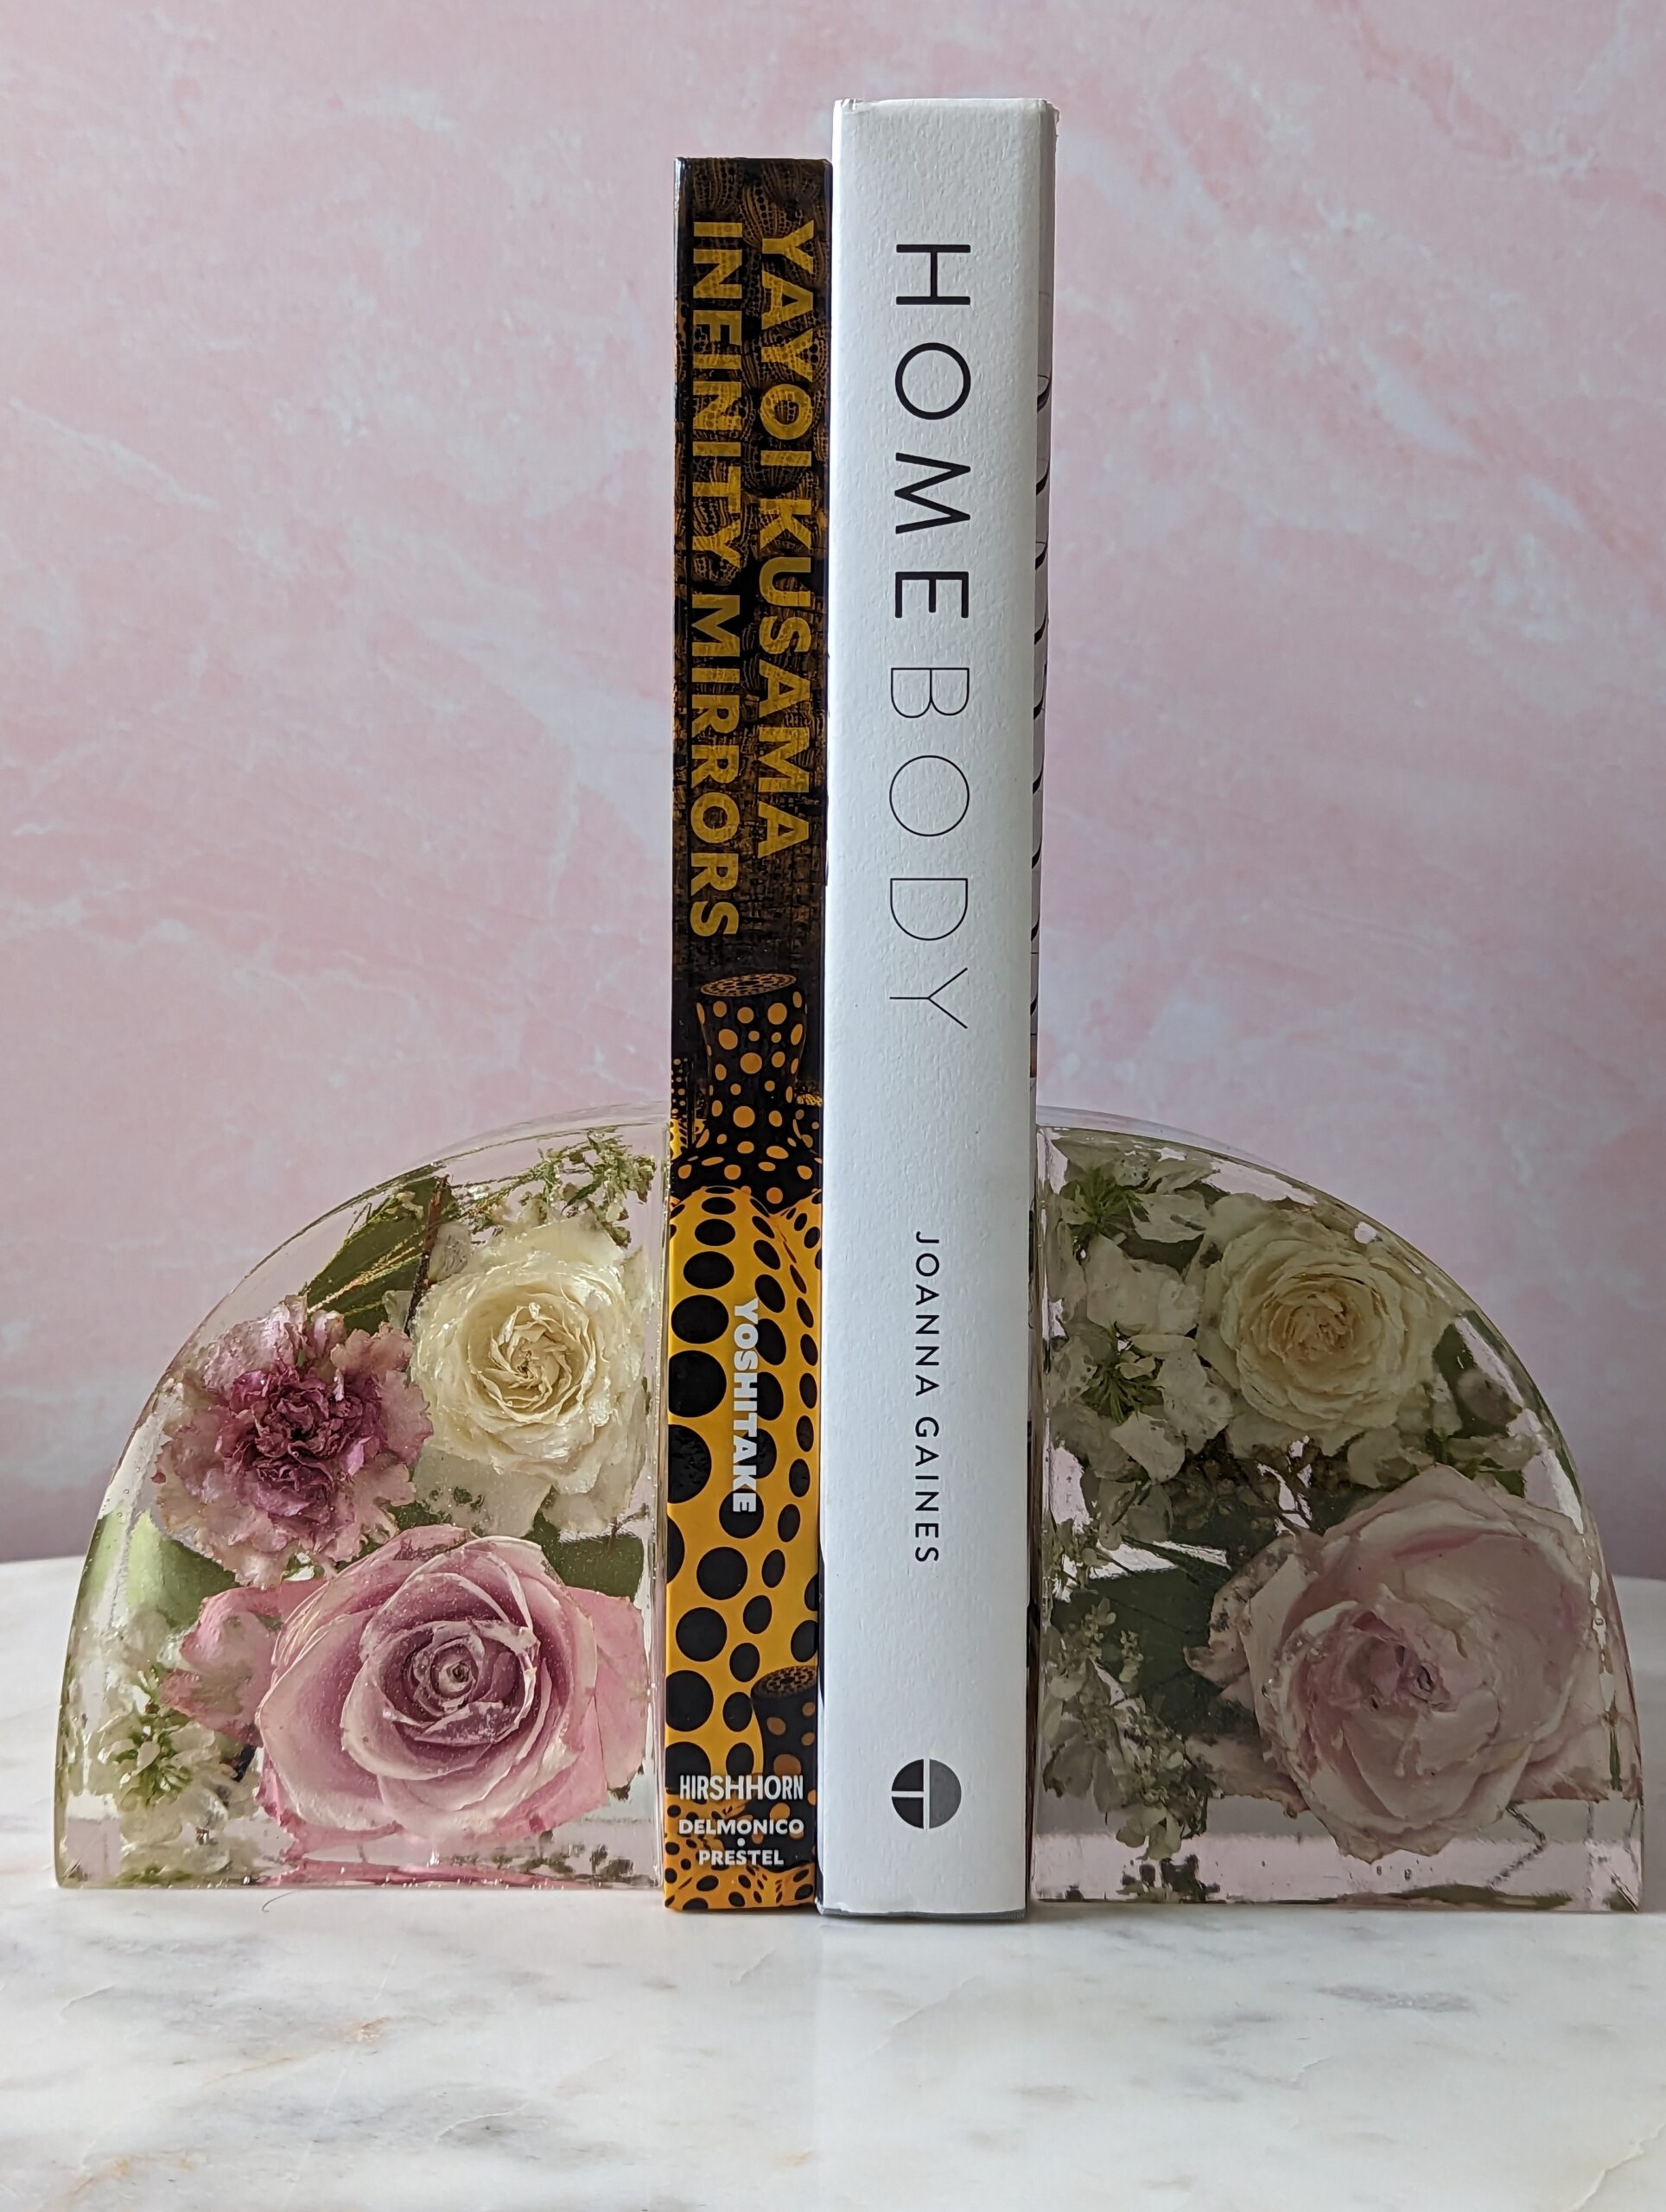
Considering preserving your bridal bouquet by having it pressed or pressing it yourself? Read on for more details!

Making your own DIY Bridesmaid Proposal Box doesn't have to be hard or expensive! Read on for tips on how to create your own without having to pay someone to do it for you!

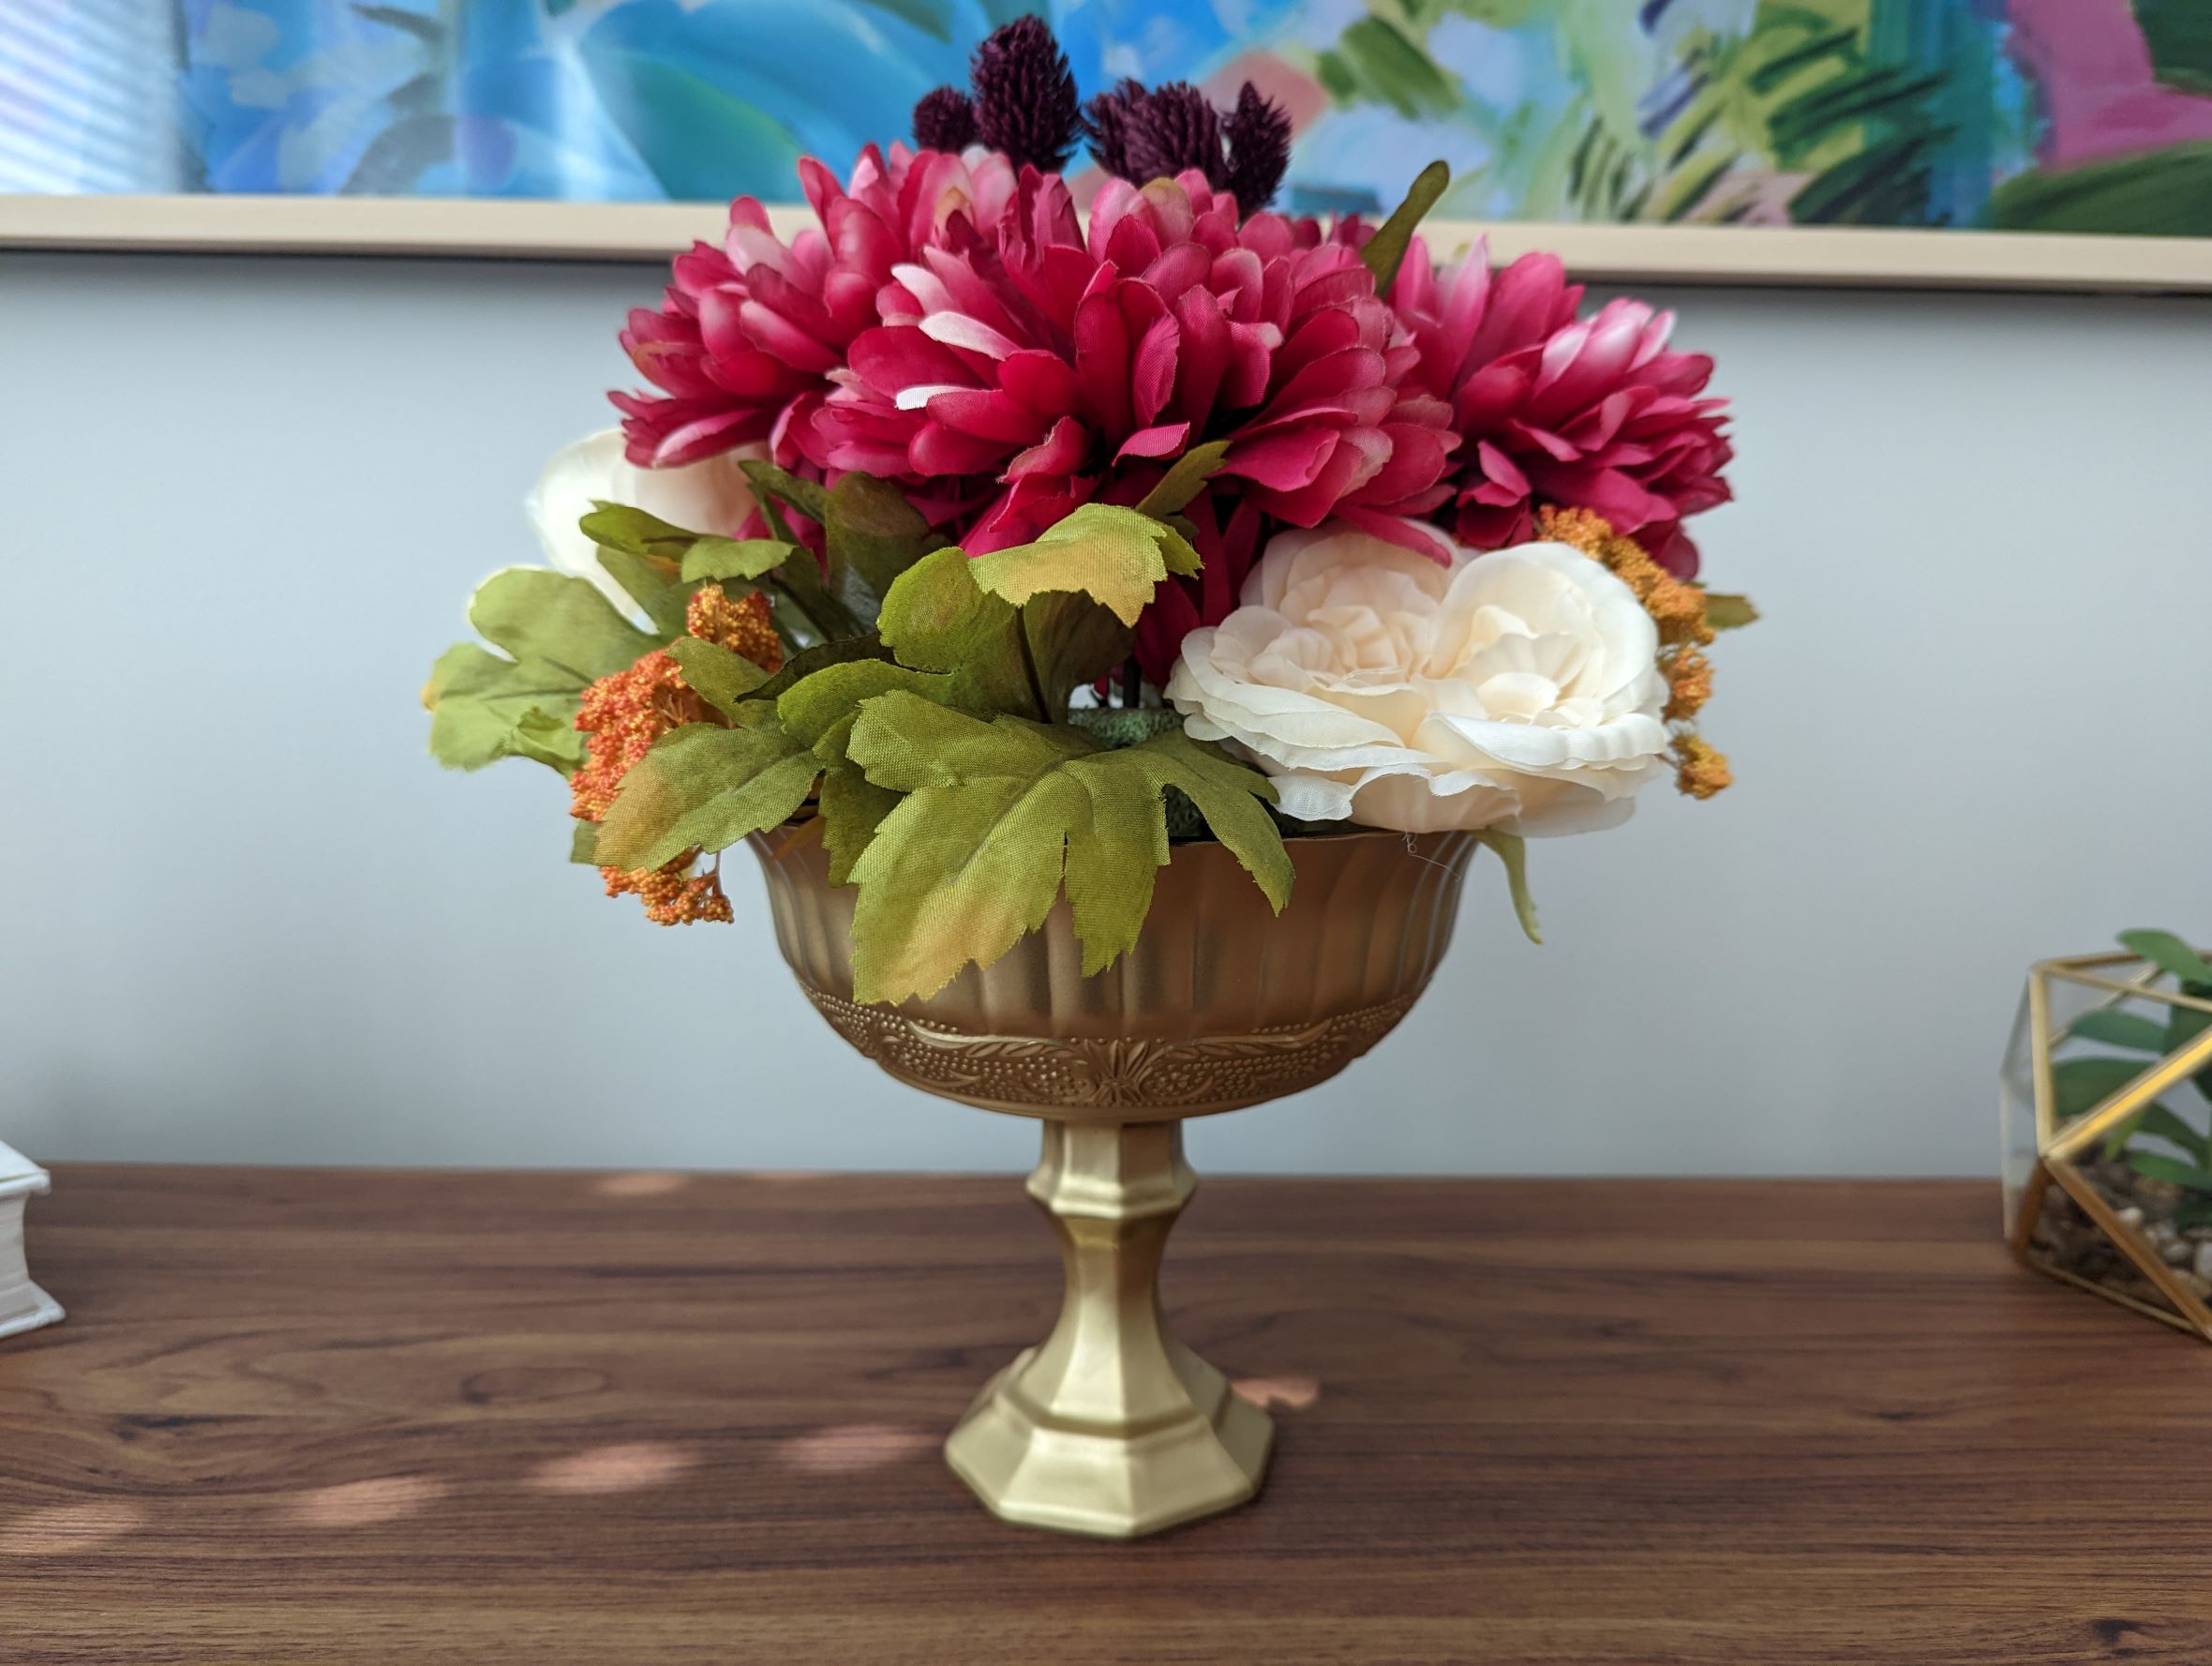
Learn how to make your own gold compote vases to use as table centerpieces!