


-
 Quick View$5.00
Disclosure: This post may contain affiliate links, meaning I get a small commission if you decide to make a purchase through my links. This is at no cost to you.
If you’re willing to DIY a little, you can save a lot of money by making your own wedding centerpiece vase or compote. Even better, you can sell it for a profit when you’re done!
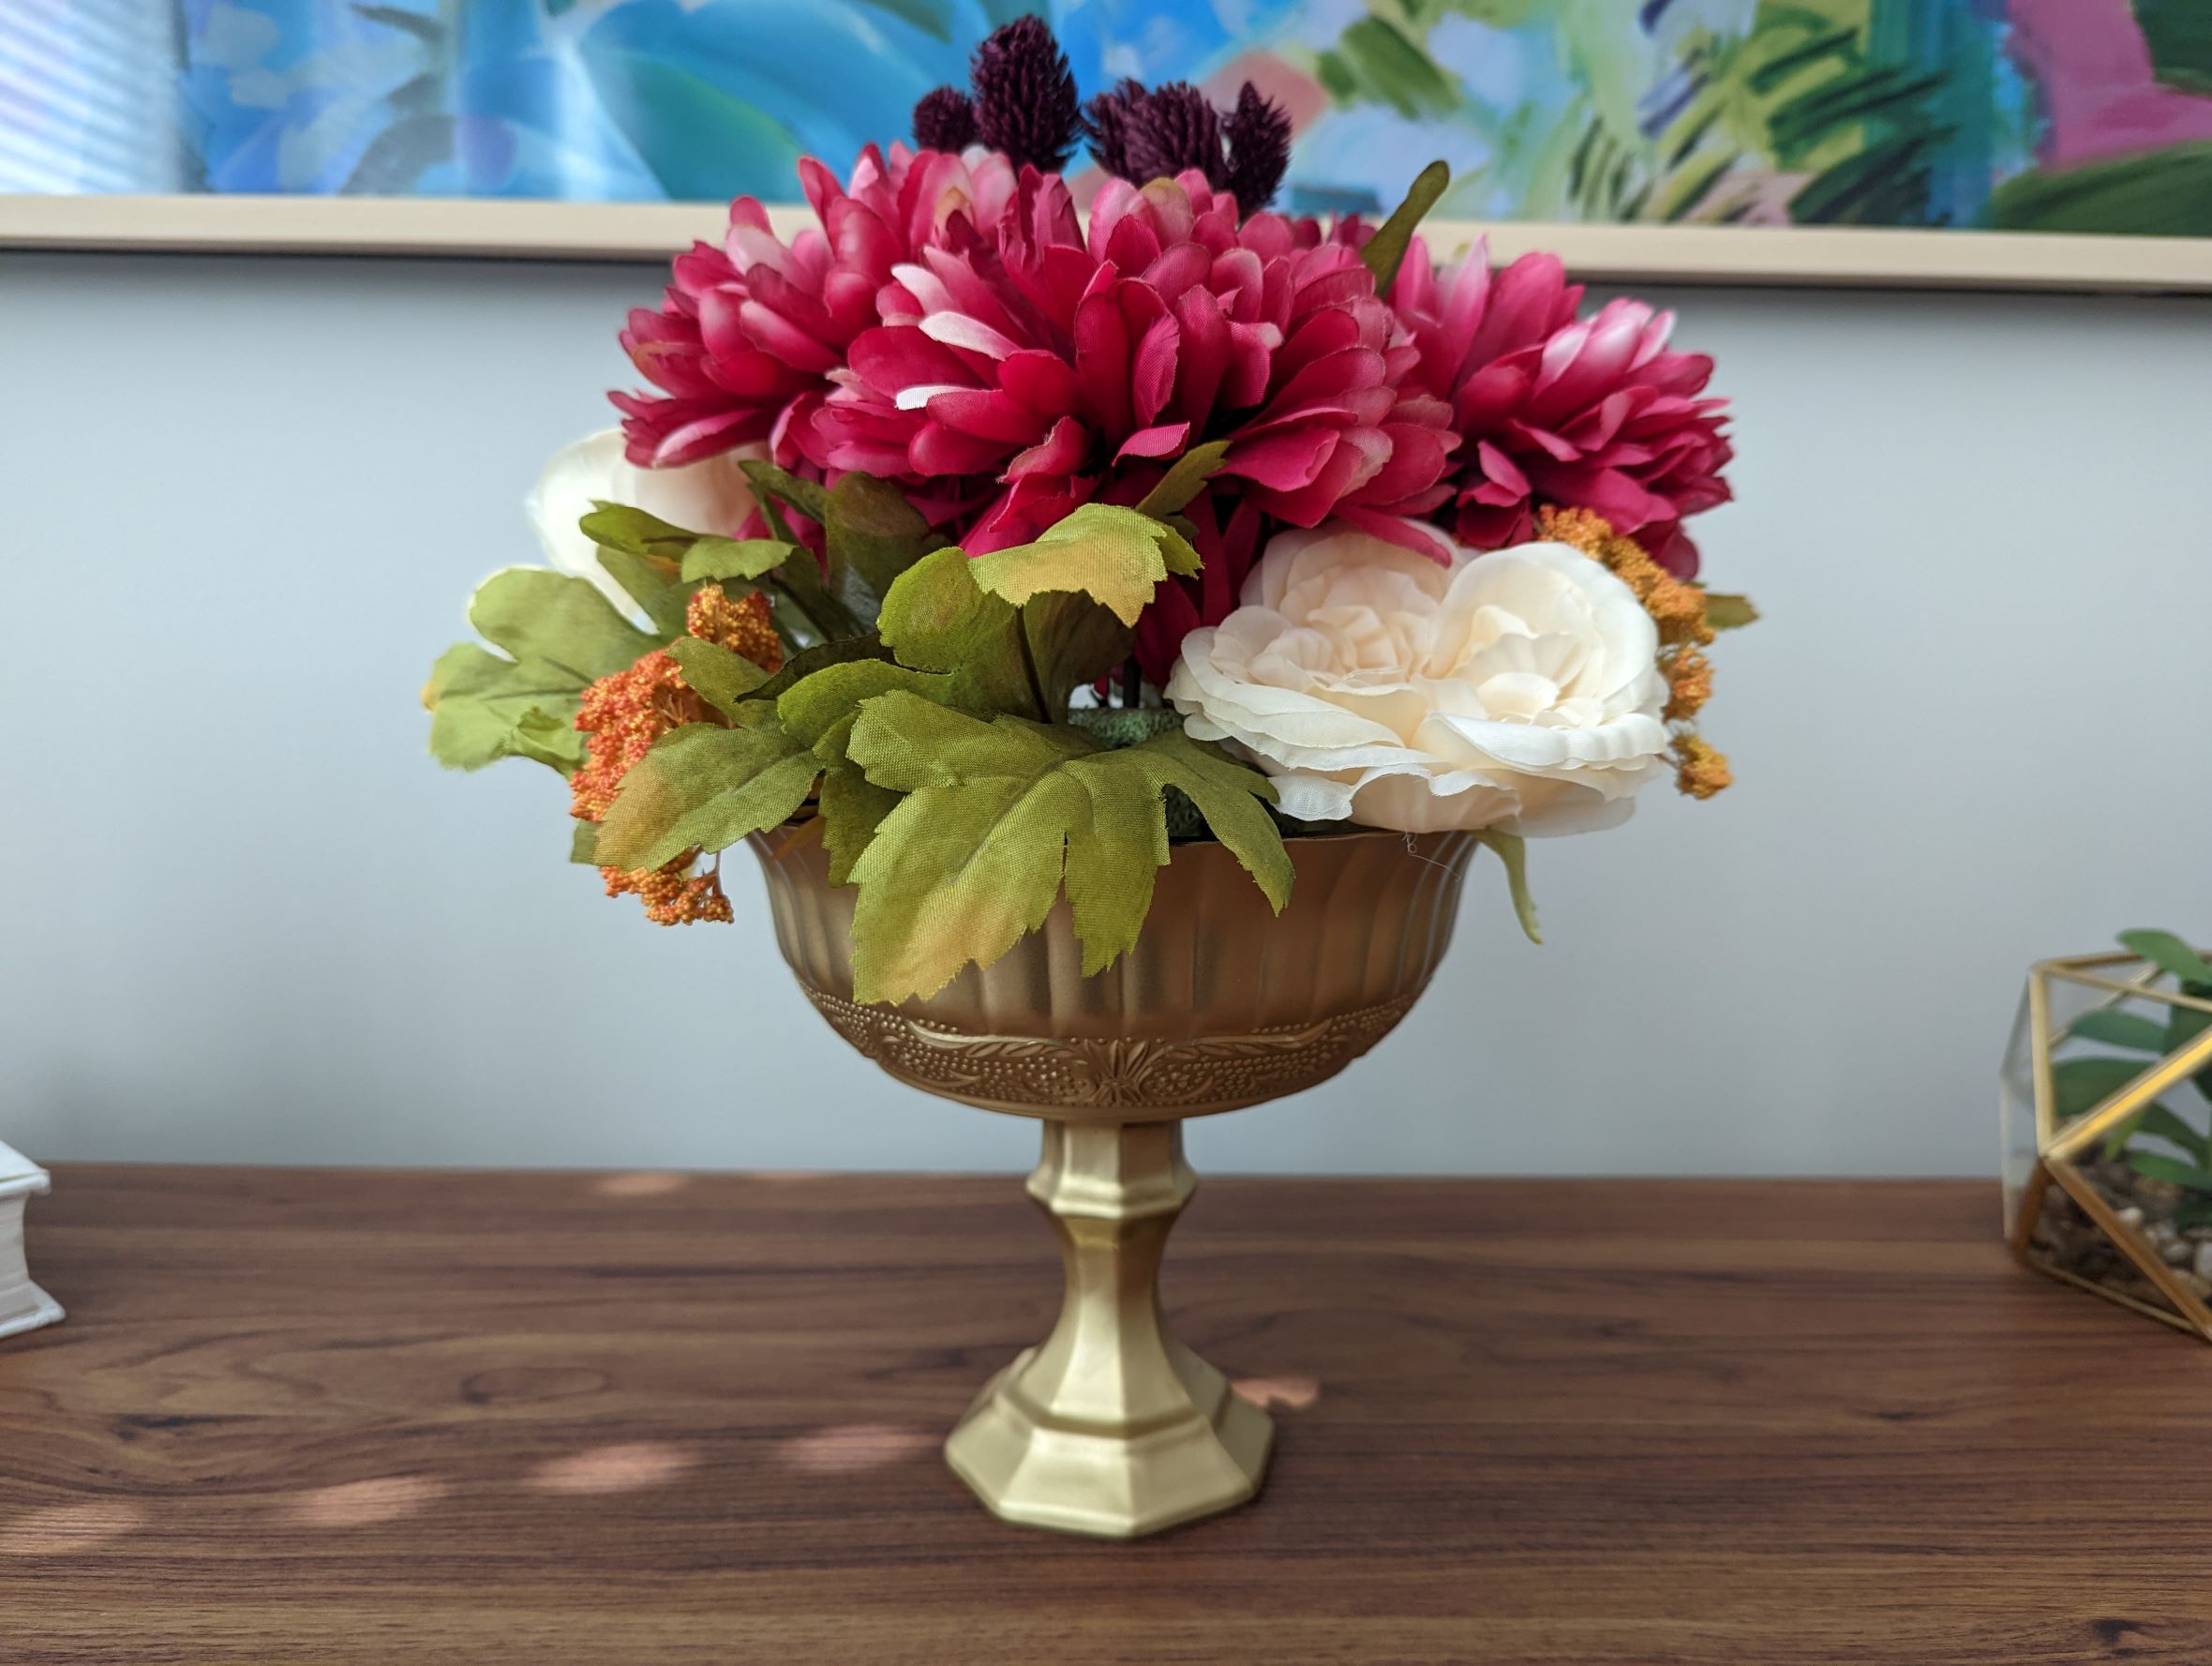
I spent a lot of time online looking for inspiring table settings that would trigger a desire in me to replicate it for my own wedding. Once I stumbled upon a gold compote vase, I knew it was meant to be. These pedestal vases are so elegant and charming. I couldn’t believe they were going for $19 a pop on Etsy. A floral budget will quickly skyrocket when you start adding in all the various vessels. I questioned how the sellers were making these and after some digging, realized they were just using some stuff from the Dollar Tree. Off I went on my quest to replicate these compotes and save some money!!
Follow these steps for painting your glass bowl and candle stick holder.
Once you are satisfied with your paint job (double check that you can’t see through it and it looks good), it’s time to affix the candle stick holder to the bowl!
1. Turn your bowl upside down.
2. Draw a bead of the glue around the rim of the candle stick holder.
3. Draw a bead of glue on the base of the bowl (around where the candle stick will be affixed – test this out first).
4. Secure the candle stick to the bowl, ensuring it’s centered properly.
5. Let it dry and cure for at least 24 hours (check glue label).
After Googling how to cure paint, I decided to bake my bowl and candle stick (before I secured them with glue). I put them in the oven at 350 degrees F for 30 minutes. This is the color they were when I took them out:
Moreover, they had a really weird texture to them that was very irritating on my hands.
Needless to say, I do NOT recommend curing these in the oven. Learn from my mistake! I ended up re-doing these so they are now the appropriate bright, shiny gold I intended for them. However, since I am only painting the outside of the bowl, the inside still shows darker (as per the photos above). That’s okay, because no one is going to see the inside when it’s full of beautiful flowers!
The best way to cure them is time. And a top coat doesn’t hurt either.
So that’s it!!! If you’ve tackled this project, I’d love to see your results in the comments! Happy DIYing!!
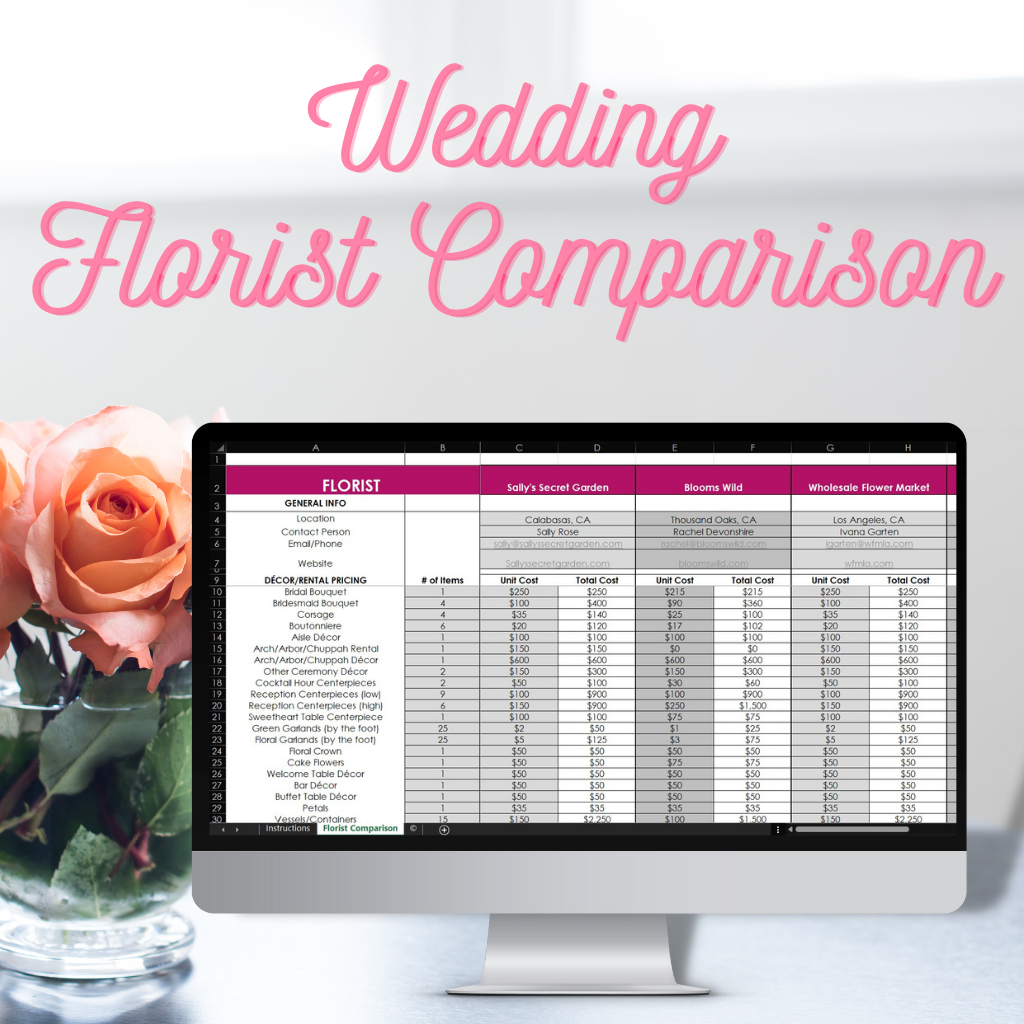
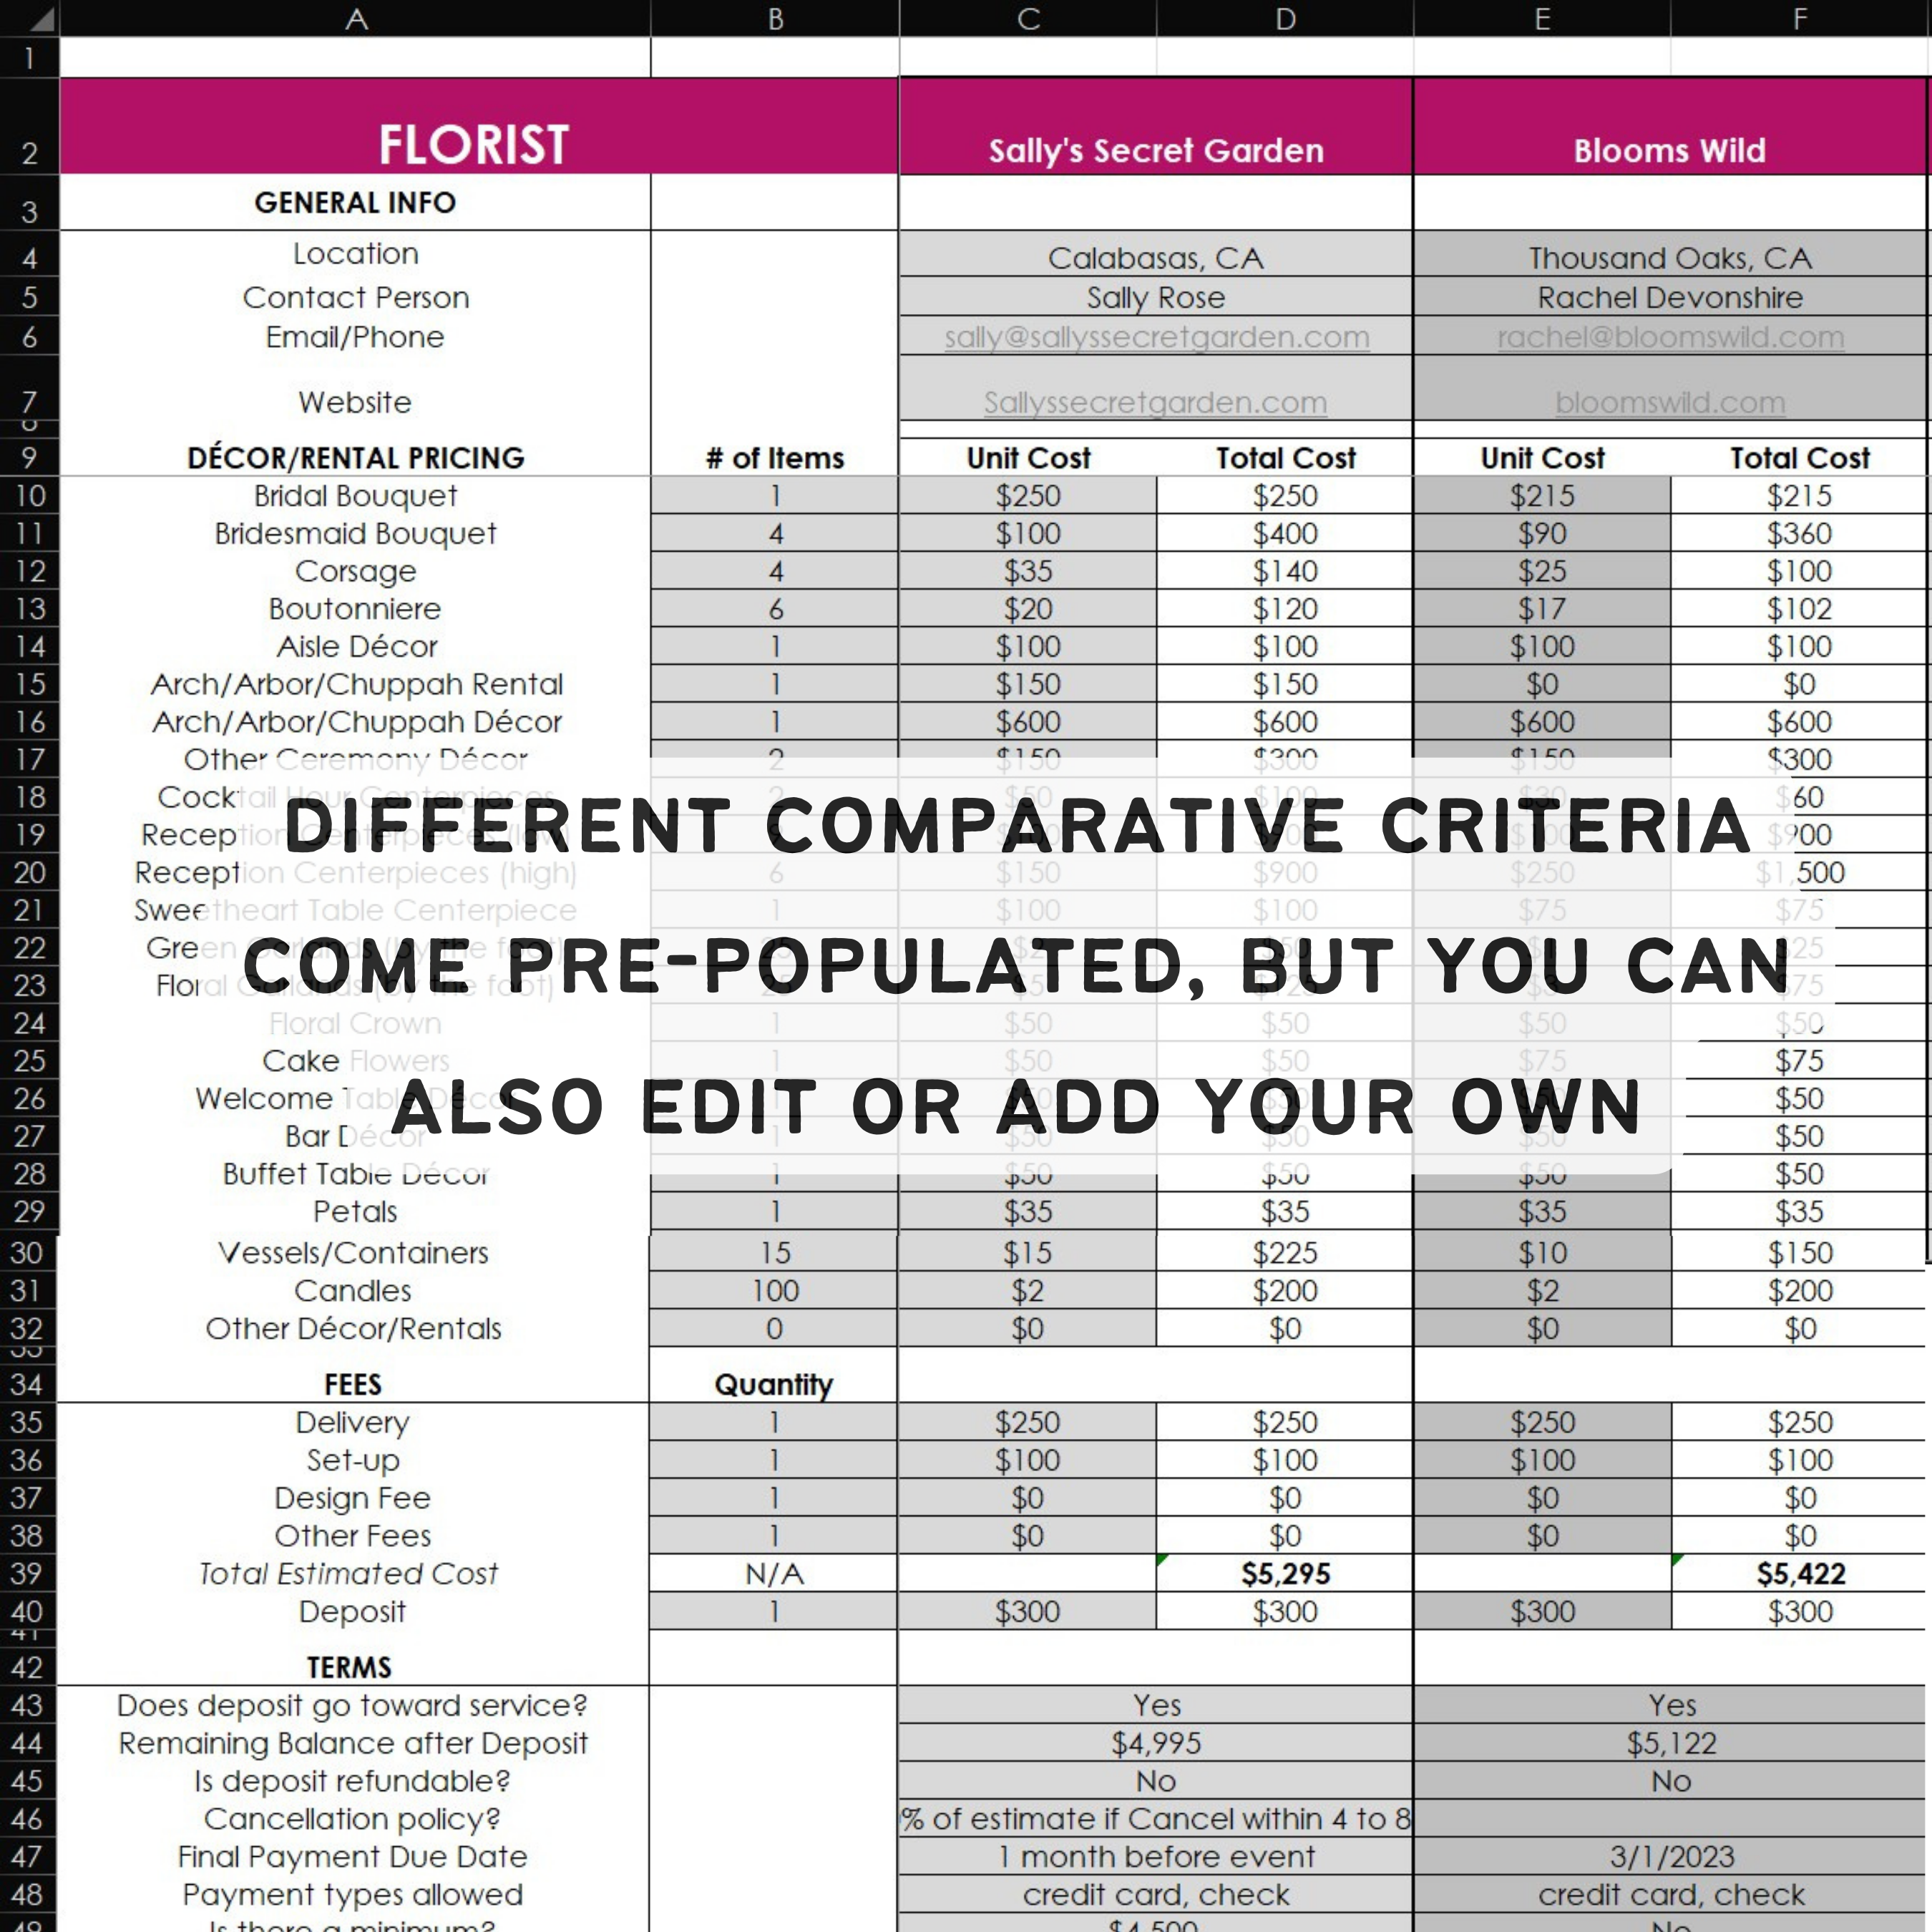
If you’re still looking for a florist, be sure to check out our Florist Comparison Tracker!
| Cookie | Duration | Description |
|---|---|---|
| cookielawinfo-checkbox-analytics | 11 months | This cookie is set by GDPR Cookie Consent plugin. The cookie is used to store the user consent for the cookies in the category "Analytics". |
| cookielawinfo-checkbox-functional | 11 months | The cookie is set by GDPR cookie consent to record the user consent for the cookies in the category "Functional". |
| cookielawinfo-checkbox-necessary | 11 months | This cookie is set by GDPR Cookie Consent plugin. The cookies is used to store the user consent for the cookies in the category "Necessary". |
| cookielawinfo-checkbox-others | 11 months | This cookie is set by GDPR Cookie Consent plugin. The cookie is used to store the user consent for the cookies in the category "Other. |
| cookielawinfo-checkbox-performance | 11 months | This cookie is set by GDPR Cookie Consent plugin. The cookie is used to store the user consent for the cookies in the category "Performance". |
| viewed_cookie_policy | 11 months | The cookie is set by the GDPR Cookie Consent plugin and is used to store whether or not user has consented to the use of cookies. It does not store any personal data. |