Posted on Leave a comment

Pressed Bridal Bouquet

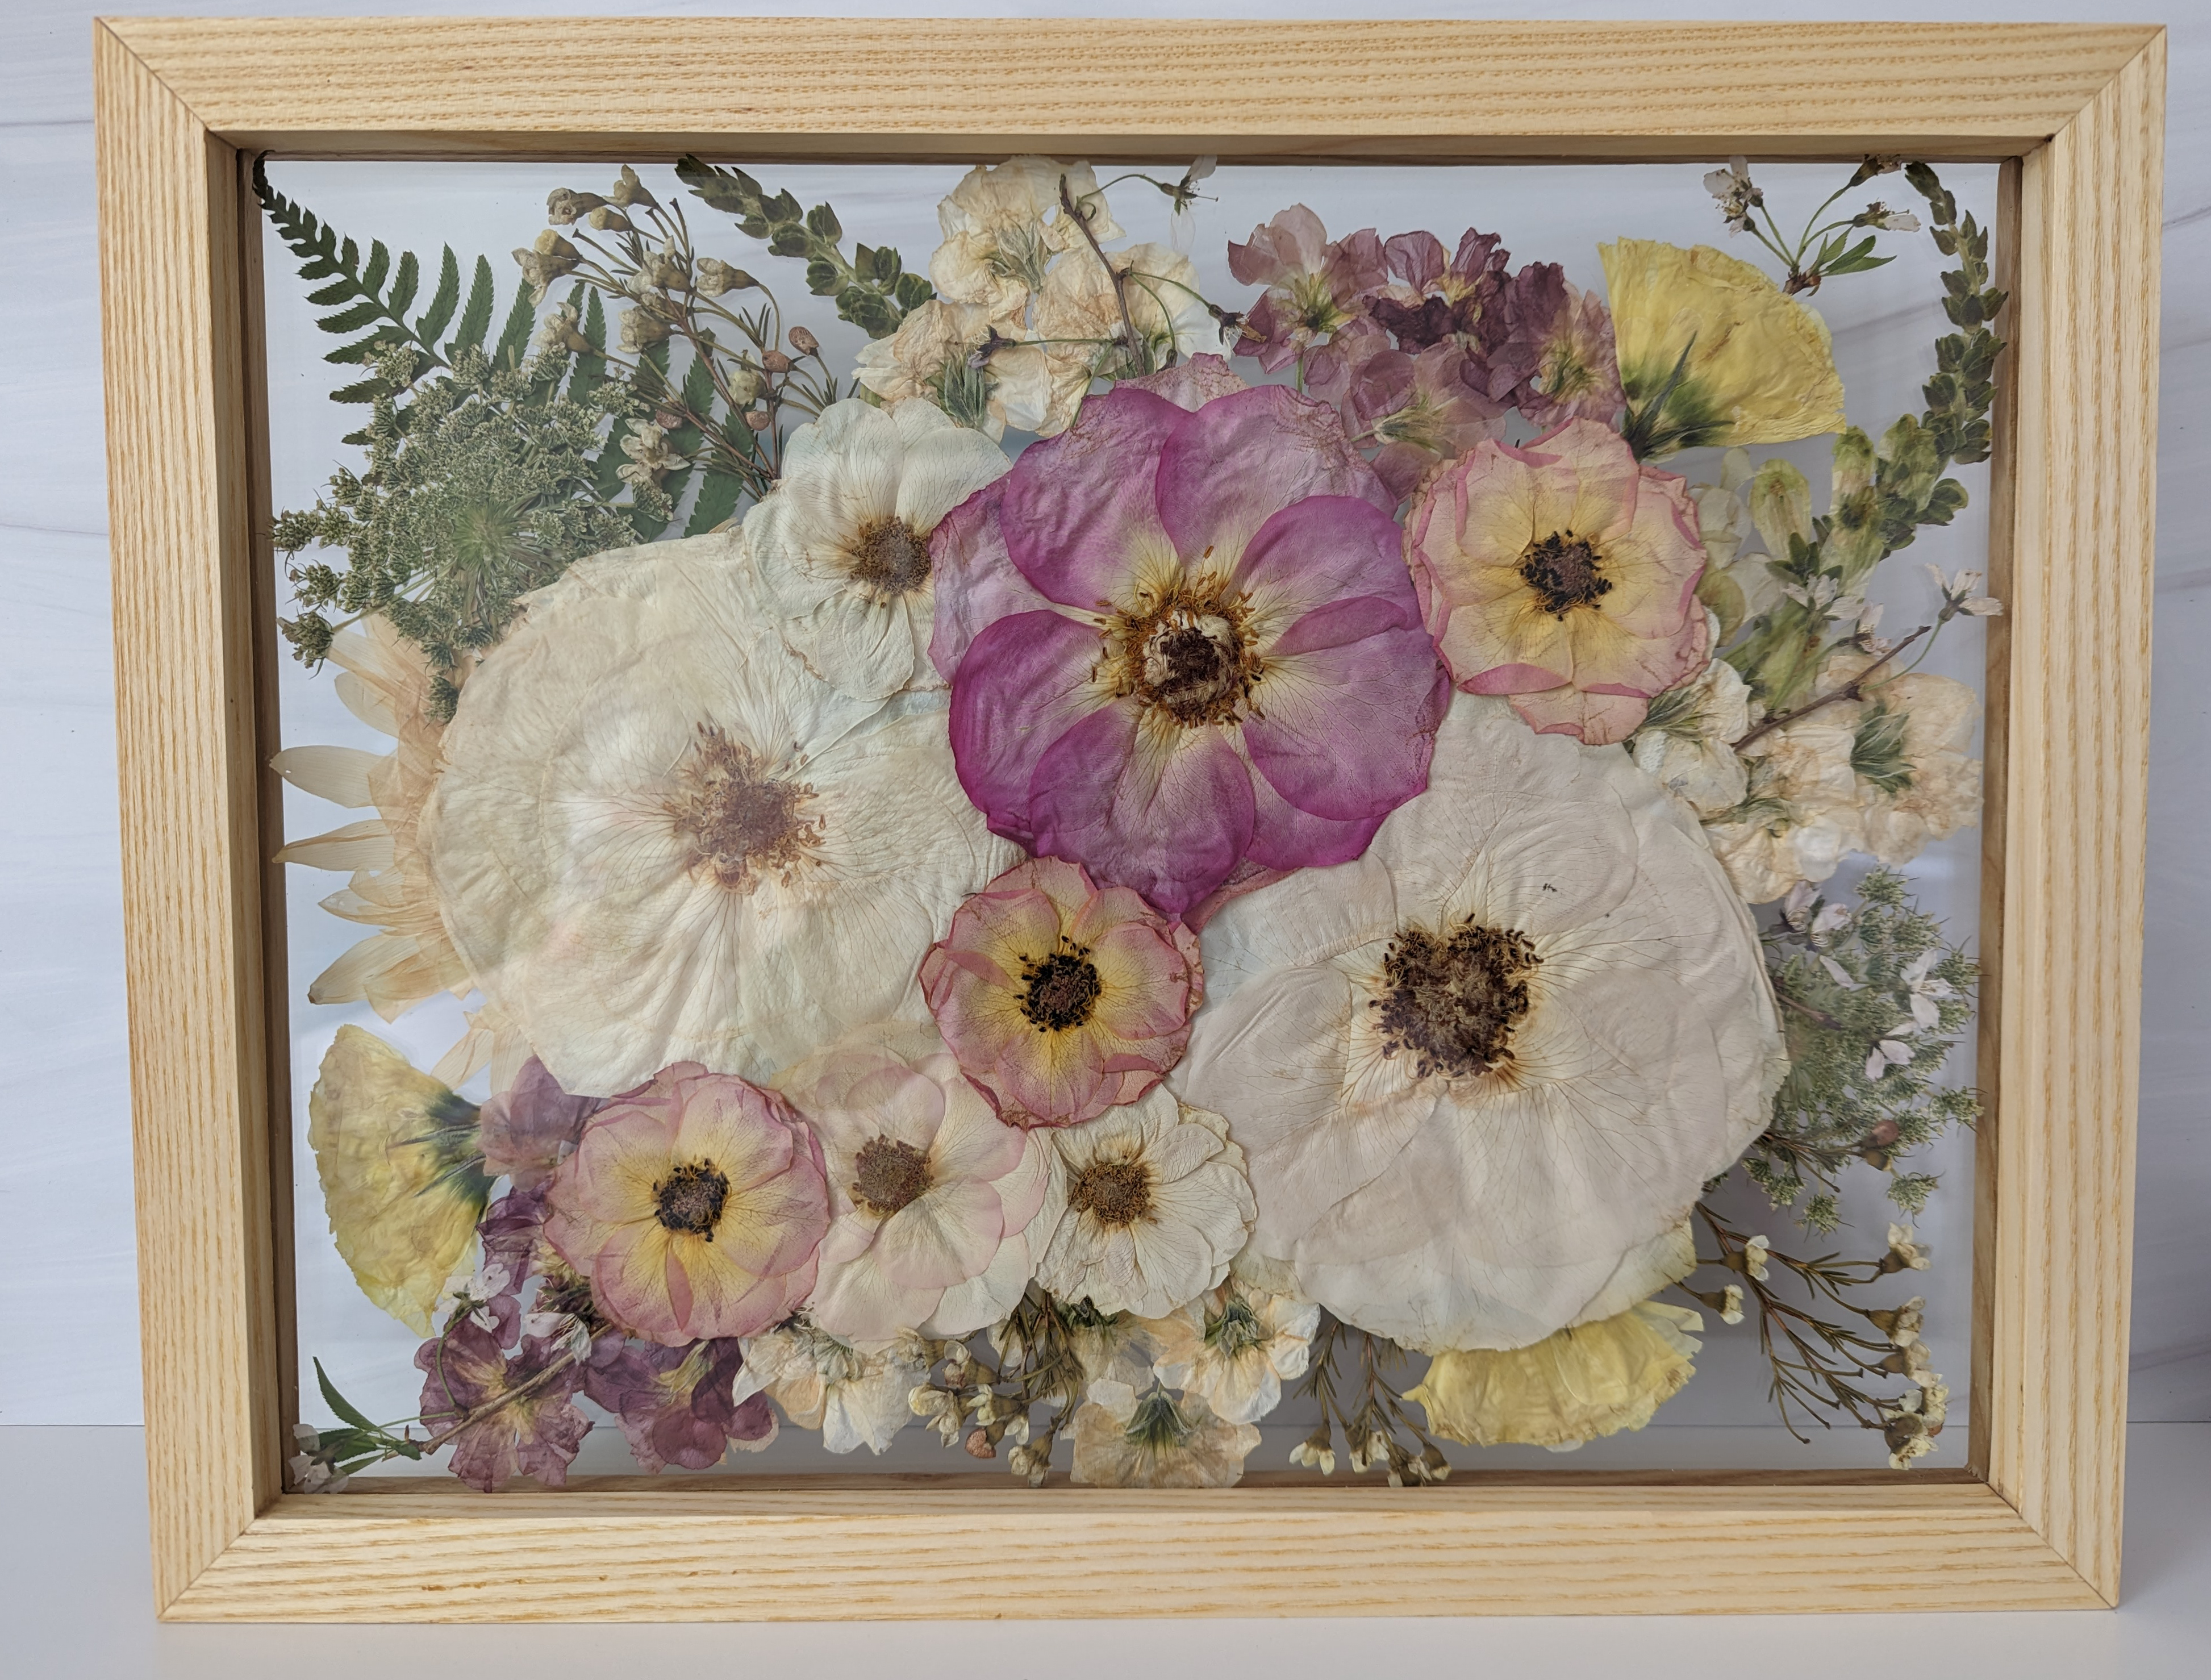
bridal bouquet pressed in wooden frame
This post may contain affiliate links, which means we may receive a small commission if you purchase from our links, at no additional cost to you. This allows us to keep providing new products and content.

Table of Contents

The flowers used for your wedding have a short lifespan – but do they have to? Not if you decide to preserve them! There are many different options for bouquet preservation, including the following:

  1. Hang drying your bouquet
  2. Preserving them in resin – see our blog post about how to DIY this!
  3. Freeze drying
  4. Getting a painting made or photo printed (memory preservation)
  5. Getting your flowers pressed and framed

This blog post is about getting your flowers pressed and framed.


Professional Pressing

You only get one shot at preserving your bouquet, so some may feel more comfortable leaving it up to the professionals. Since I preserved my sample bouquet in resin by myself, I was happy to hand over the reins for my real bouquet. 
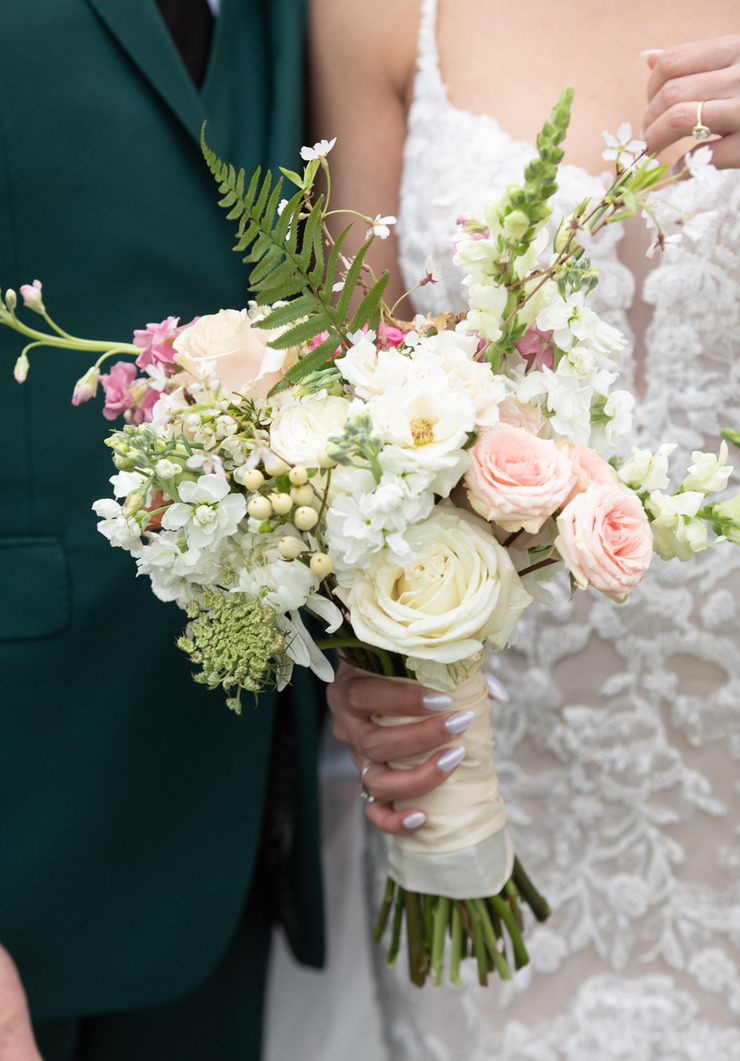
My bridal bouquet included garden roses, ranunculus, snapdragon, cherry blossoms, fern, and other beautiful flowers!

If you are going to get your bouquet pressed professionally, the biggest hurdle to overcome is physically getting your bouquet to the preservationist. Most preservationists require to receive your bouquet anywhere between 1 to 3 days post-wedding. 

When searching for options online, first see if there are any in your local area, but make sure you like their style and work. If you are unable to deliver the flowers, see if you have a trusted friend or family member who can drop them off for you. Alternatively, you could also use a courier service.

Some floral preservationists accept overnight delivery of flowers, which allows you to expand your search outside your local area. This will require you to package your bouquet appropriately and ensure it is promptly dropped off at UPS/FedEx/etc. Expect this to add over $100 to the expense depending on how far you are shipping it and the speed of delivery. 

Many professional floral pressers can only accept so many flowers in a weekend, so make sure you book with someone far enough in advance to ensure availability for your date! 

It may take a few months for your pressed bouquet to be finished depending on the shop’s volume. 

Also, some preservationists offer add-ons to your framed bouquet, or just alternatives. Some offer trays, coasters, and jewelry that include your wedding flowers. These can be gifted or kept for yourself. 

bridal bouquet pressed in wooden frame
My pressed bouquet from Wren & Olivia.

DIY Pressing

Where are all my DIY gals at? I LOVE a good DIY project, and this is something you could totally try on your own. To play it safe, you can always try with a random supermarket bouquet first and see how it turns out. Test your skills before it matters. 🙂

Steps to DIY your bouquet:

  1. Choose the Right Flowers
    First, you need to choose the right flowers for pressing. Not all flowers are created equal when it comes to preservation. Some flowers, like roses, daisies, and pansies, press well, while others, like lilies, do not. Talk to your florist about which flowers will be best for pressing.
  2. Pressing the Flowers
    The most common way to press flowers is by using a flower press. You can buy a flower press online, or you can make one yourself. To make a flower press, all you need is two pieces of cardboard, some newspaper, and a few heavy books. Sandwich the flowers between the cardboard, place them on a stack of newspapers, and then place a few heavy books on top. Leave the flowers to dry for several weeks until they are completely flat.
  3. Assemble Your Bouquet
    Once your flowers are pressed and dried, it’s time to assemble your bouquet. Lay out the flowers in the shape and arrangement you want for your bouquet, and then carefully glue them onto a piece of paper or cardstock, or directly to a frame. You can also add other embellishments, such as ribbon or lace, to complete the look.
  4. Frame Your Bouquet
    To truly preserve your bridal bouquet, you’ll want to frame it. Choose a shadow box frame that is deep enough to hold the thickness of your bouquet. You can also add other mementos from your wedding day, such as your wedding invitation or a photo, to create a truly unique and personalized display.


Some Links to Get You Started:

Sale
Krylon 11 oz Uv Floral Protectant Spray, Multicolor
Floral Ultra Uv Protection Spray; Model Number: 7800; Country Of Origin: United States; Product Dimension: 7.8"L X 2.5"W X 2.5"H
$18.00 $14.35

I’d love to see what you come up with! Share your creations or any questions in the comments below!

Posted on Leave a comment

DIY – Make Your Own Wedding Centerpiece Vase for $5!

Make your own wedding centerpiece vase

Disclosure: This post may contain affiliate links, meaning I get a small commission if you decide to make a purchase through my links. This is at no cost to you.

Table of Contents

If you’re willing to DIY a little, you can save a lot of money by making your own wedding centerpiece vase or compote. Even better, you can sell it for a profit when you’re done! 

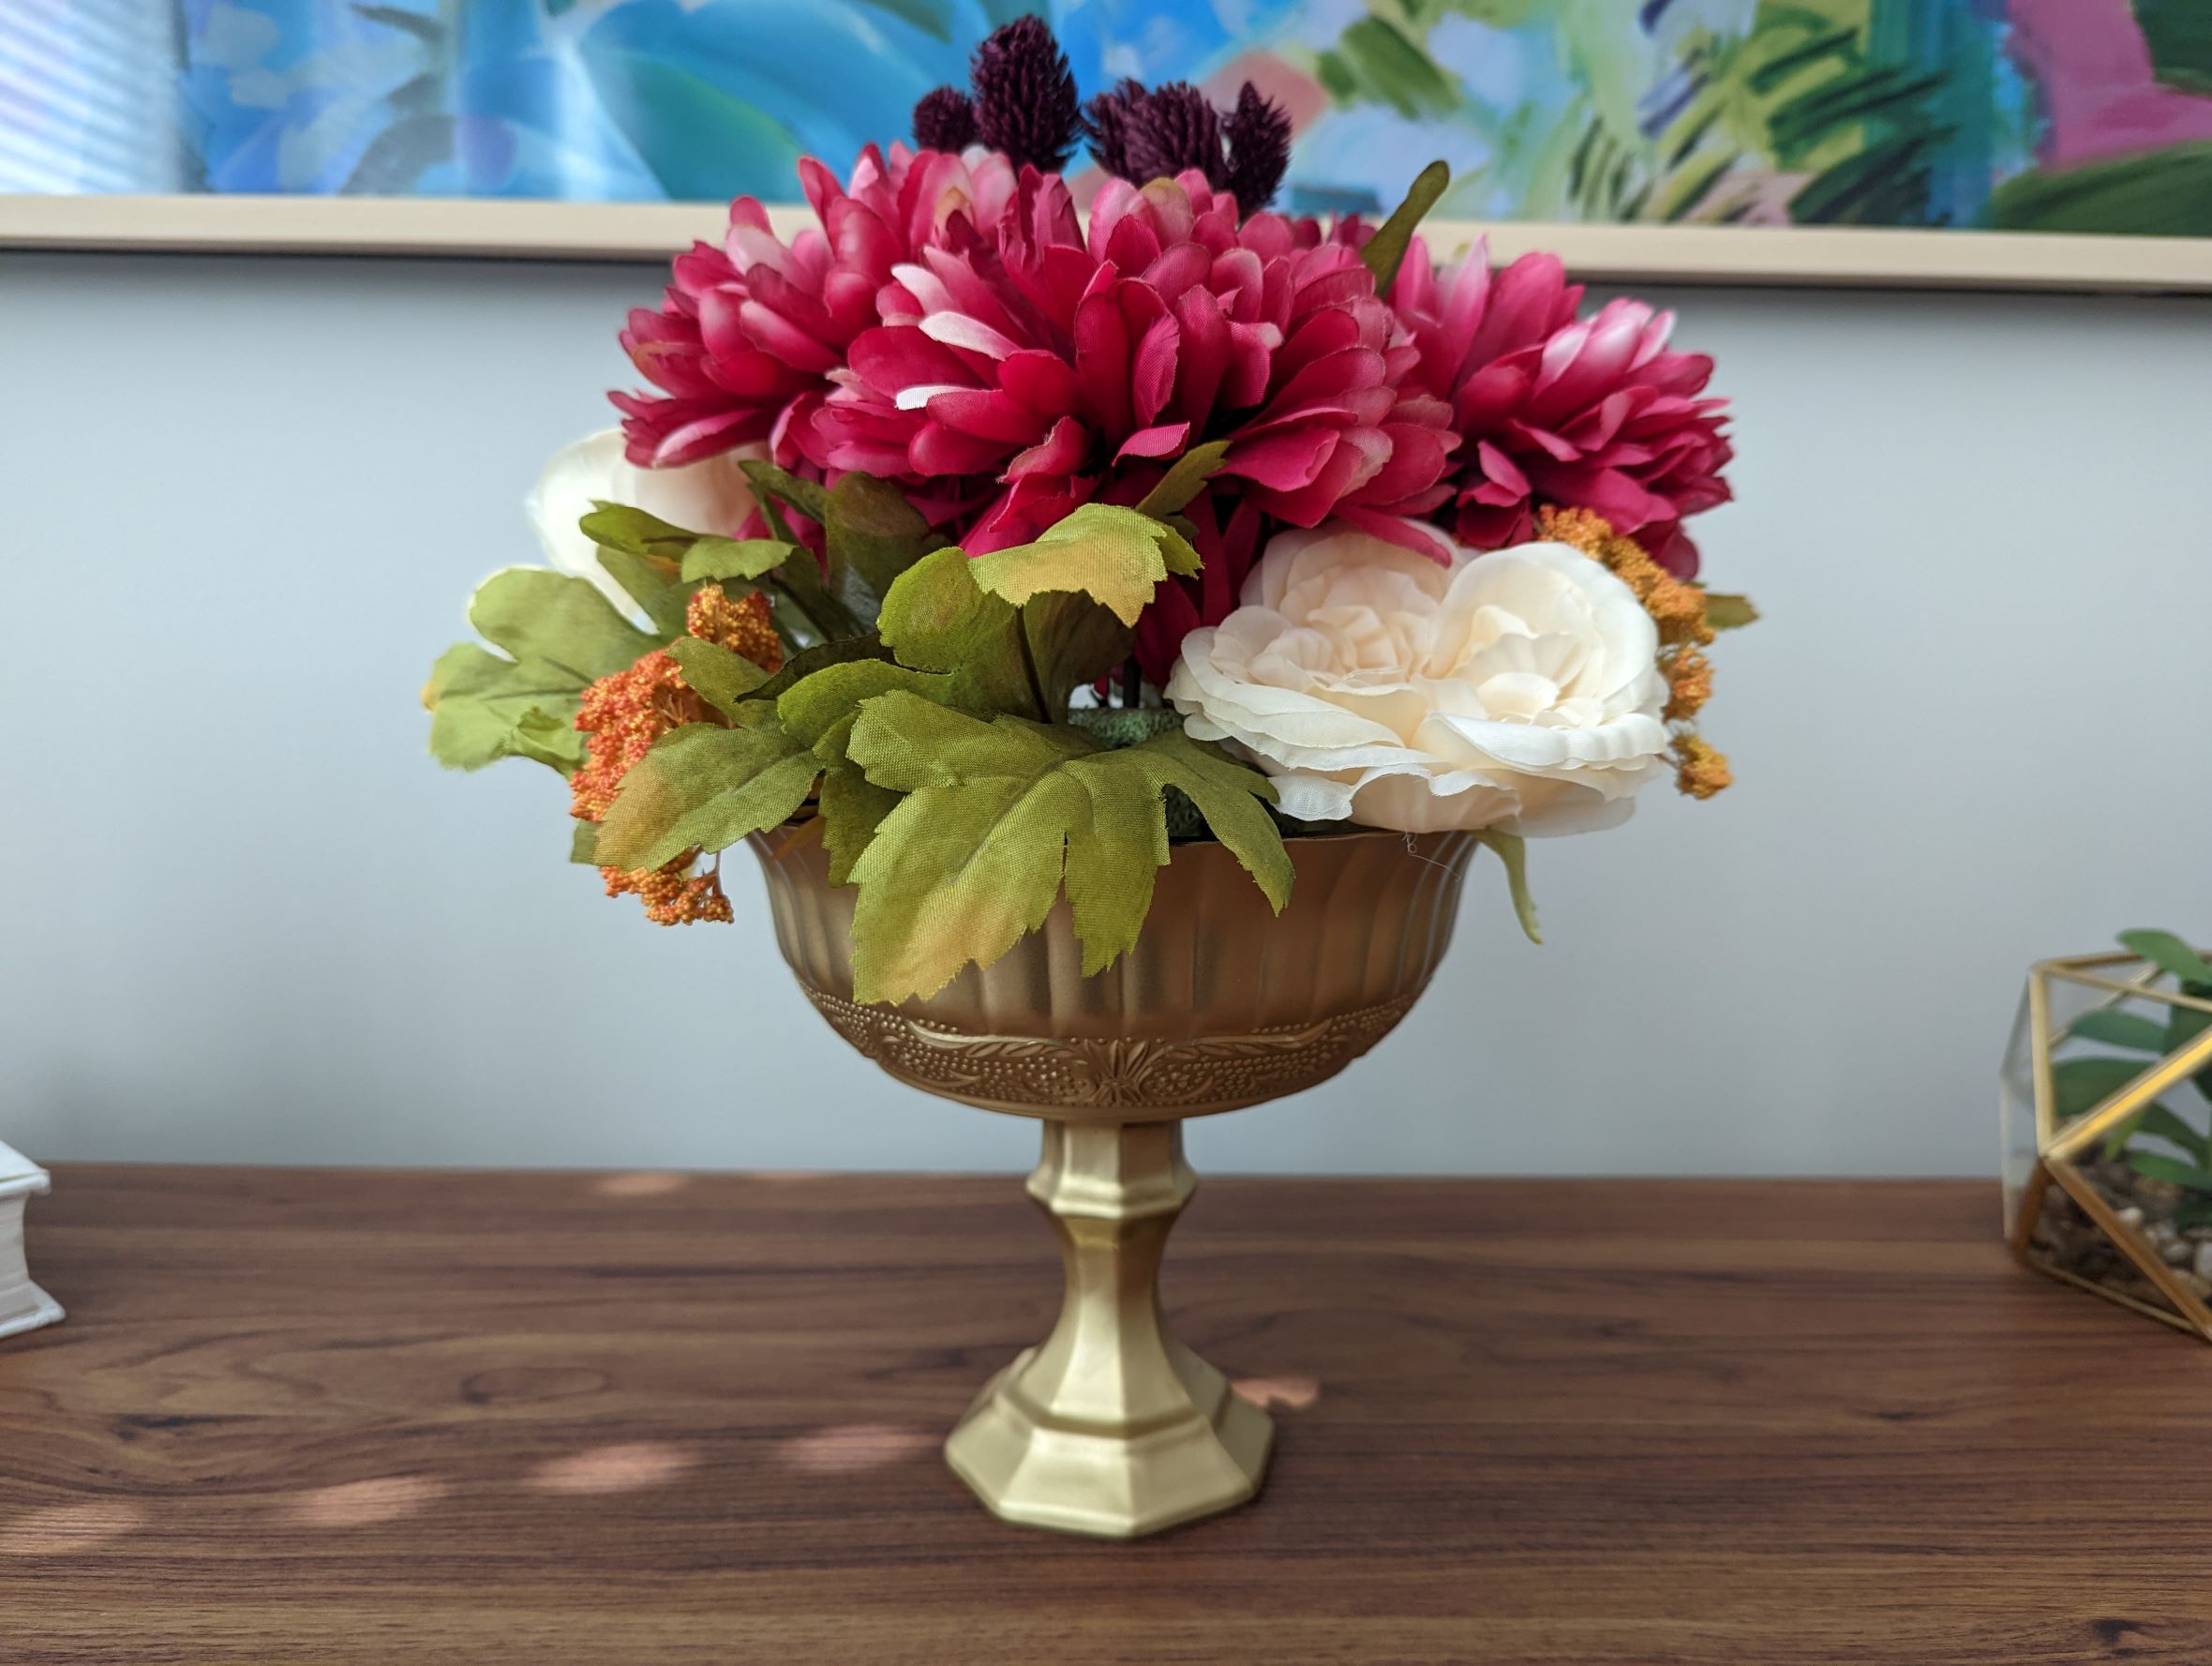
DIY gold compote vase. Added some faux flowers for effect.

I spent a lot of time online looking for inspiring table settings that would trigger a desire in me to replicate it for my own wedding. Once I stumbled upon a gold compote vase, I knew it was meant to be. These pedestal vases are so elegant and charming. I couldn’t believe they were going for $19 a pop on Etsy. A floral budget will quickly skyrocket when you start adding in all the various vessels. I questioned how the sellers were making these and after some digging, realized they were just using some stuff from the Dollar Tree. Off I went on my quest to replicate these compotes and save some money!!

Materials Needed

  1. Glass Bowls – The Dollar Tree – $1.25 at time of publishing (yes, blame inflation on the extra quarter. These should be available in-store).
  2. Glass CandlesticksThe Dollar Tree – $1.25 at time of publishing (you may have to order these online and pay for shipping because they are not always in store. If you order 10, it will come out to a reasonable ~$2.25/stick)
  3.  E6000 Adhesive – Amazon/Home Depot/Michaels
  4. Spray PaintAmazon/Home Depot –  you will likely use one can for all your materials. Here’s where you can customize. Do you want gold, silver, or bronze? Do you want to give it a mercury glass effect? Do you just want it clear? Choose what looks best with your desired aesthetic!  
  5. Top CoatAmazon/Home Depot
That’s it! While some of the supplies cost more than $5 individually, you will be able to use them for all the vases you make, therefore spreading out the unit cost among all of them! 
The supplies you need, plus a top coat enamel if you'd like.

Painting the Glassware

Follow these steps for painting your glass bowl and candle stick holder.

  1. Remove labels. You may need rubbing alcohol to assist with this.
  2. Thoroughly clean and dry the bowl and candlestick holder.
  3.  Choose a well-ventilated spot to spray paint the glassware. This could be the garage or outdoors. 
  4. Prepare the area. This could mean finding an old cardboard box on which to put the glassware, or creating a makeshift spray booth that protects the surroundings from overspray.
  5. Put the bowl upside down and the candle stick holder right side up. I recommend painting the outside of the bowl versus the inside because the inside will have the potential to get scraped up during the flower arranging process.
  6. Spray paint! Don’t overdo it. Thin layers are best to prevent drips. Follow the instructions on your spray paint can regarding recoating times. It’s not a bad idea to do at least 2 coats to ensure you are giving it an opaque finish. 
  7. Let dry for at least 24 hours.
  8. Optional: Top coat with a clear enamel and let dry for at least 24 hours.
After spray painting a bowl and a candlestick outside. I transported these inside the garage to further dry.
About to top coat with clear enamel. Be careful to choose an appropriate sheen. I chose satin.

Attaching the Glassware to Create the Compote Vase

Once you are satisfied with your paint job (double check that you can’t see through it and it looks good), it’s time to affix the candle stick holder to the bowl!

1. Turn your bowl upside down.
2. Draw a bead of the glue around the rim of the candle stick holder.
3. Draw a bead of glue on the base of the bowl (around where the candle stick will be affixed – test this out first).
4. Secure the candle stick to the bowl, ensuring it’s centered properly.
5. Let it dry and cure for at least 24 hours (check glue label).

Make sure you have your E6000 adhesive! I'll explain why one bowl is darker than the other below.
Let the glue cure for at least 24 hours to ensure the connection is solid.

Curing

After Googling how to cure paint, I decided to bake my bowl and candle stick (before I secured them with glue). I put them in the oven at 350 degrees F for 30 minutes. This is the color they were when I took them out:

NOT the bright, shiny gold I had put on them.

Moreover, they had a really weird texture to them that was very irritating on my hands. 

Needless to say, I do NOT recommend curing these in the oven. Learn from my mistake! I ended up re-doing these so they are now the appropriate bright, shiny gold I intended for them. However, since I am only painting the outside of the bowl, the inside still shows darker (as per the photos above). That’s okay, because no one is going to see the inside when it’s full of beautiful flowers!

The best way to cure them is time. And a top coat doesn’t hurt either.


Ta-da! Beautiful DIY wedding centerpiece compotes

So that’s it!!! If you’ve tackled this project, I’d love to see your results in the comments! Happy DIYing!!

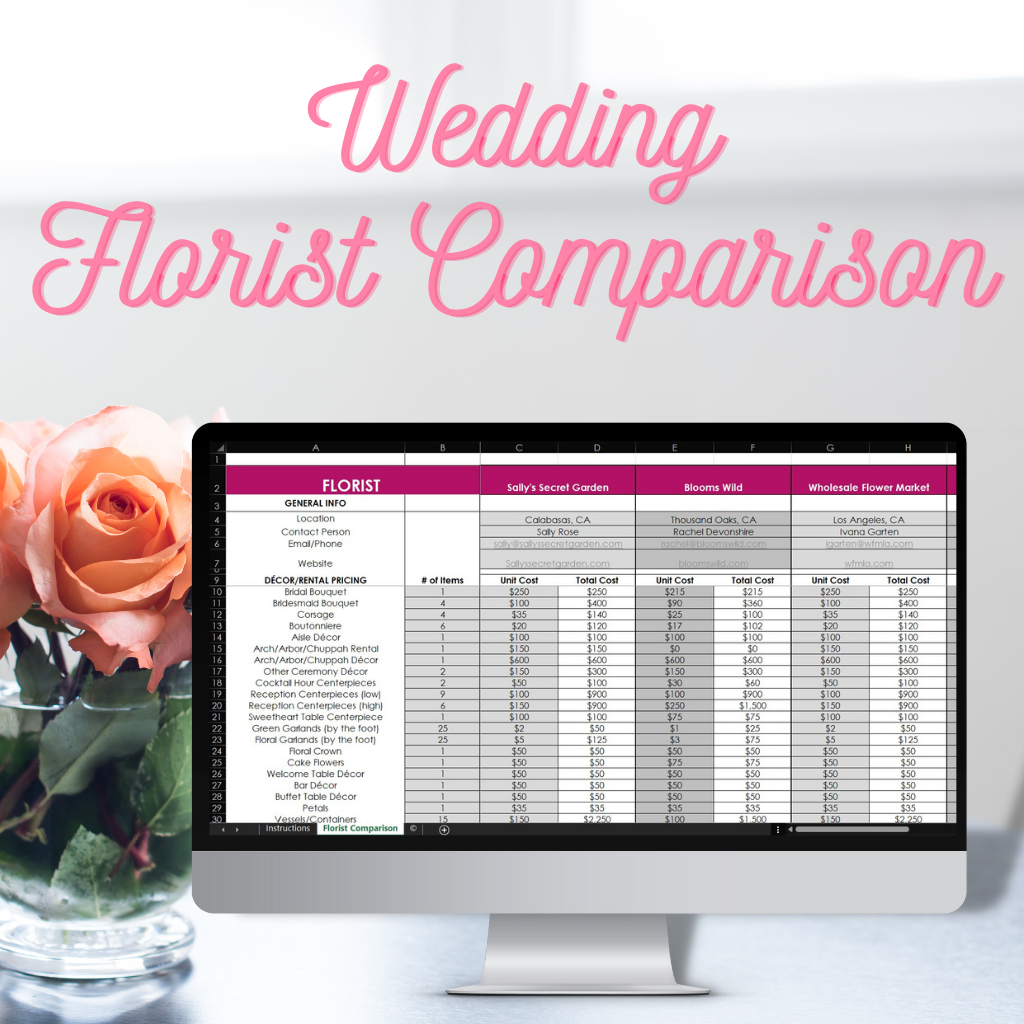
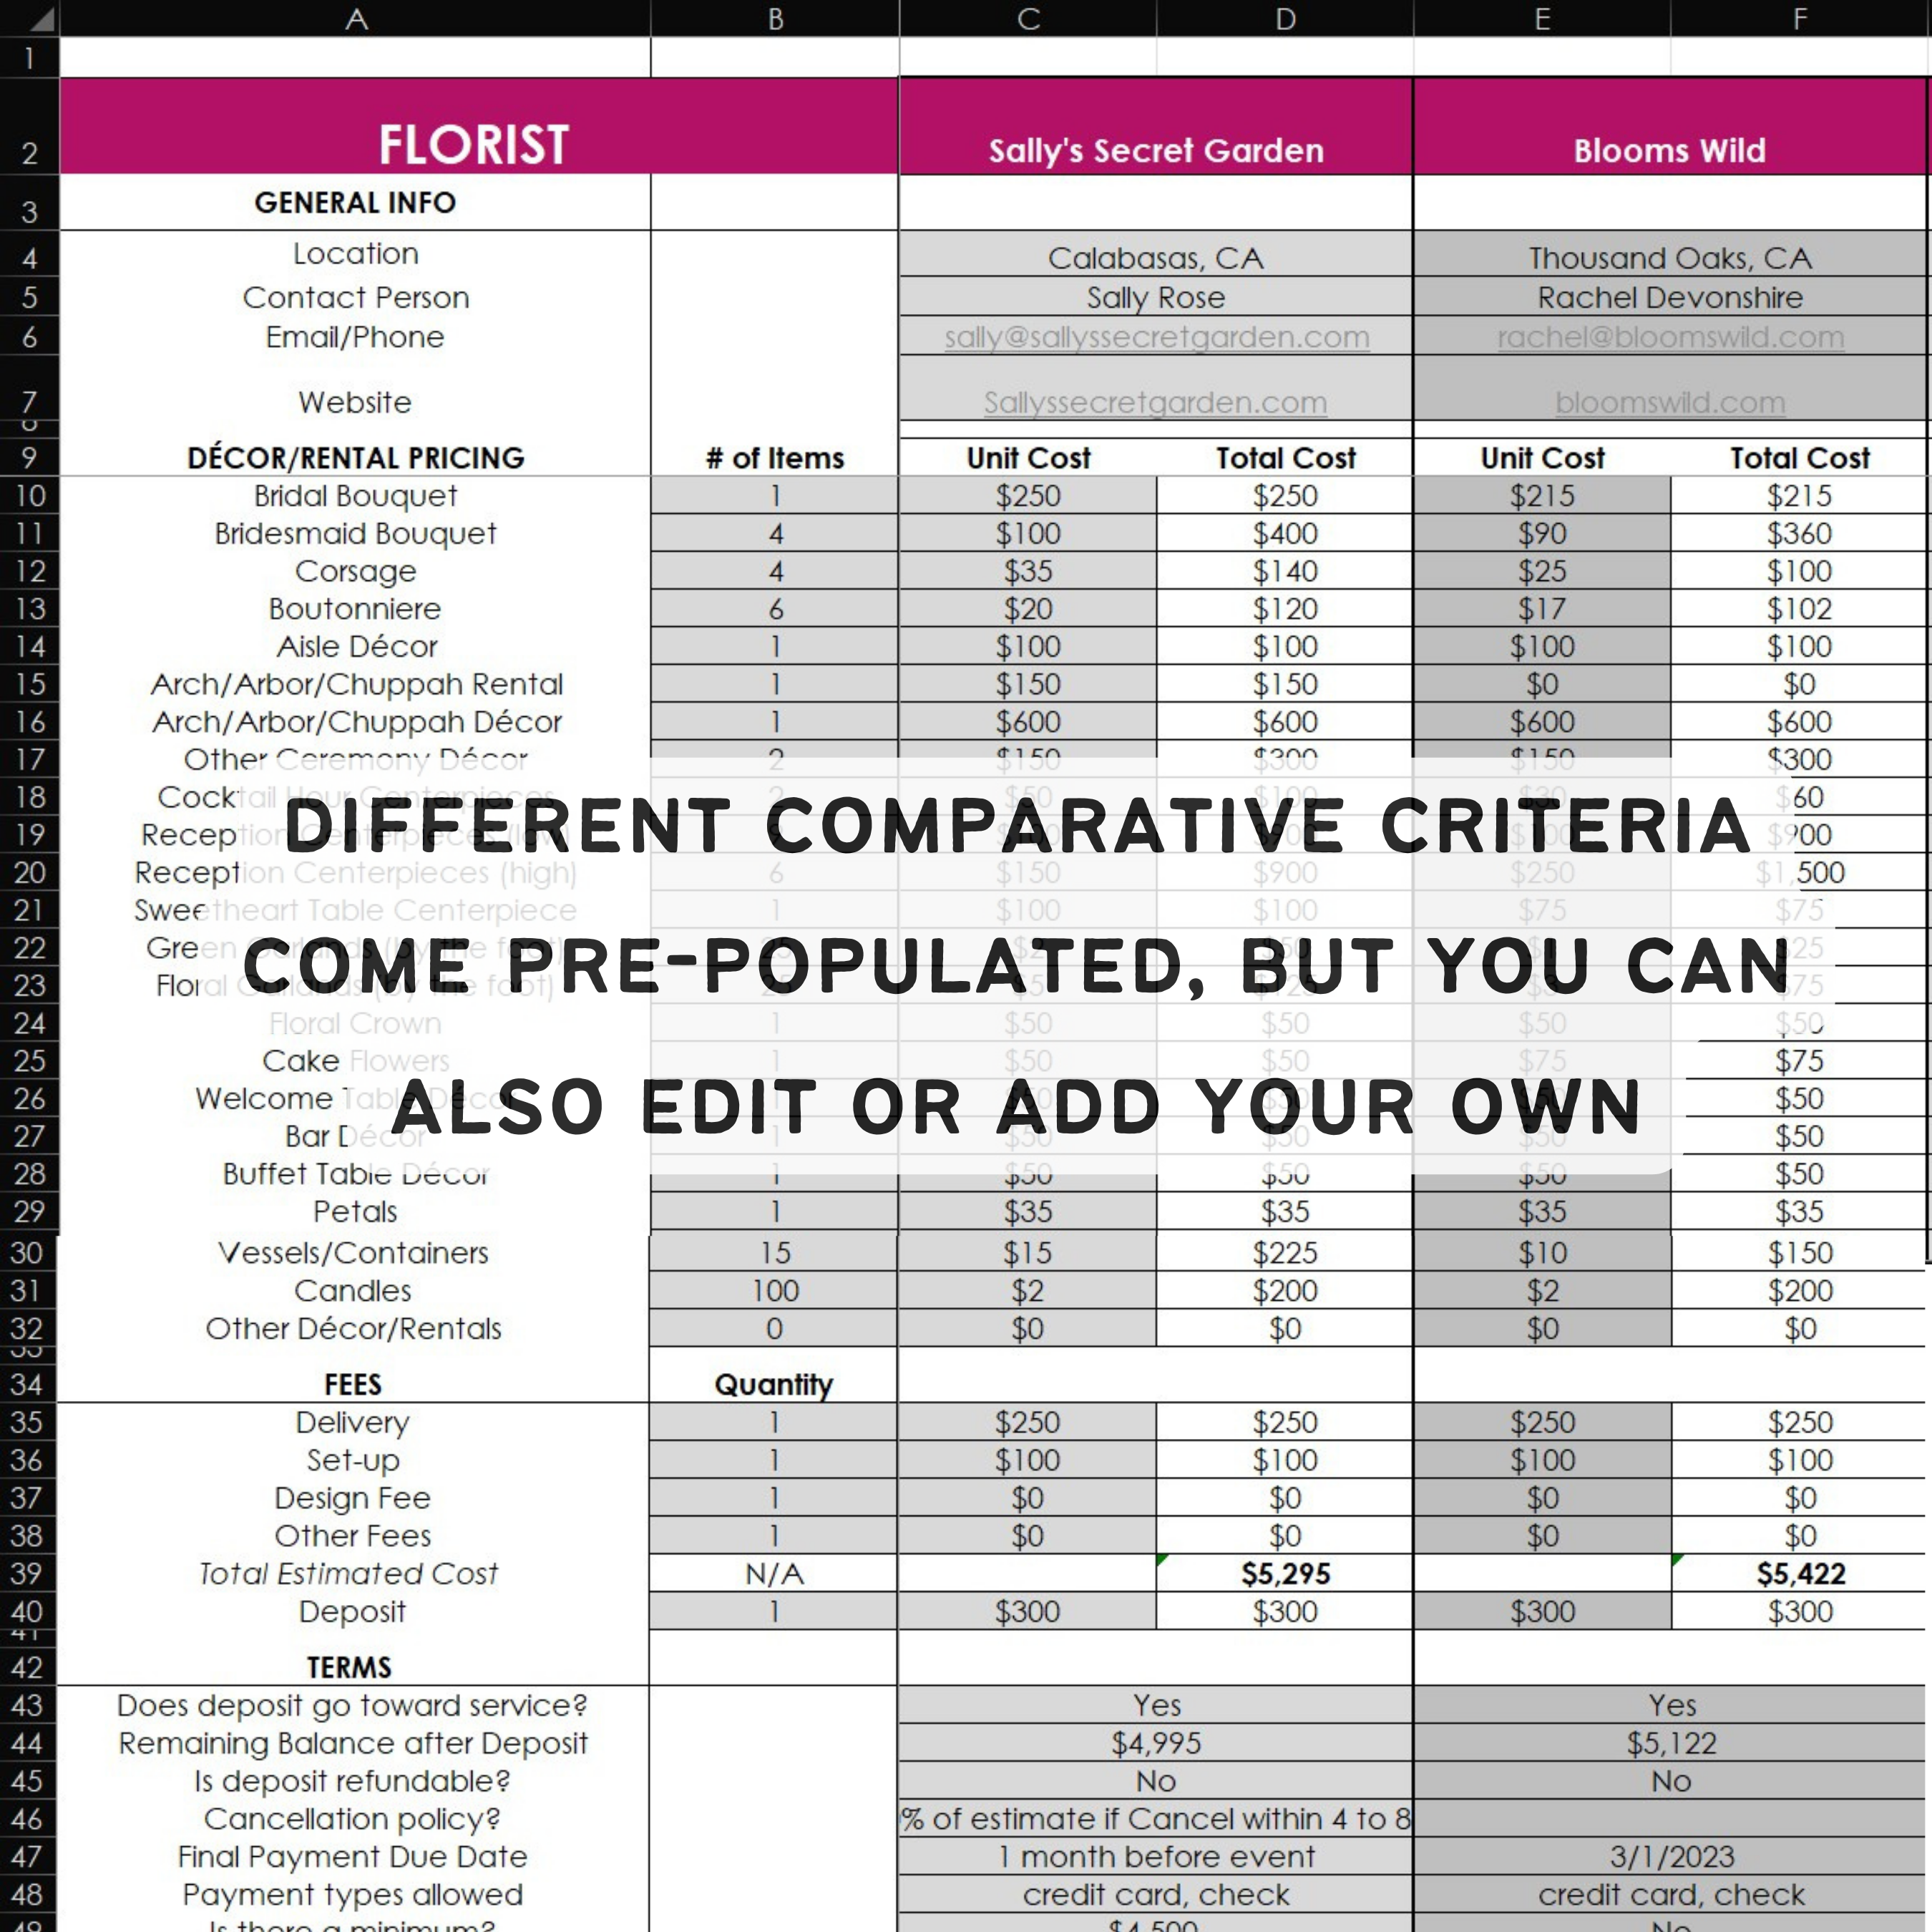
If you’re still looking for a florist, be sure to check out our Florist Comparison Tracker!