
Today’s post is a guest contribution from Nia at WeddingPhotoApp. WeddingPhotoApp is a browser-based guest photo-sharing service. Nia writes about straightforward ways to collect informal wedding photos while keeping the professional gallery distinct. This article is an editorial planning guide, not a sponsored product review.
Guest Post from WeddingPhotoApp
The simplest way to get the pictures your guests took is to make a plan before anyone starts taking them.
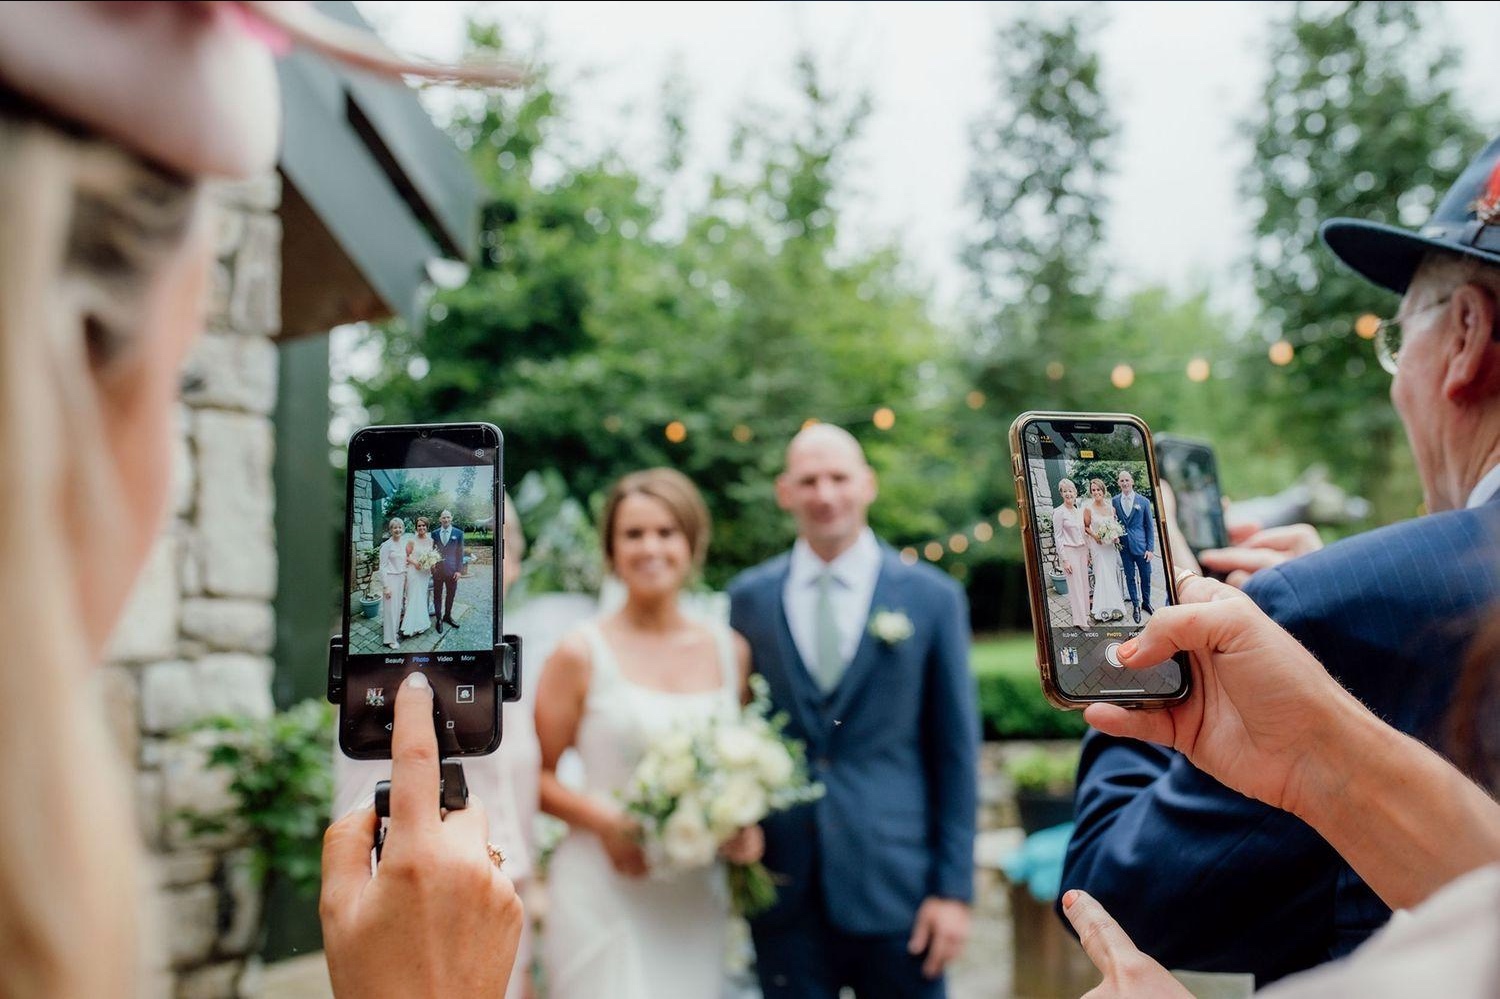
Your photographer will capture the moments you hired them to document. Your guests will notice other things: the cousins laughing at their table, the last-minute dress fix, the dancing after the formal portraits. Those pictures often stay on someone else’s phone. The trick is to make sharing easy without turning your wedding into a photo assignment.
This plan takes about 20 minutes to set up and gives one trusted person, rather than the couple, responsibility for keeping it moving.

Two to Four Weeks Before: Choose One Place for Photos
Pick one destination that guests can open from their phones. A shared folder can work for a smaller, tech-comfortable group, but check whether contributors need to sign-in. A group chat is familiar, yet files can be hard to find later and may be compressed when forwarded. A dedicated upload page is useful when guests use different phones or do not want another app.
Before you print anything, test the actual guest-facing link with someone who has not signed in to your account. They should be able to tell which wedding it is, add a photo, and see a clear success message. The couple should also know whether uploads are private, whether guests can browse other people’s images and when the link stops accepting files.
Make one simple decision about the finished collection: is this for a private family archive, a gallery you will share with guests, or selected photos you hope to print? That answer will guide how much permission you ask for.

One to Two Weeks Before: Make the QR Sign Useful
A code with no explanation is decoration. Put one plain sentence above it: “Share the photos and videos you take today.” Add a short instruction below: “Scan, choose your files, and wait for the upload confirmation.” If your collection page truly needs no app or account, say so. Otherwise, do not promise that it does.
For a practical walkthrough, see WeddingPhotoApp’s guide to creating a QR code for wedding pictures. It covers preparing the destination, printing a scannable sign and testing it with a real phone. The same approach works whether you choose a dedicated upload service or a shared destination you already use.
A 5 × 7-inch card is a good starting format for reception tables. Keep the code high contrast, leave blank space around its edges and avoid placing it under shiny plastic or directly beside a distracting pattern. Print one at the final size and scan it with both an iPhone and an Android phone before ordering the rest.
Put the cards where people naturally pause: tables, the guestbook station or the bar. The entrance can introduce the idea, but arriving guests may not have taken many pictures yet. Include the clickable link in a later thank-you message, since people cannot conveniently scan a code displayed on their own phone.
Wedding Day: Give the Job to One Person
Ask a friend, sibling or coordinator to be the photo-sharing point person. They are not responsible for taking pictures or fixing every phone. They simply keep a spare link handy, check that the signs are visible and make one quiet reminder during the reception.
A natural announcement is enough: “If you have any photos from tonight, there’s a card on your table where you can share them with the couple.” There is no need to interrupt the ceremony or ask guests to pull out phones during vows. If you are planning an unplugged ceremony, start collection at the reception instead.
Plan for poor reception Wi-Fi. A guest who cannot upload should keep the original files and use the same link from home, provided the upload window is still open. Do not ask everyone to send photos to the coordinator’s personal number as a backup unless that is genuinely the collection method you want.
Before You Share Anything, Agree on Privacy
Collecting a photo and publishing it are different things. Tell guests who will see their uploads. If the gallery will be shared with every attendee, ensure that is explicit before anyone contributes. For photos of children, private moments or people who prefer not to be posted online, check with those involved before sharing outside a private family circle.
Keep the professional photographer’s delivered gallery separate from guest snapshots. Label them clearly in your final archive. Friends should not be expected to provide edited, print-ready images, and guest pictures should not be presented as the photographer’s work. If you want to combine images into one album, check the photographer’s contract and photo-use permissions first.
The Day After: Send One Reminder, Not Ten
People are often most willing to share photos when they are still laughing about the reception. Send one short message the next morning or a day or two later. Include the clickable link and the exact deadline. Avoid attaching a QR image by itself when most guests will read the message on their phones.
Copyable message: “Thank you for being part of our day. If you snapped any pictures or videos, we would love to see them. Add them here: [link] by [date]. Please keep anything you would rather not share. We can’t wait to see the day through your eyes.”
If you’re still missing photos from close family as the deadline approaches, one additional gentle reminder is fine. After that, let it rest. A complete archive is lovely, but the people who were there matter more than recovering every last image.

Within a Week: Organize, Download and Back Up
Do a quick review before sharing the collection more widely. Remove obvious duplicates, check for accidental uploads and set aside pictures that should stay private. Keep the original files even if you make smaller copies for social media or a printed album.
Use simple folders: “1. Guest photos,” “2. Professional gallery,” and “3. Favorites for printing.” For a multi-day celebration, add the date or event name, such as “Welcome dinner” and “Wedding reception,” instead of mixing everything into one giant folder. Avoid renaming everything before you have a backup.
Download the collection before the service’s storage period ends. Open a sample of photos and videos to confirm the download worked, then save a second copy in a different place, such as an external drive and a separate cloud account. A share link is convenient, but it is not your permanent backup.
Your Printable Plan
Use the accompanying one-page checklist to record who is responsible, where the collection link lives, what guests have been told and when you will download the finished archive. It is designed to sit alongside your seating chart and day-of timeline, not become another complicated wedding project.
Download the printable Wedding Guest Photo Sharing Checklist or use the editable version to customize your plan before the big day.
The goal is simple: let guests enjoy the day, make sharing painless and keep the moments that might otherwise disappear into a hundred camera rolls.
Related Planning Resource

Still Choosing Your Wedding Photographer?
Compare photography packages, pricing, and services side-by-side with our Wedding Photographer Comparison Spreadsheet. Make a confident decision before the big day.
Leave a Reply