Posted on Leave a comment

DIY – Make Unique Table Assignments and Wedding Favors out of Soap!

unique table assignments
This post may contain affiliate links. This means if you purchase through these links, we may earn a small commission, at no extra cost to you. This helps us continue to be able to produce new content and products.

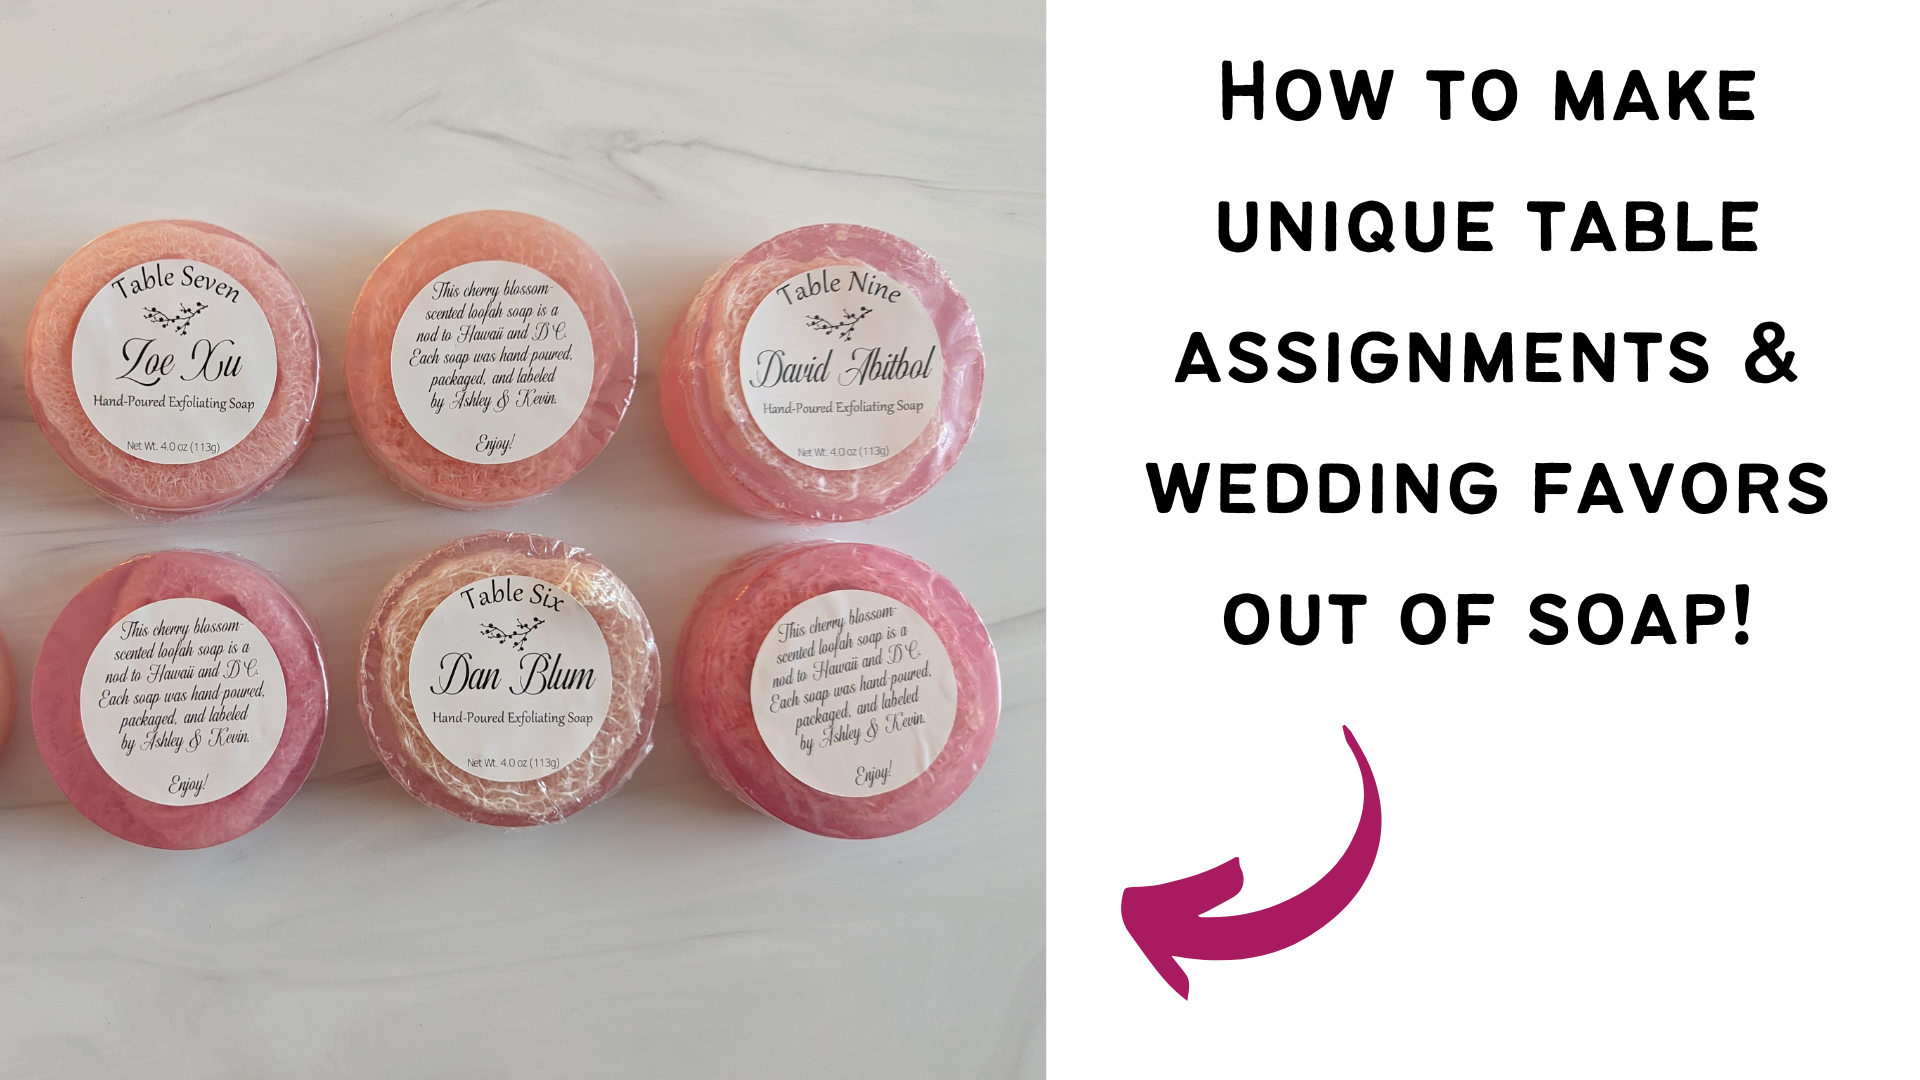
Have you thought about your table assignment vision? Or what about wedding favors? Sure, the latter isn’t as common these days, but what if you can combine the two?

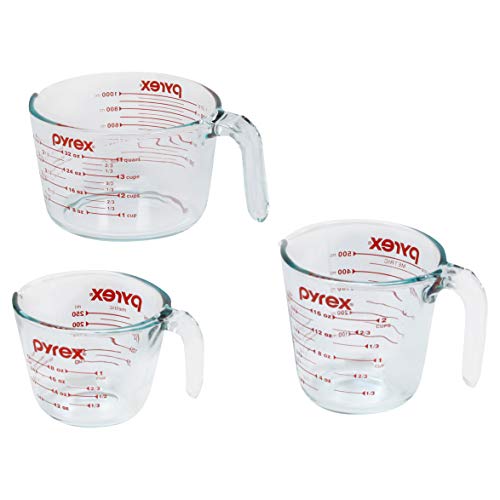
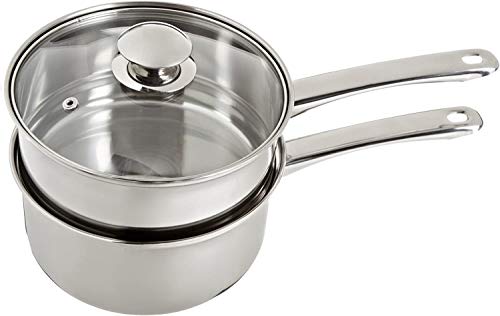
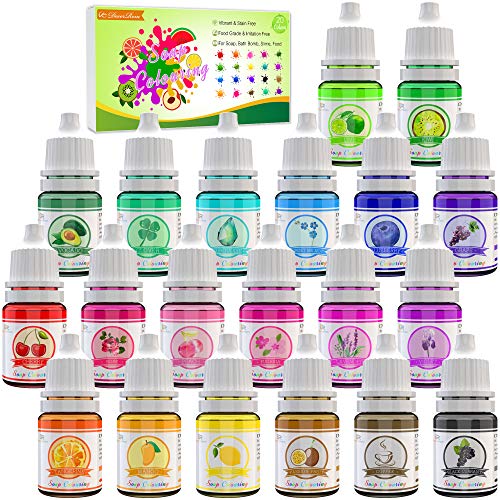
I wanted to do some different for our table assignments/favors – something that represented us as a couple and was something consumable (those are always the best favors, right?). For us, that was hand-poured soap! We even added loofah. This is something that even body wash people (like myself) can appreciate, because you can use it to exfoliate before you use your body wash. Ahhhh. 

This post walks you through the steps to make the soap, shrink wrap it, and label it. The video above will give you a great visual of the process and is less than 10 minutes long.

While this is geared toward making soap for wedding table assignments, you can switch up the labels if you want to do this project for a different event. A wedding shower favor is a good one.

Table of Contents

Part 1: Making the Soap

Materials Needed

  1. Clear, glycerin soap base (Note – a pound of soap generates approx. 4-5 pieces of finished soap product)
  2. Soap Cutter (optional – you can try a kitchen knife)
  3. Soap Mold
  4. Colorant
  5. Fragrance or Essential Oil
  6. Loofah (optional)
  7. Glass measuring cup (at least 2 cups, but I recommend 4 cups if you have a lot of guests. The process will go by much quicker that way!)
  8. Double Boiler (optional – you can melt in the microwave in your measuring cup if you prefer)
  9. Silicone spatula
  10. Gloves
  11. Infrared thermometer (optional – you can wait a few minutes for soap to cool without being exact)
  12. 99% isopropyl alcohol

Product Recommendations

2pcs Stainless Steel Wavy & Straight Soap Mold Loaf Cake Cutter Cutting Tools set
Quantity - 2Pcs soap cutters.; Material - Stainless Steel; Style - Wavy/Straight.; Net Weight - Wavy: 140 gram; Straight+Wavy: 268 gram.
$9.99
MedPride Powder-Free Nitrile Exam Gloves, Iris Blue, Medium, Box/100
The ideal solution for individuals sensitive to natural rubber latex and donning powder.; Comfortable fit with textured fingertips for excellent tactile sensitivity.
$9.99
Isopropyl Alcohol 99% Spray 2.30 oz
Easy to use, all you have to do is to spray the desired area. For external use only.; Small Bottle that you can always take wherever you go
$8.99

Steps for Melt & Pour Soap

  1. Get your mold ready. If you are using loofahs, ensure they are cut and placed into the mold cavities. Make sure there is no dust or debris in the mold.
  2. Cut your soap base into 1-inch cubes. Wear gloves and use a cutting board.
  3. Measure out your soap. A two-cup measuring cup should have no more than 1 pound of soap.
  4. Melt your soap using a double boiler on the stove or in a glass measuring cup in the microwave.
    1. Double Boiler – Use about 1/4c or 1/2c of water in the lower pot, depending on how much soap you are melting.
    2. Microwave – heat in 15-20 second increments, don’t burn it!
  5. When melted, pour soap back into measuring cup if not heated in microwave.
  6. Let cool until it’s 140 degrees F or below (keep stirring so it doesn’t solidify). This is where you can use the infrared thermometer to check the temperature.
  7. Add your fragrance. Be sure to follow the fragrance’s guidelines on how much to put in. You don’t want to overpower it.
  8. Add your colorant. A little goes a long way. No more than 3 drops max.
  9. Stir together.
  10. Pour into molds.
  11. Spray isopropyl alcohol on top to release any surface bubbles.
  12. Let sit for at least 6 hours or overnight.

Part 2: Shrink Wrapping & Labeling the Soap

Materials Needed

  1. Shrink wrapping bags
  2. Heat gun or embossing gun
  3. Impulse sealer
  4. Labels 

Product Recommendations

Highly recommend an impulse sealer for this process because it will make shrink wrapping so much easier! There are other applications around the house for which you may use it, such as to seal leftover food, teas, candies, or sealing favors for different occasions.

vistaprint logo
If you don't have a die-cutting machine or don't want to fully DIY the labels, you can always design sticker labels on Vistaprint and have them sent to your house. It will cost more but it's less work.

Steps for Shrink Wrapping & Labeling

  1. Carefully de-mold soap once it is cured/hardened sufficiently. Place one soap in a shrink wrapping bag.
  2. Repeat until all soaps are bagged.
  3. Seal all bags with impulse sealer on two sides. Make sure the unsealed edges are removed. Keeping it just at the “red” temperature setting will allow you to easily rip off the excess when you tear it away.
    1. Use a scissor to cut a small hole in one of the corners of the bag if the air isn’t releasing.
  4. Design your labels and get them printed/cut.
    1. Use a die-cutting machine to DIY (print & cut) or use a website like Vistaprint.
    2. Note – You won’t be able to print your front labels until your table assignments are complete.
  5. Affix your labels and you’re ready to go!

And there you have it! Let me know if you have any questions in the comments below. If you did this project, I’d love to see how it turned out! Be sure to tag us on socials. 🙂

Posted on Leave a comment

Pressed Bridal Bouquet

bridal bouquet pressed in wooden frame
This post may contain affiliate links, which means we may receive a small commission if you purchase from our links, at no additional cost to you. This allows us to keep providing new products and content.

Table of Contents

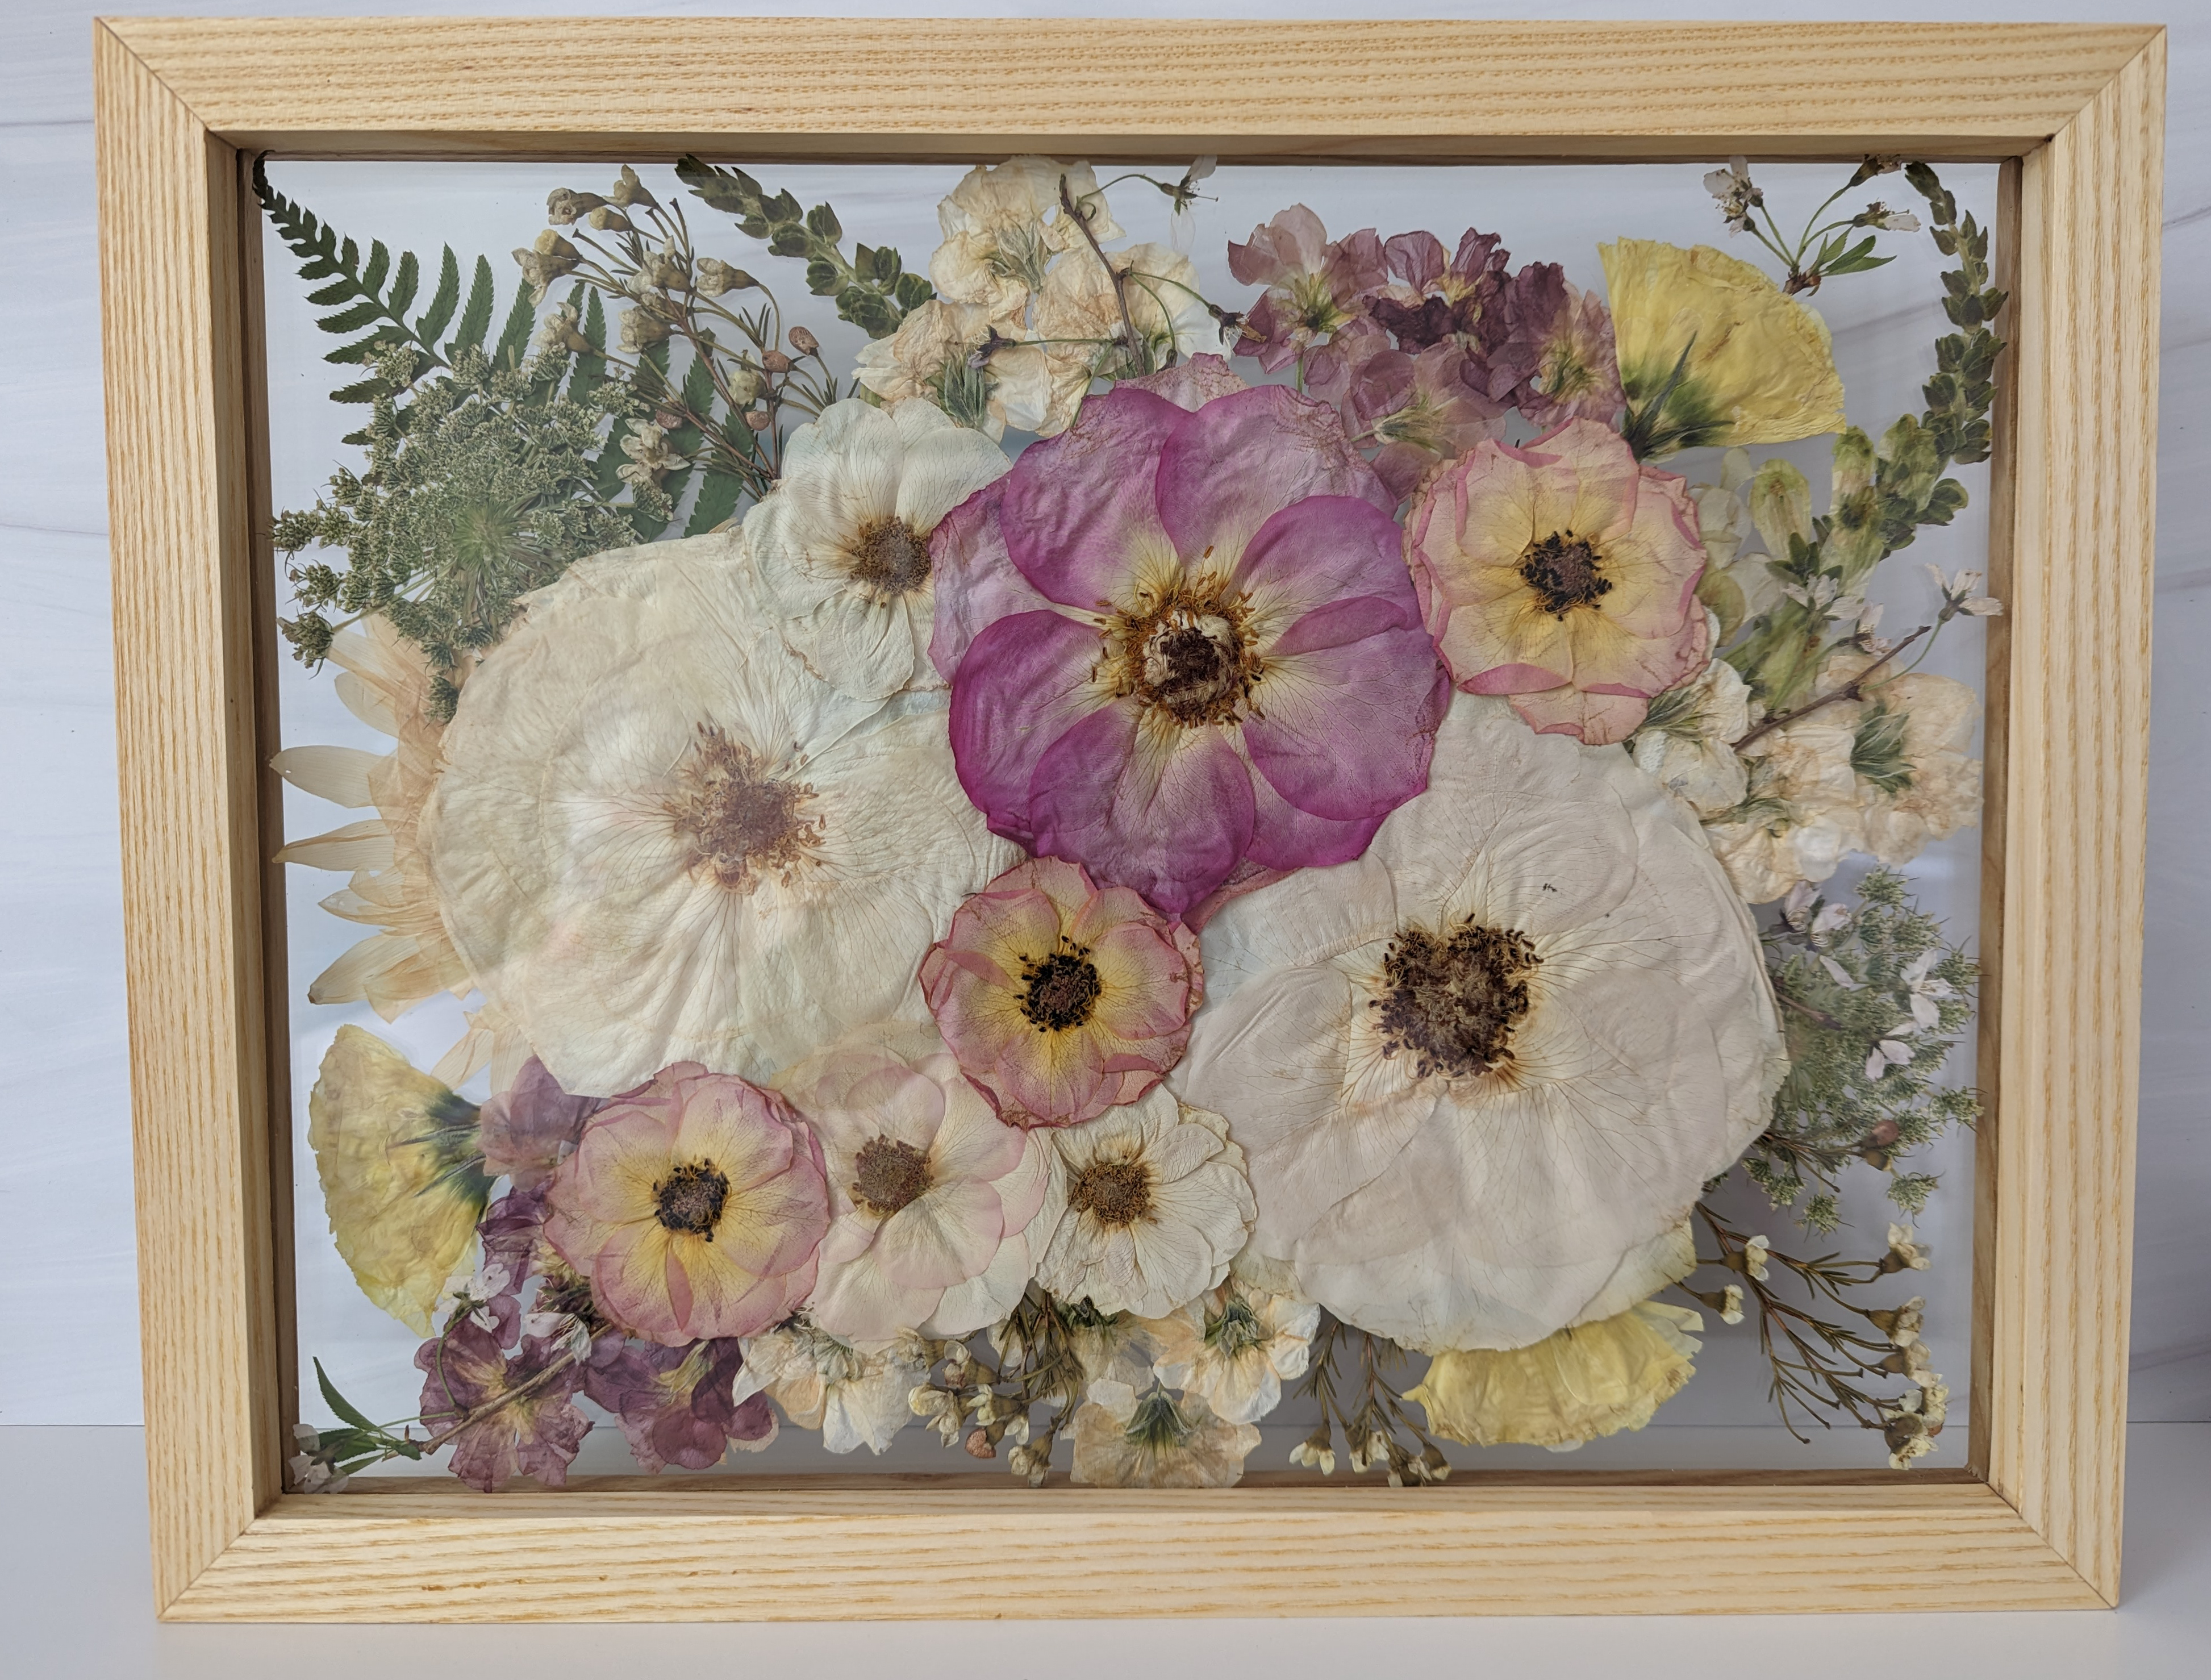
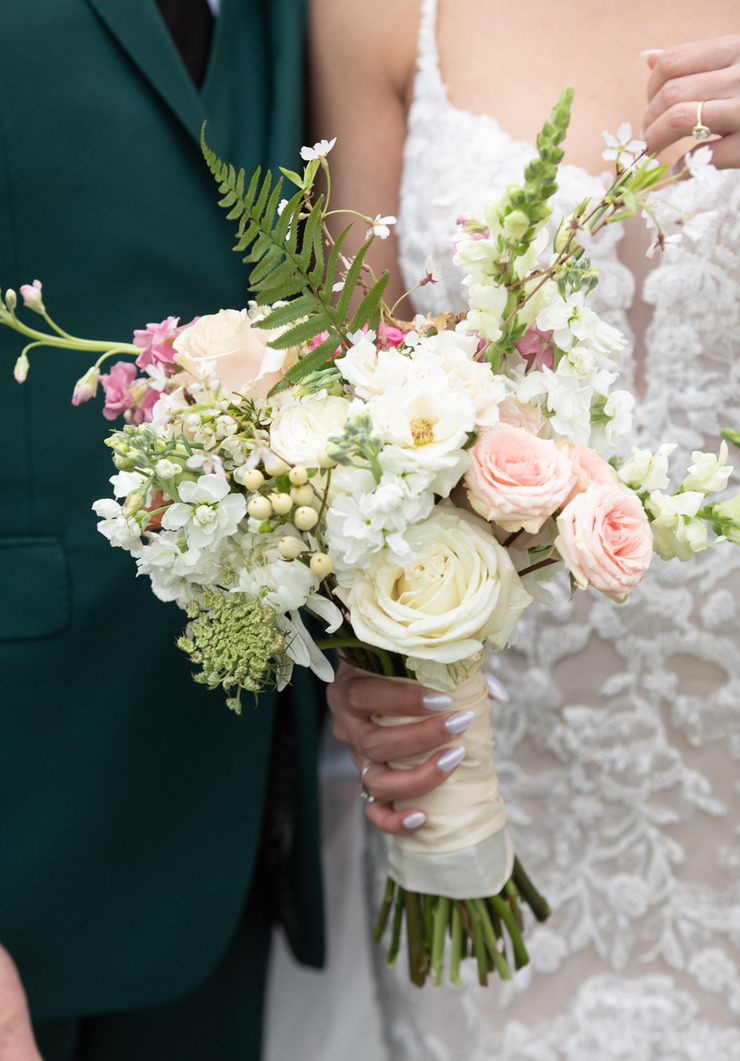
The flowers used for your wedding have a short lifespan – but do they have to? Not if you decide to preserve them! There are many different options for bouquet preservation, including the following:

  1. Hang drying your bouquet
  2. Preserving them in resin – see our blog post about how to DIY this!
  3. Freeze drying
  4. Getting a painting made or photo printed (memory preservation)
  5. Getting your flowers pressed and framed

This blog post is about getting your flowers pressed and framed.


Professional Pressing

You only get one shot at preserving your bouquet, so some may feel more comfortable leaving it up to the professionals. Since I preserved my sample bouquet in resin by myself, I was happy to hand over the reins for my real bouquet. 

My bridal bouquet included garden roses, ranunculus, snapdragon, cherry blossoms, fern, and other beautiful flowers!

If you are going to get your bouquet pressed professionally, the biggest hurdle to overcome is physically getting your bouquet to the preservationist. Most preservationists require to receive your bouquet anywhere between 1 to 3 days post-wedding. 

When searching for options online, first see if there are any in your local area, but make sure you like their style and work. If you are unable to deliver the flowers, see if you have a trusted friend or family member who can drop them off for you. Alternatively, you could also use a courier service.

Some floral preservationists accept overnight delivery of flowers, which allows you to expand your search outside your local area. This will require you to package your bouquet appropriately and ensure it is promptly dropped off at UPS/FedEx/etc. Expect this to add over $100 to the expense depending on how far you are shipping it and the speed of delivery. 

Many professional floral pressers can only accept so many flowers in a weekend, so make sure you book with someone far enough in advance to ensure availability for your date! 

It may take a few months for your pressed bouquet to be finished depending on the shop’s volume. 

Also, some preservationists offer add-ons to your framed bouquet, or just alternatives. Some offer trays, coasters, and jewelry that include your wedding flowers. These can be gifted or kept for yourself. 

bridal bouquet pressed in wooden frame
My pressed bouquet from Wren & Olivia.

DIY Pressing

Where are all my DIY gals at? I LOVE a good DIY project, and this is something you could totally try on your own. To play it safe, you can always try with a random supermarket bouquet first and see how it turns out. Test your skills before it matters. 🙂

Steps to DIY your bouquet:

  1. Choose the Right Flowers
    First, you need to choose the right flowers for pressing. Not all flowers are created equal when it comes to preservation. Some flowers, like roses, daisies, and pansies, press well, while others, like lilies, do not. Talk to your florist about which flowers will be best for pressing.
  2. Pressing the Flowers
    The most common way to press flowers is by using a flower press. You can buy a flower press online, or you can make one yourself. To make a flower press, all you need is two pieces of cardboard, some newspaper, and a few heavy books. Sandwich the flowers between the cardboard, place them on a stack of newspapers, and then place a few heavy books on top. Leave the flowers to dry for several weeks until they are completely flat.
  3. Assemble Your Bouquet
    Once your flowers are pressed and dried, it’s time to assemble your bouquet. Lay out the flowers in the shape and arrangement you want for your bouquet, and then carefully glue them onto a piece of paper or cardstock, or directly to a frame. You can also add other embellishments, such as ribbon or lace, to complete the look.
  4. Frame Your Bouquet
    To truly preserve your bridal bouquet, you’ll want to frame it. Choose a shadow box frame that is deep enough to hold the thickness of your bouquet. You can also add other mementos from your wedding day, such as your wedding invitation or a photo, to create a truly unique and personalized display.


Some Links to Get You Started:

Sale
Krylon 11 oz Uv Floral Protectant Spray, Multicolor
Floral Ultra Uv Protection Spray; Model Number: 7800; Country Of Origin: United States; Product Dimension: 7.8"L X 2.5"W X 2.5"H
$18.00 $14.36

I’d love to see what you come up with! Share your creations or any questions in the comments below!